Master Suite Renovation with Gray and White Color Scheme
The master suite, it’s my favorite please in my house. It’s my sanctuary, my place to escape the world and relax. So when it comes to renovating, it’s the first place I want to change. It’s the place that starts it all, I redo it and then I want to put those changes into the rest of my house. This master suite renovation has been happening for the past 4 years, we did it in sections but now it is completely down and I absolutely love it! There are several links in this post, which lead to the tutorials of all the different aspects of the room.
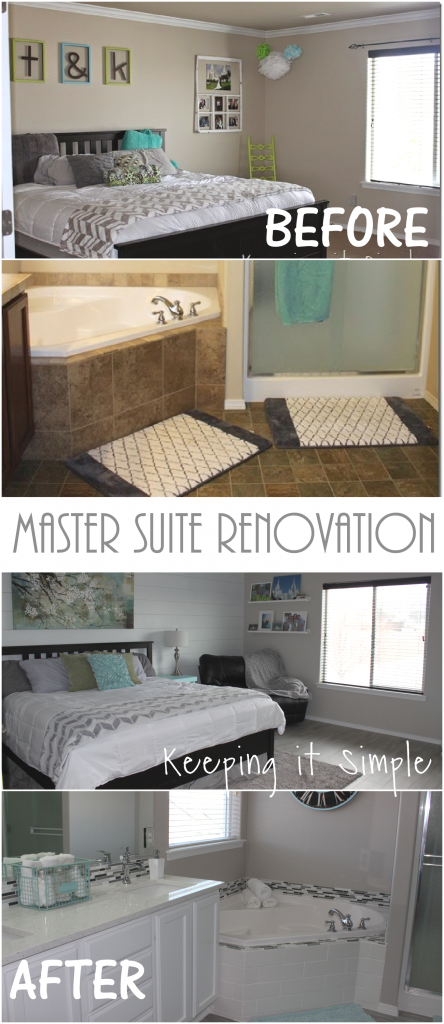
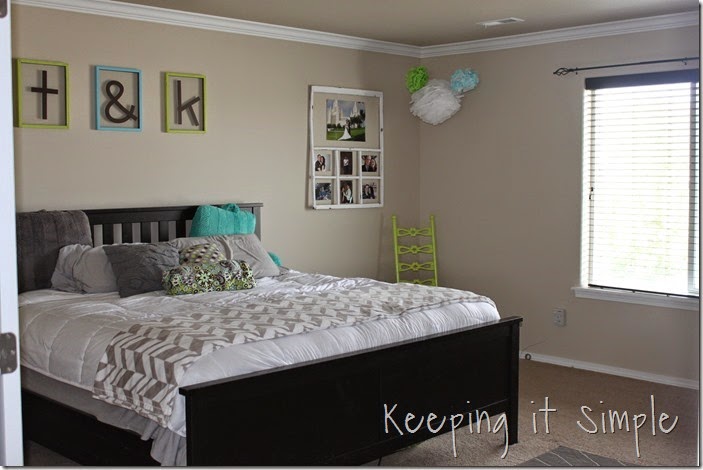
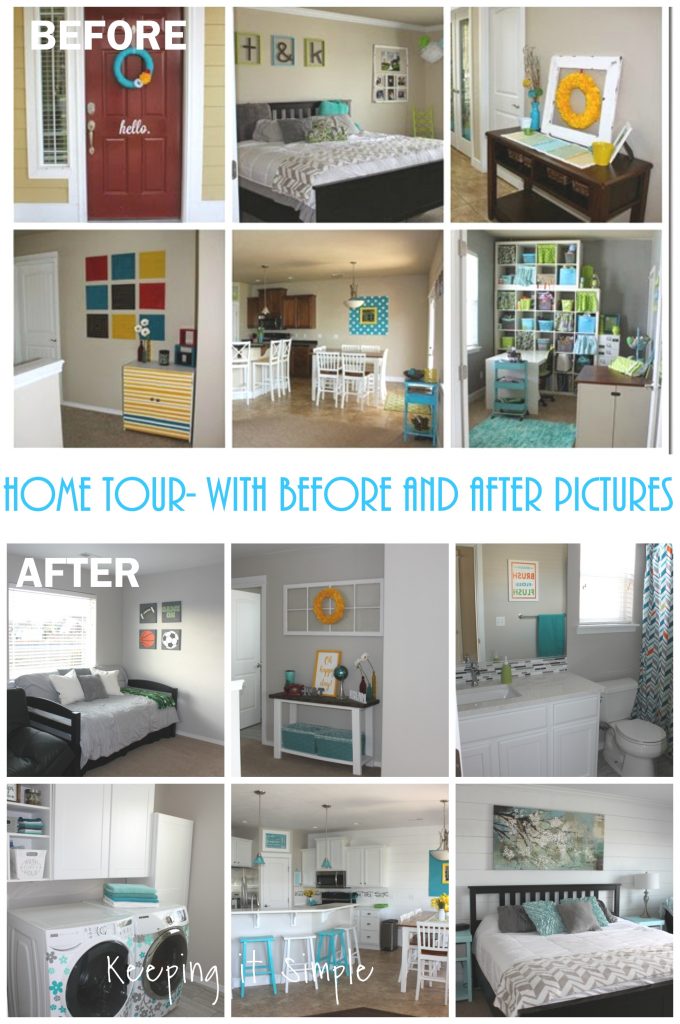
Here is the before picture of the master bedroom, it was taken about 6 years ago.
The first thing we did to the master bedroom is added a shiplap wall, it was only $100 and added such a big impact in the room.
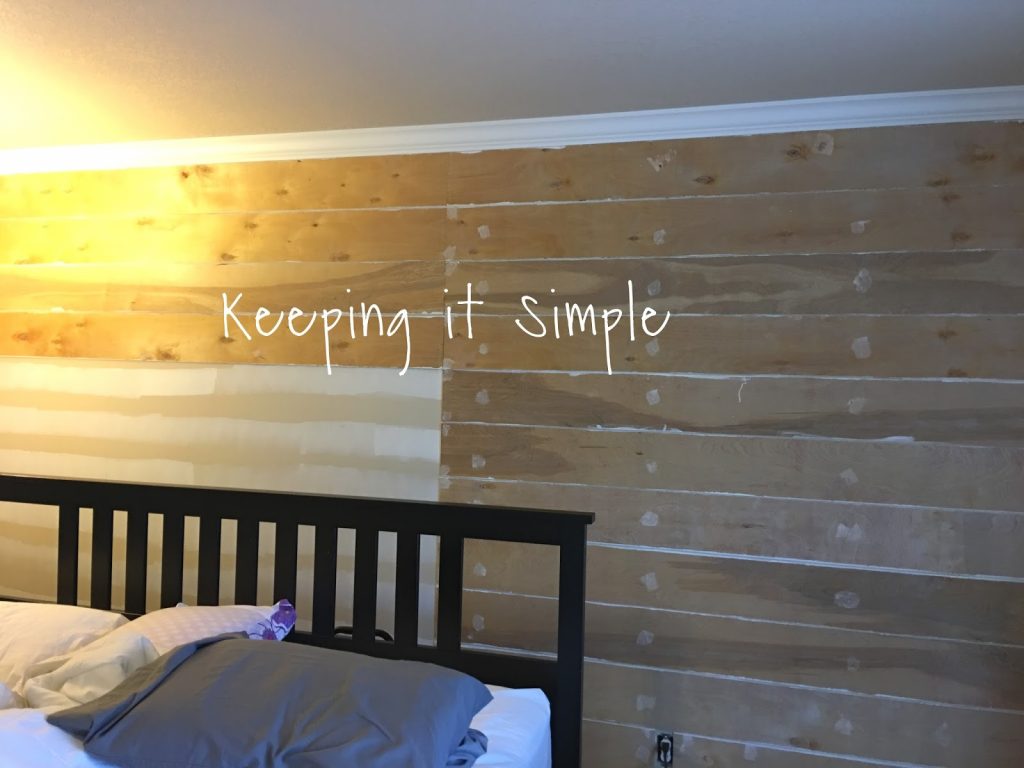
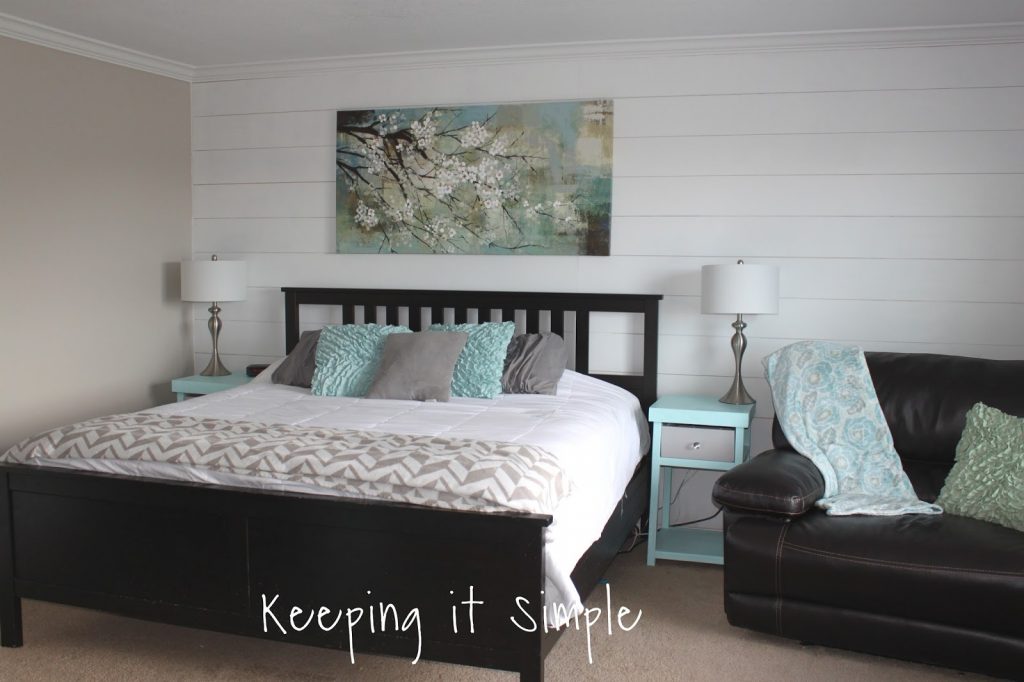
I painted the shiplap wall white and then painted the walls Worldy Gray from Sherwin Williams and painted the ceiling white. I then built some fun night stands.
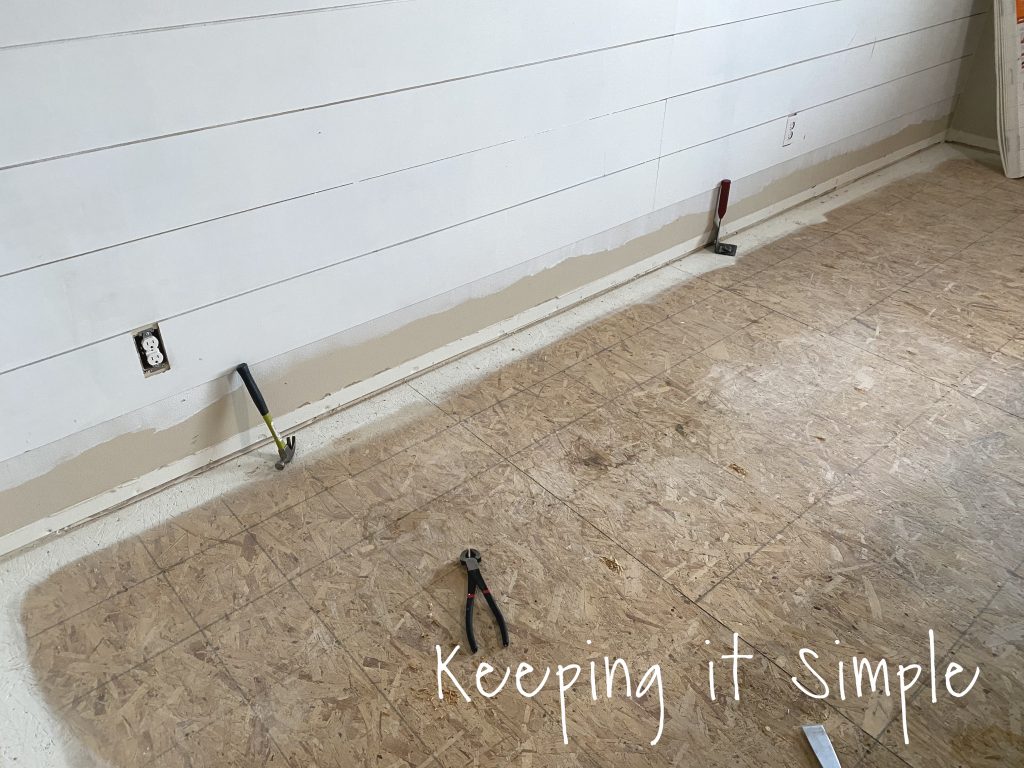
The last thing we did in the master bedroom was replaced the horrible carpet. We ripped out the carpet, and got the plywood all level and ready to go to put flooring onto it.
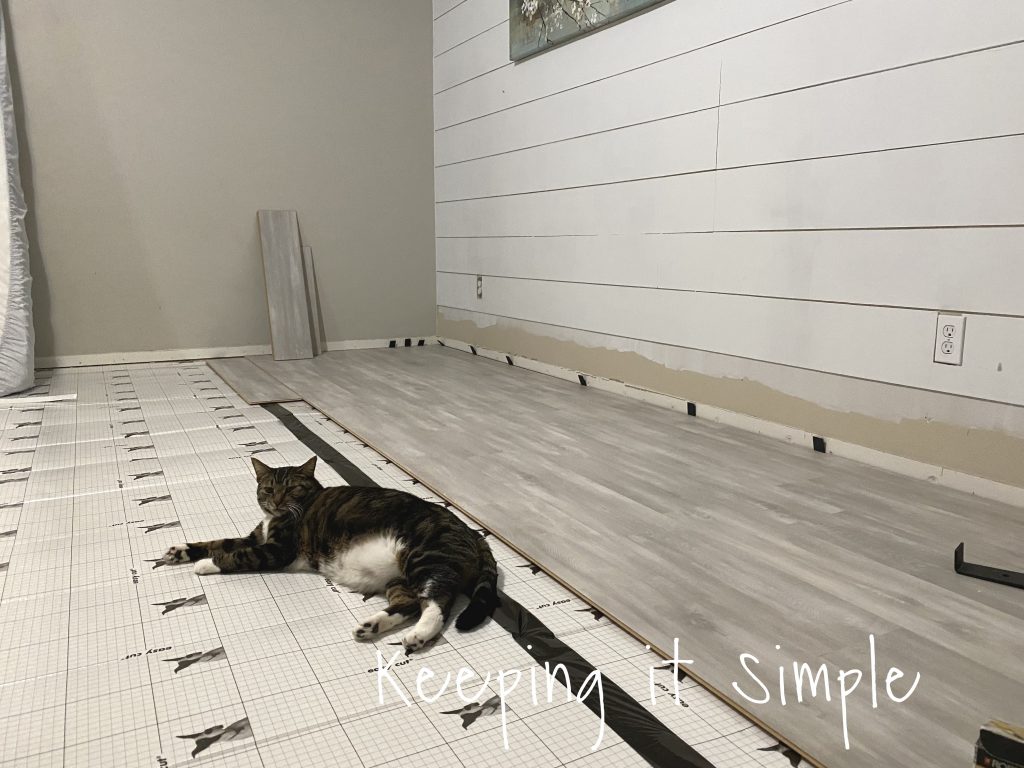
We put in a light gray waterproof laminate called Soft Oak Glazed from Pergo Outlast. The underlayment wasn’t necessary because there is a pad on the laminate but we added the underlayment to add some cushion to the floor and help with noise, since the bedroom is on the second floor.
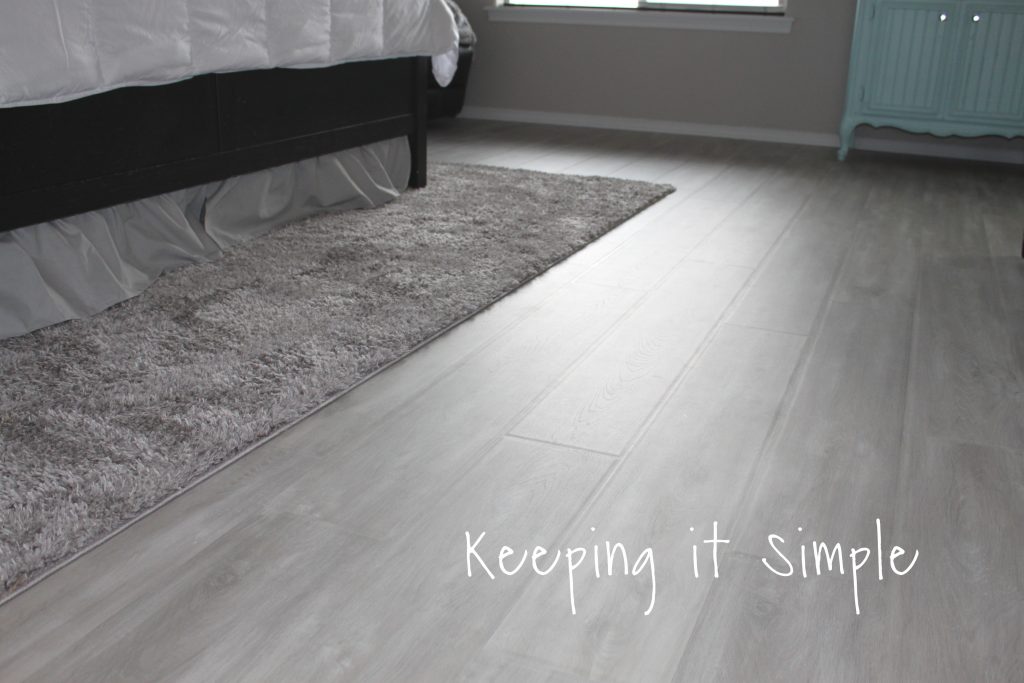
And here is what the Soft Oak Glazed laminate floors look like all done, they look amazing!
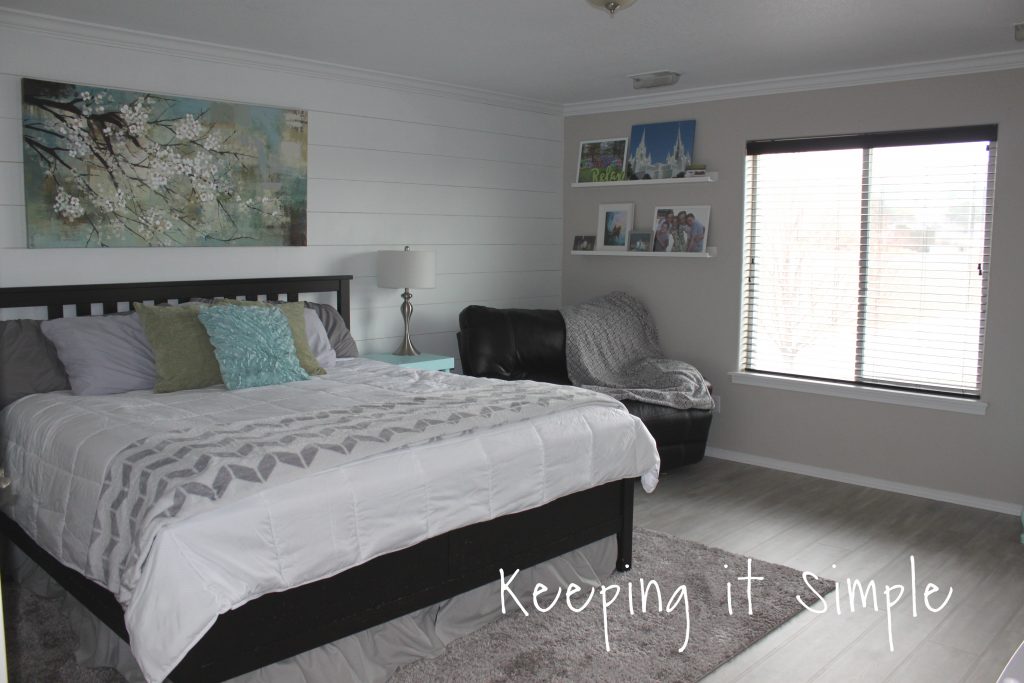
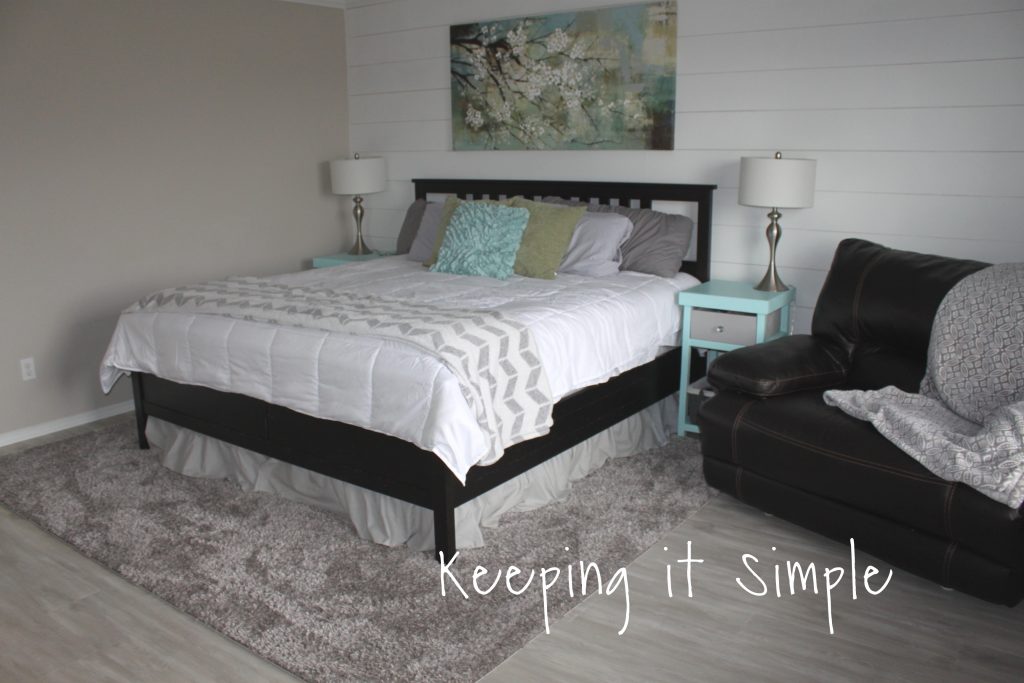
And here is the after. I love all the changes that we did in here. It is so much brighter and it makes me happy.
We added a plush rug under the bed to add some warmth to the room.

Here is another view of the room, I love how the floors make it looks fancier!
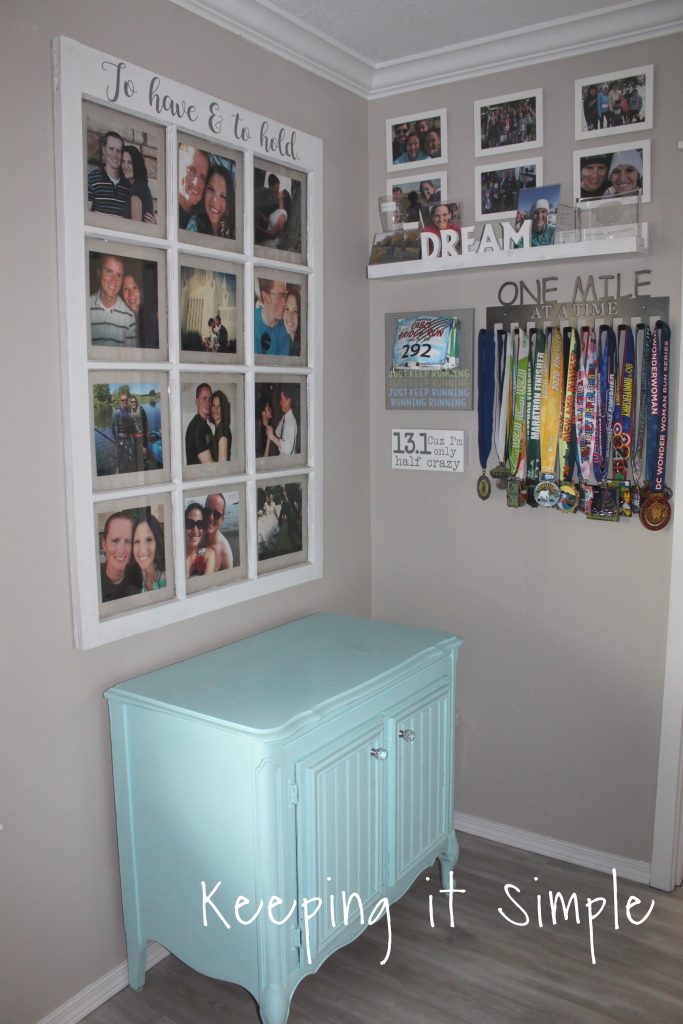
I added this fun corner to display all of the my running medals.
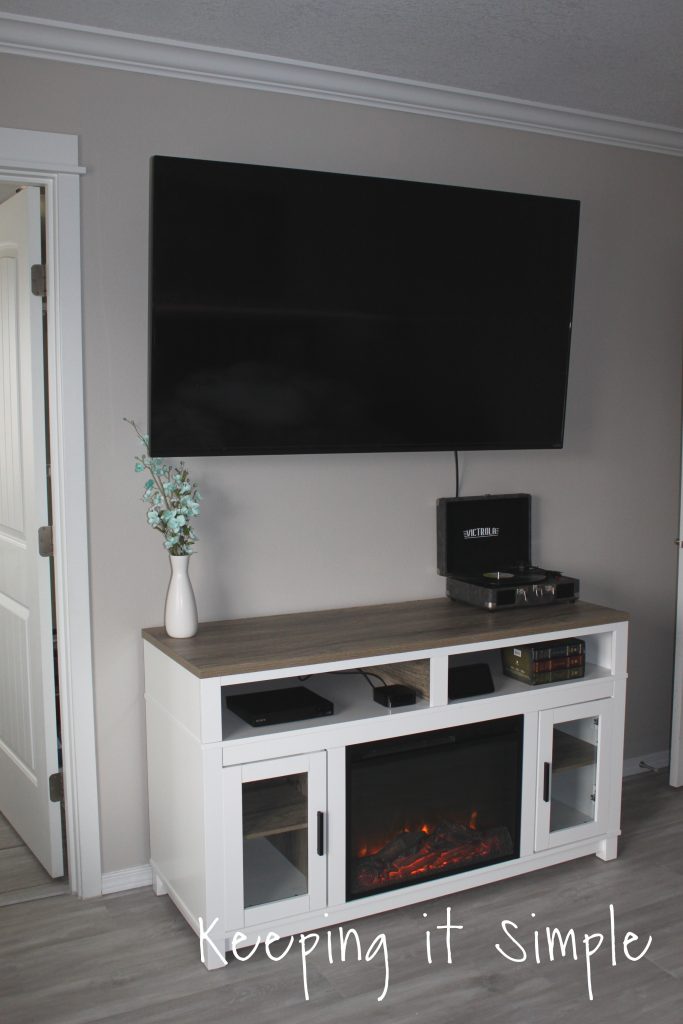
On the other side of our bathroom door, we have our tv and this gorgeous white fireplace tv stand.
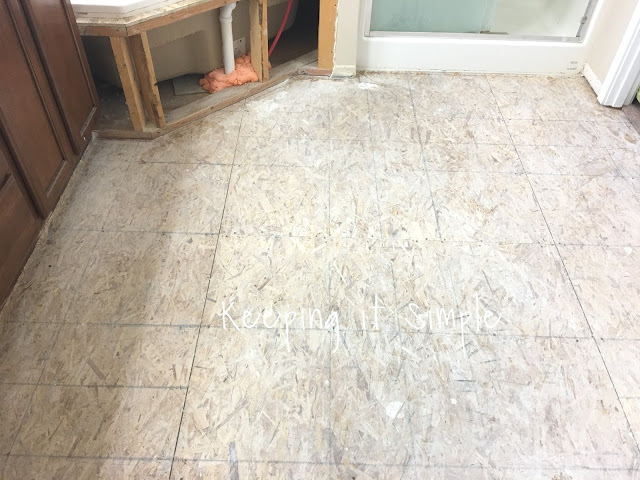
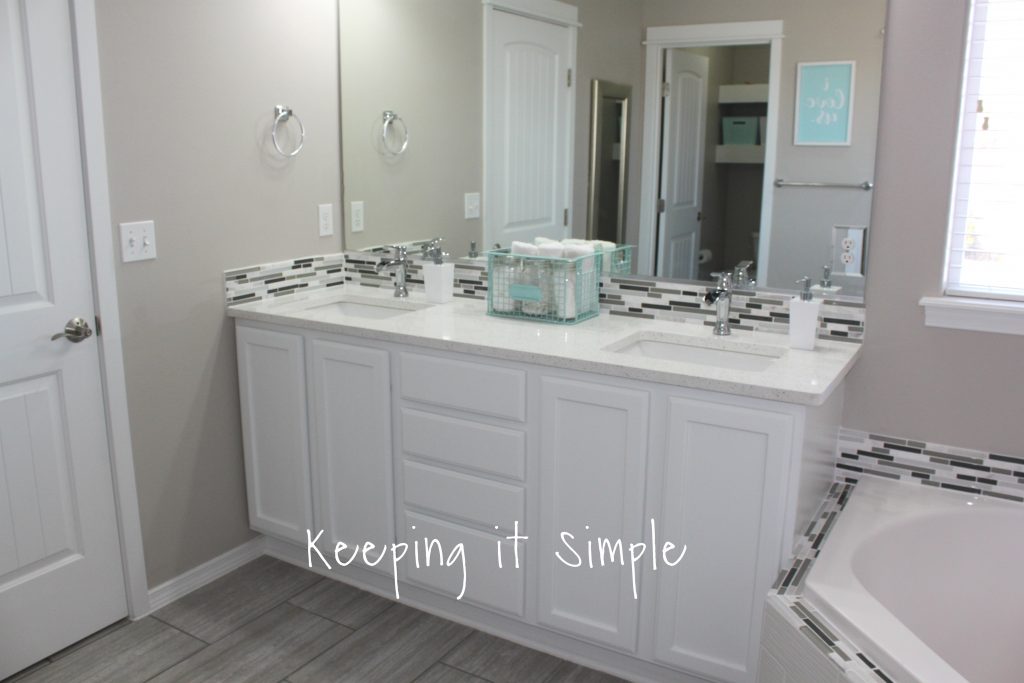
Now onto master bathroom. Here are the before pictures of it, it was dark and dingy before we got to it, you can see all of the pictures here.
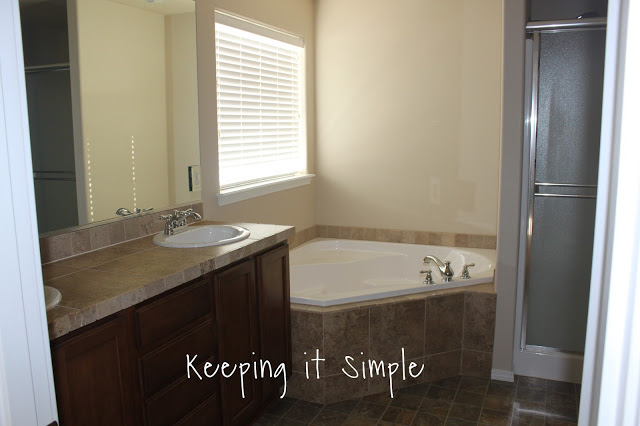
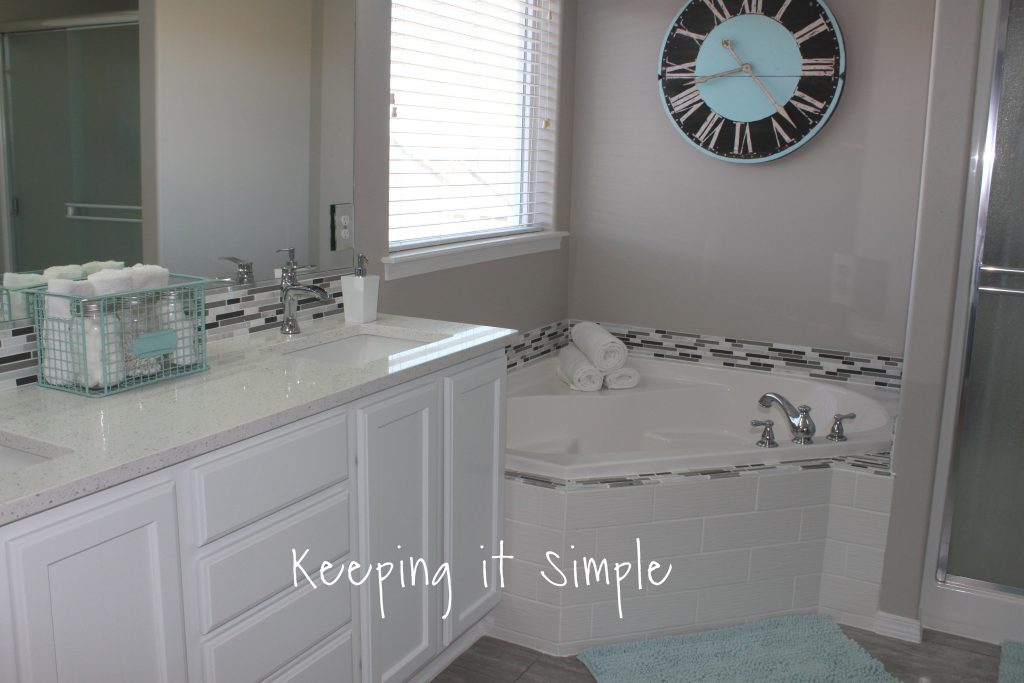
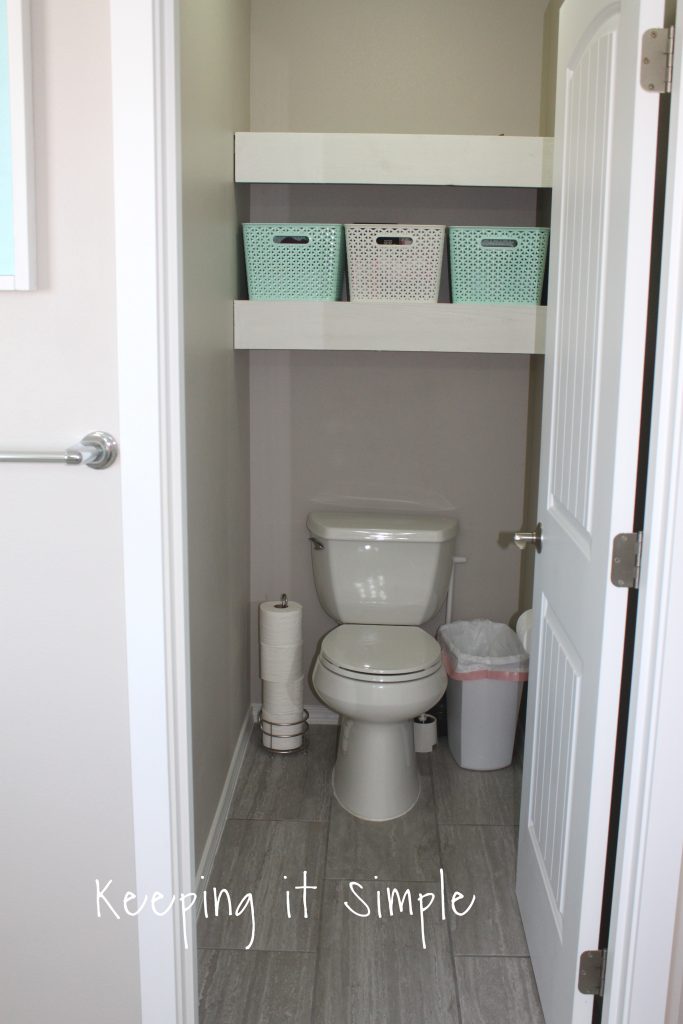
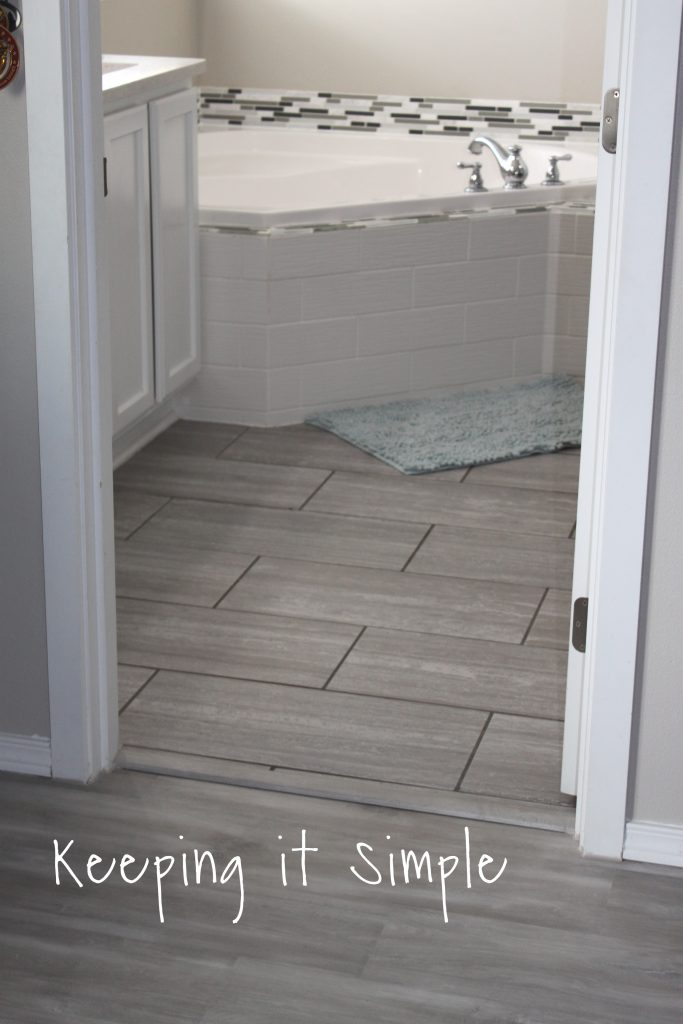
We ripped out the flooring and then added tile floors, tiled the bathtub, and painted the vanity and replaced the counter tops. **** To see very detailed tutorials on each of these, just click links. I did a post for each step of the process. ****
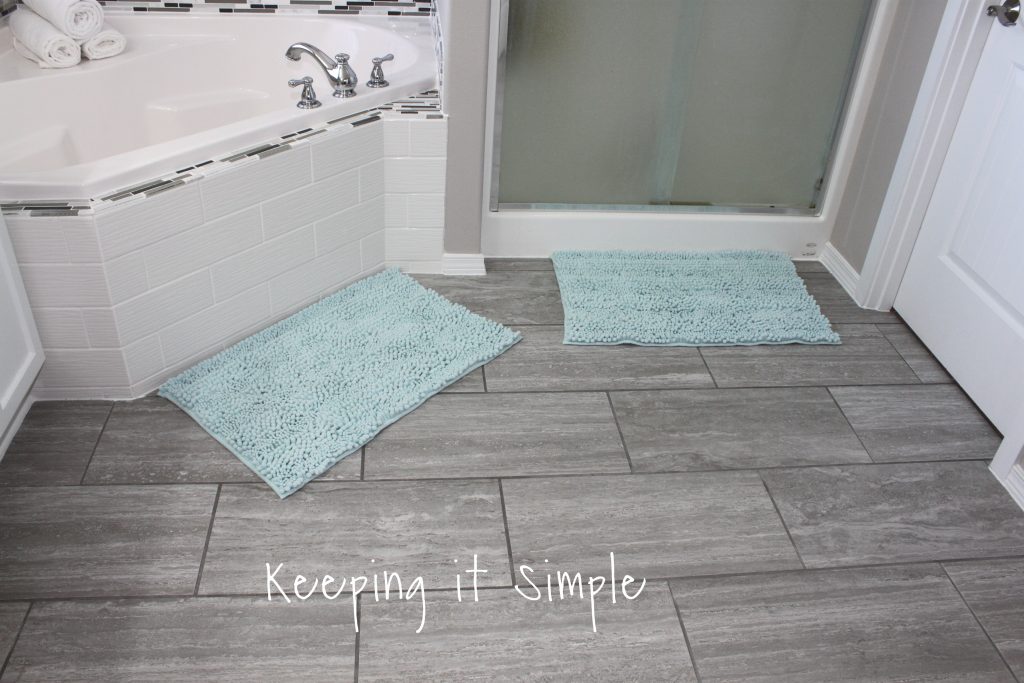
To connect the two rooms and two different floorings we used a trim reducer because the two floors are different sizes so the reducer helps make the transition more even.

This post contains affiliate links.
Leave a Reply
You must be logged in to post a comment.