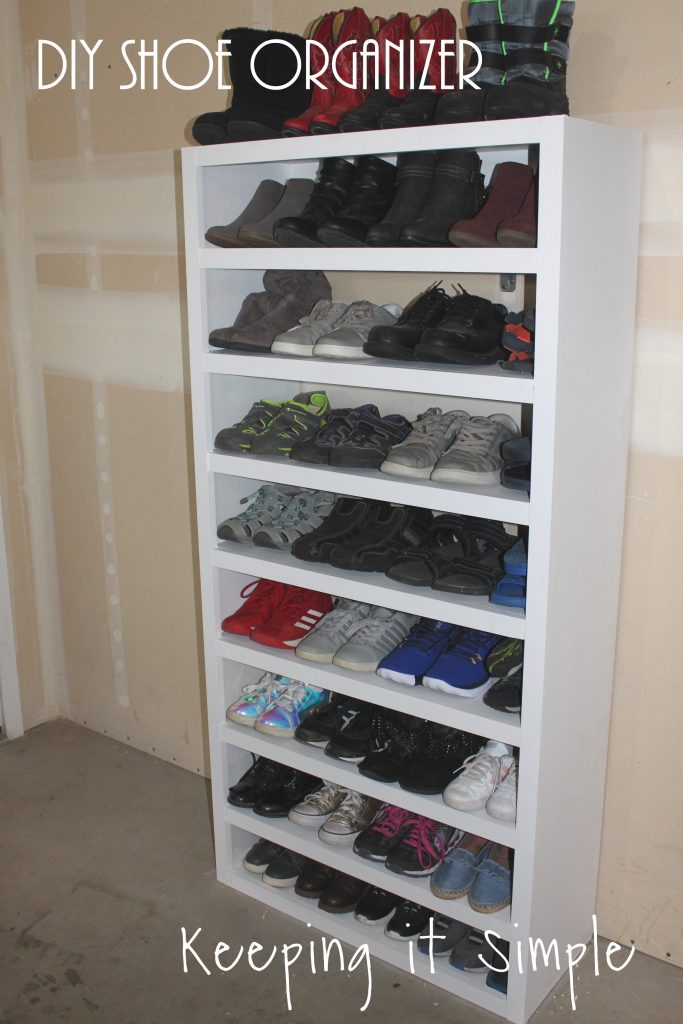
Shoe Storage Solutions- DIY Shoe Shelf Organizer for less than $50
We have a shoe problem at our house. I like shoes, so I have a lot of shoes and so does my family. I am always looking for shoe storage solutions but they never seem to hold enough shoes. I recently bought some shoe organizers from IKEA, they are nice but still didn’t hold enough shoes. So I went out looking for a shoe shelf that would hold a bunch of shoes. I found one from At Home and bought it, but when I really looked at it, it was SUPER CHEAP and didn’t look sturdy at all and it was still $30. So I took it back and decided that it was time to make my own shoe organizer. I could make it the way that I wanted, the size and style. This shoe shelf organizer cost about $50 to make, but looks a ton better and is much more sturdy than the one from the store. I am very happy with it, it’s nice to finally have a place for our shoes.
The dimensions for this shoe organizer is 30 inches wide, 64 inches tall and 12 3/4 inches deep.
This is how I made it:
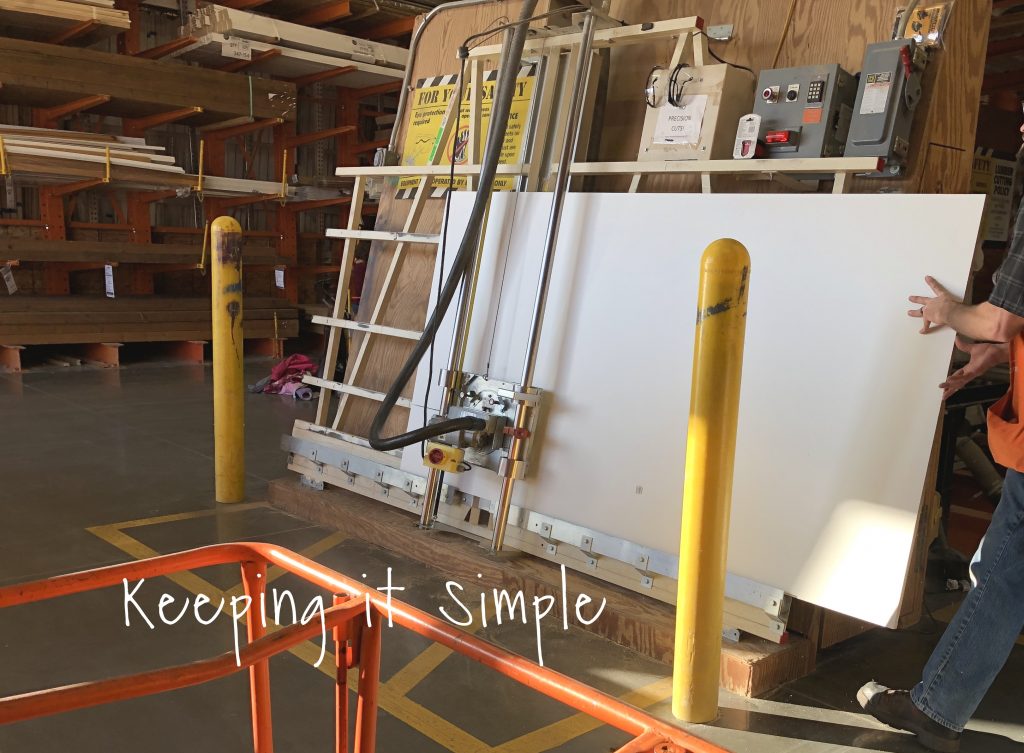
I headed to Home Depot and got a 4 x 8 foot piece of melamine. I actually used more than just one piece of melamine (I had some left over from another project) but you can build a shoe shelf with just one board. You would just have one less shelf, so instead of 9 shelves, it would have 8 shelves. From one 4 x 8 board you can get 2 12″ x 64″ pieces and 8 12″ x 30″ pieces. ***Update I made another shoe storage unit with just one sheet of melamine. Check it out at the bottom of this post!***

At the store, I had them cut the board into 12″ pieces because they can do it so much easier and quicker than we can at home. We ended up with 4 12″ x 8′ pieces.
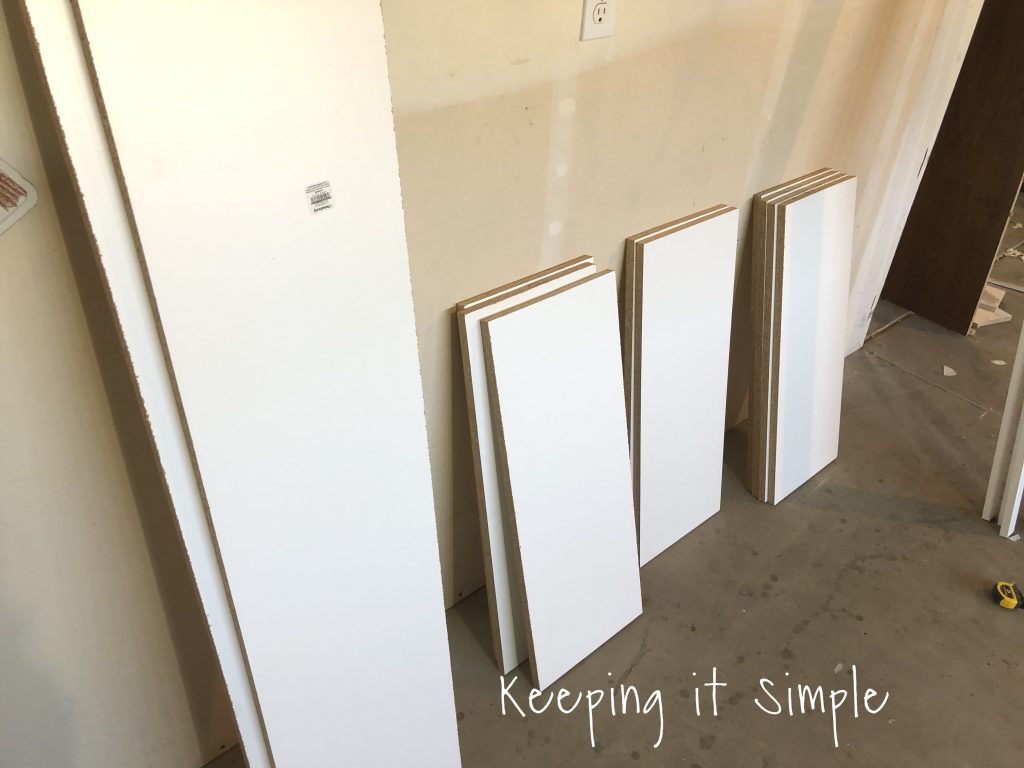
When we got home, we then cut the melamine to the sizes that we needed using our table saw. The sides of the shoe shelf are 12″ by 64″ high, so we cut two pieces 64″ and then the rest of them 30″. In total we had 9 boards that were 12″ x 30″ and 2 12″ x 64″.
I placed the side board onto the ground and then marked it every 8 inches. Then I marked the middle of the shelf boards, that way I could match them up to make sure they were centered. The shelves were all 8 inches apart.
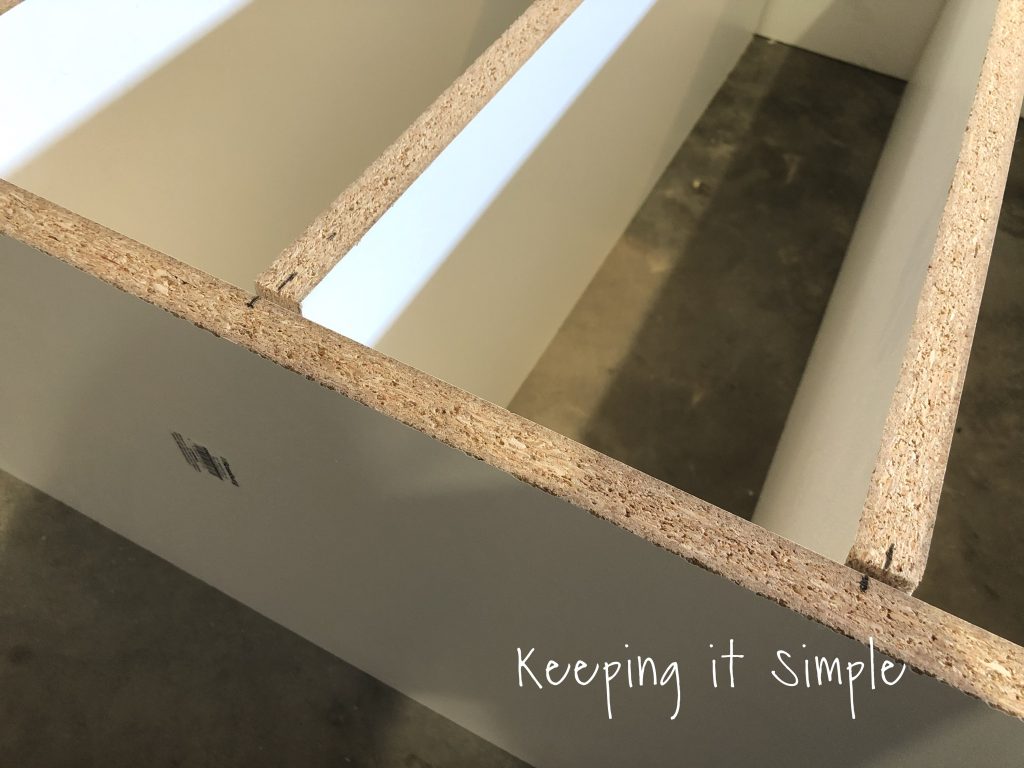
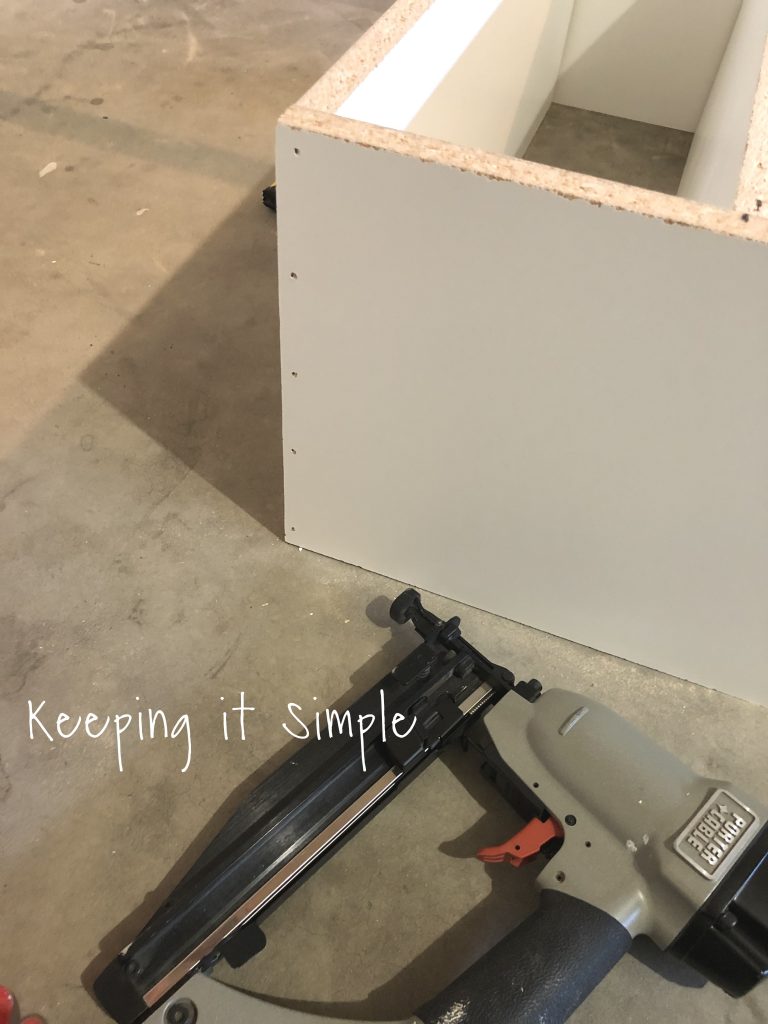
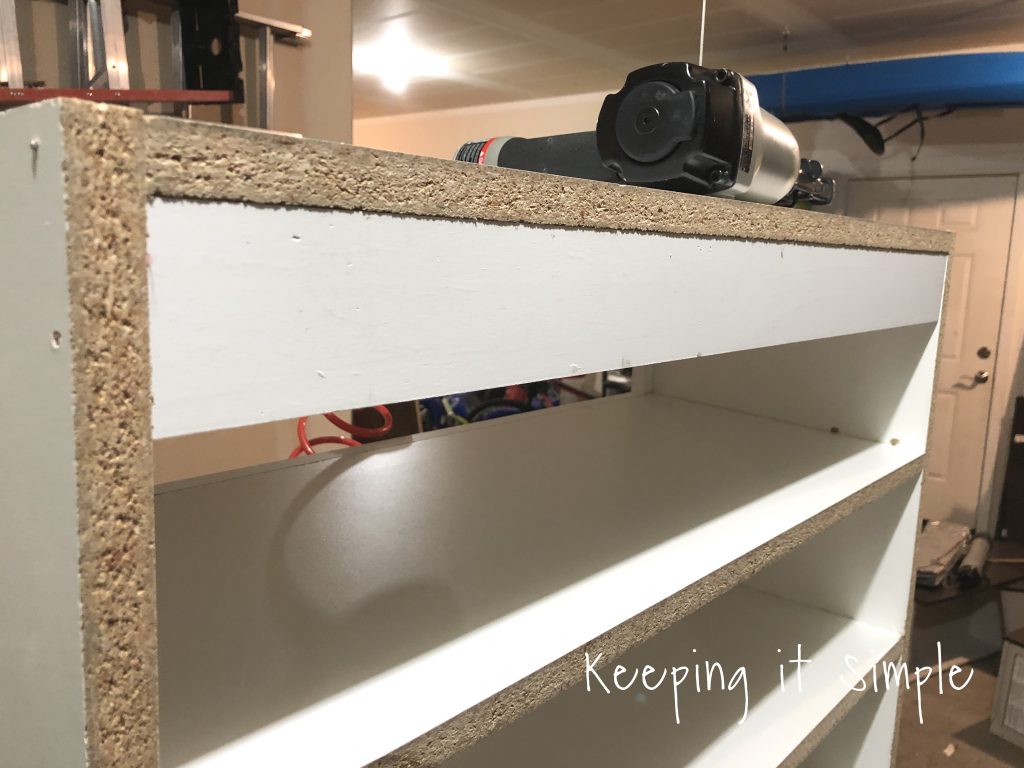
Once all the shelves were marked, it was time for me to start putting the shoe organizer together. I used a nail gun for the whole thing because that’s what I prefer but you can use screws too, it’s totally up to you. I used 2″ nails for the nail gun. I put the top and bottom pieces on first and then worked on the shelves. I put in 5-6 nails for each shelf.
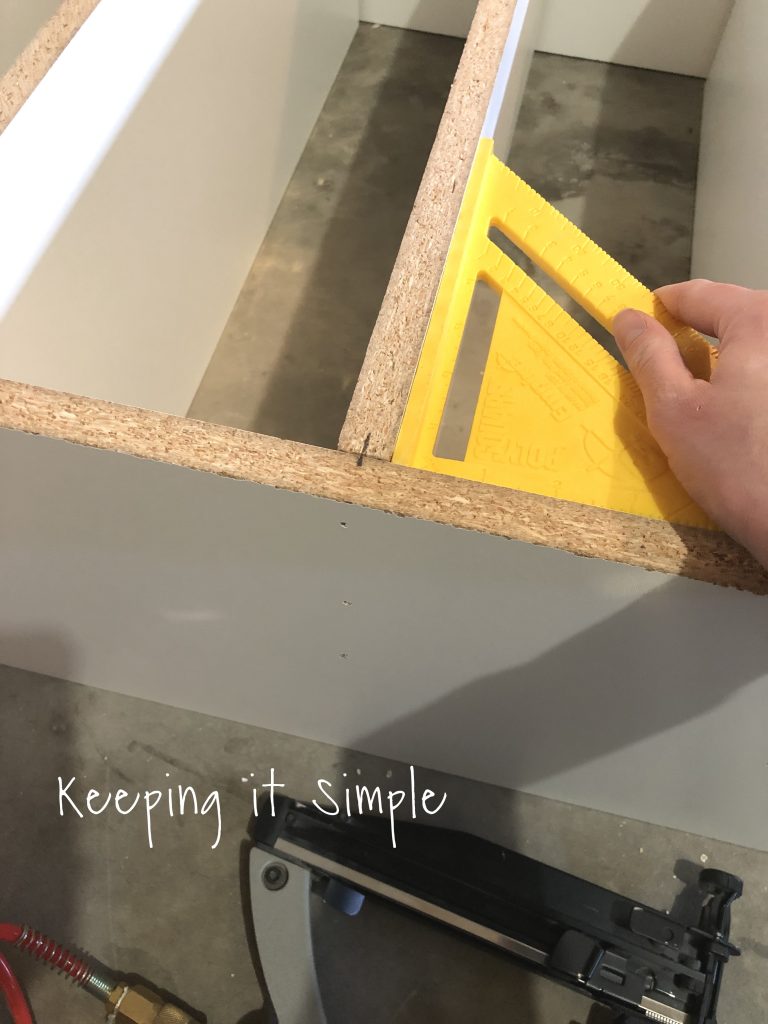
Once I put on the top and bottom shelves, I worked on the middle shelves. I matched up the two marks and then used a square to make sure it was level. I then put in 3 nails to secure the shelf (I eventually flipped it over to the other side to put in the other two nails).
I nailed all the shelves on one side and then I put on the other side piece. I did it the exact same way, nailing the top and bottom pieces first and then the shelves. I then flipped the whole thing over and nailed the shelves in from the other side.
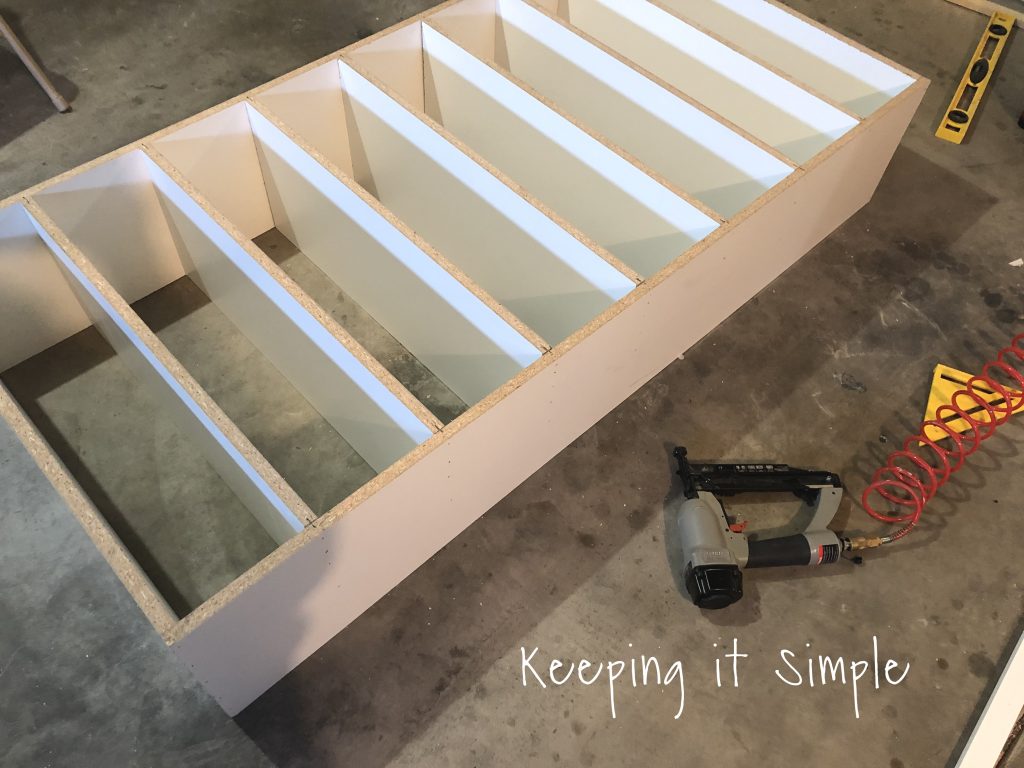
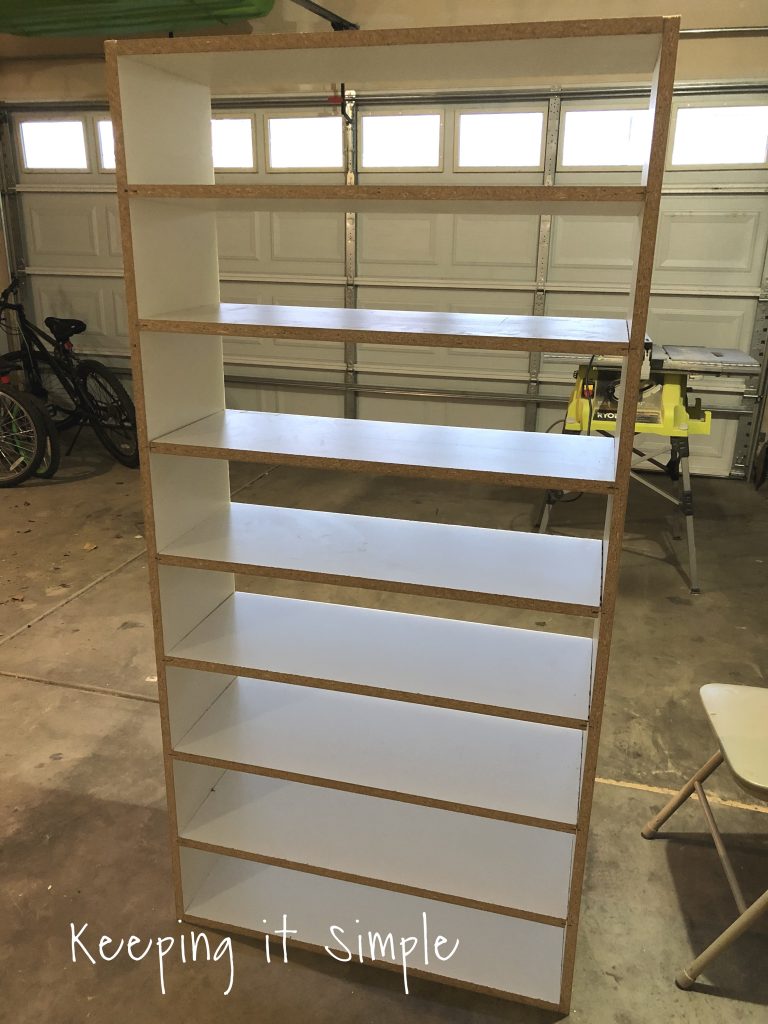
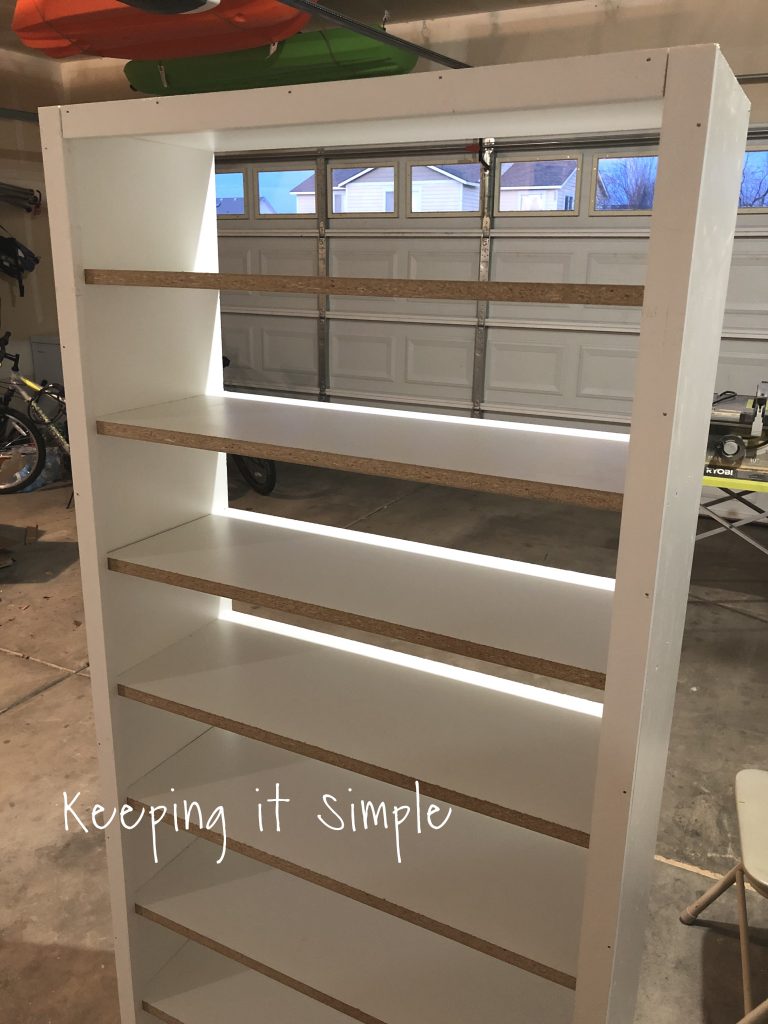
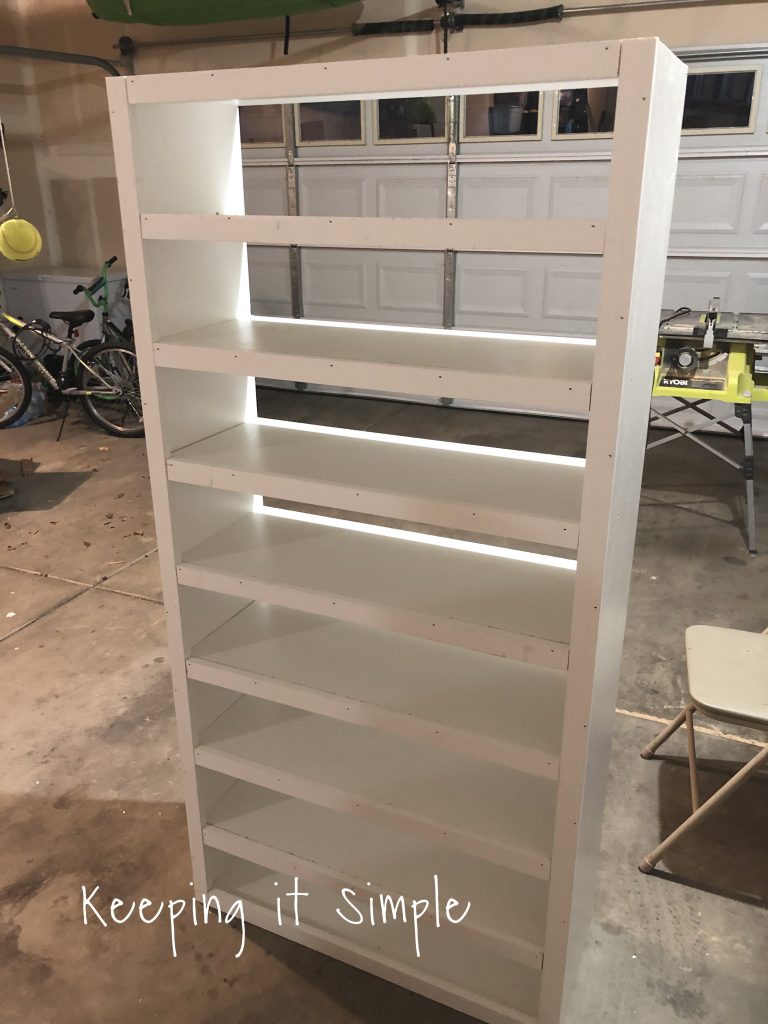
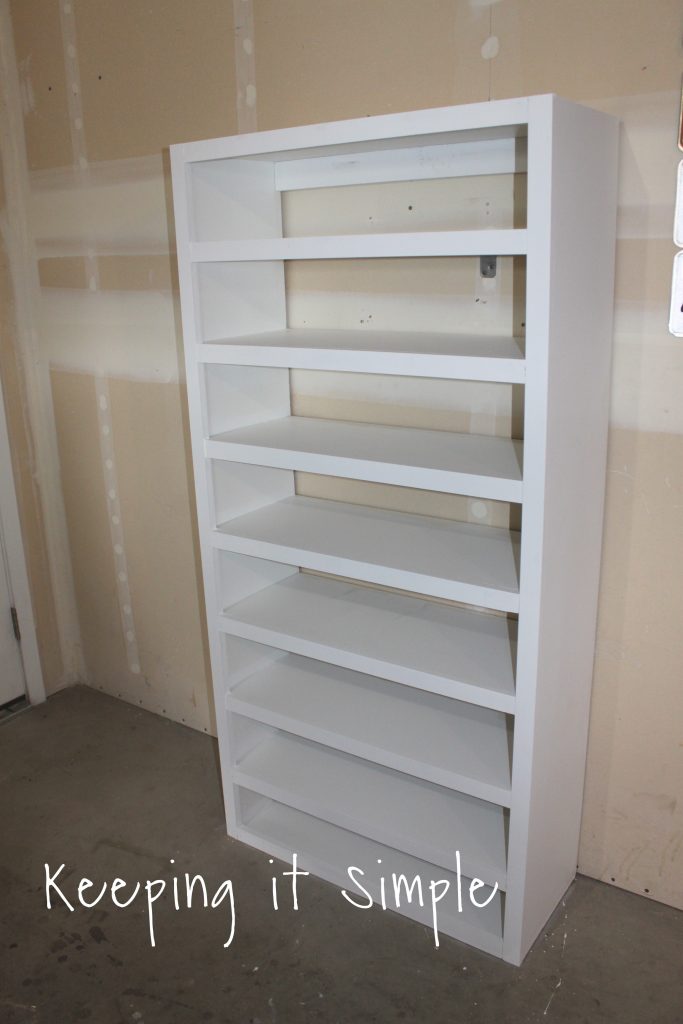
Here is the shoe shelf all put together. You can leave it like this if you wanted, but I wanted a more finished look, so I added some trim on it.
For the trim, I used a white primed 1 x 2 board. I cut and put on the side pieces first and then started working on the shelves. I cut each trim piece to fit, rather than just cutting them to be 64″ or 30″. I then nailed them into shoe shelf. I bought 5 of the 1 x 2 boards.
Here it is with all the trim nailed on, I love the finished look!
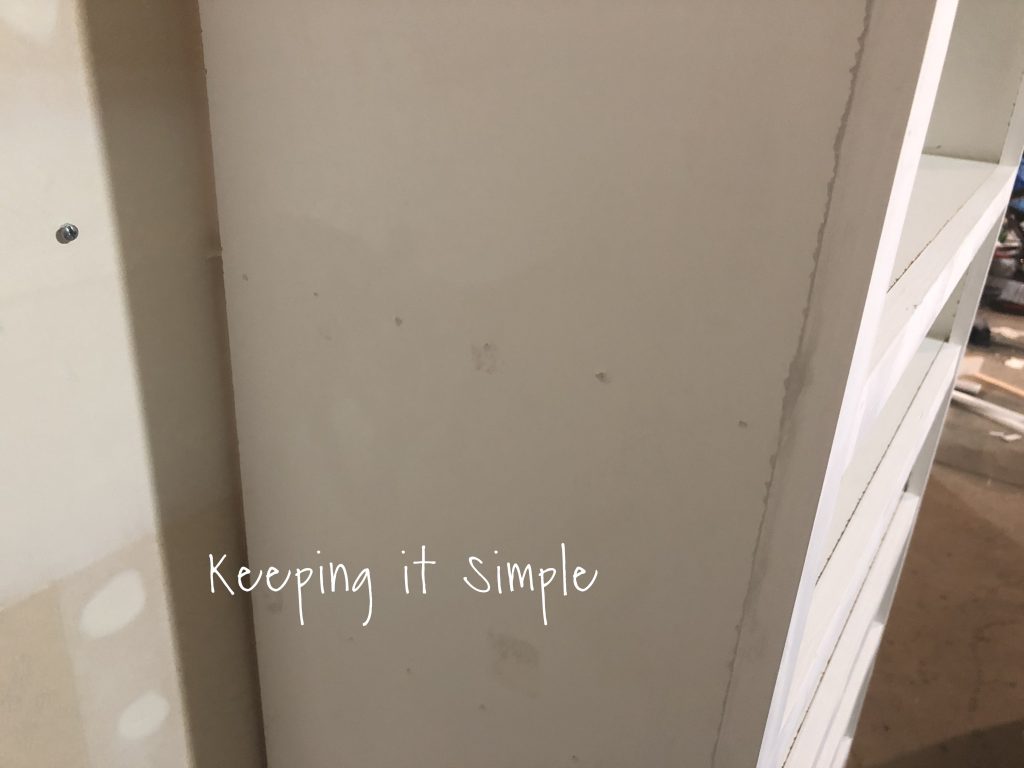
I added a 1 x 3 board to the back of the shoe shelf so I could screw the shoe organizer into the wall. I nailed the board from the side and top.
Using a wood filler, I filled in holes and gaps.
Then I painted the whole thing a nice, bright white. Side note- we used an L bracket to screw the shelf into the wall in addition to screwing the back piece.
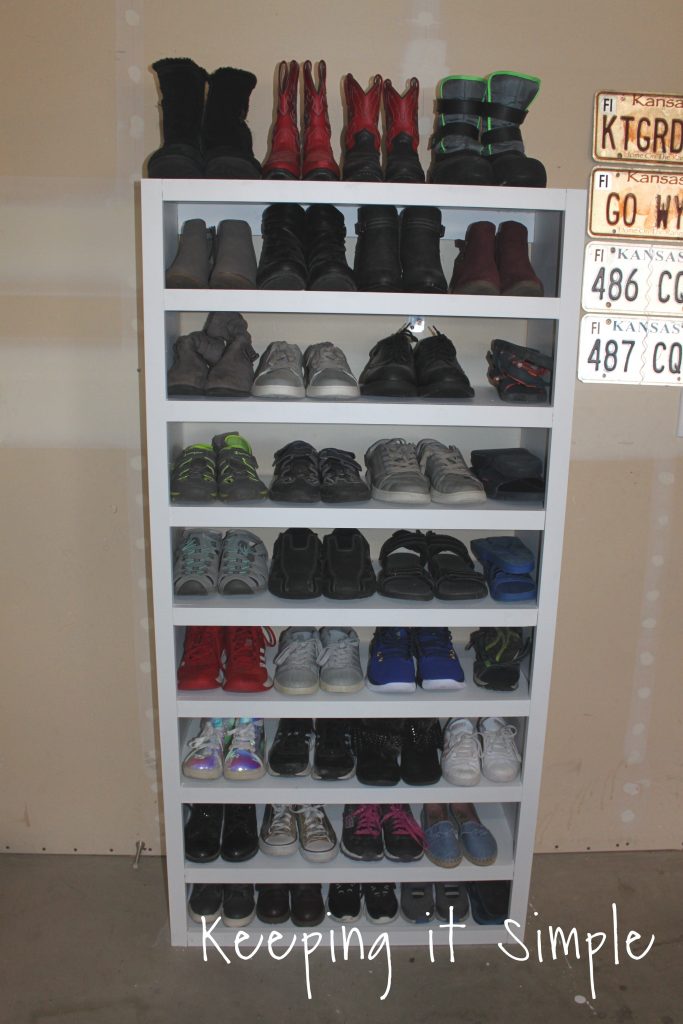
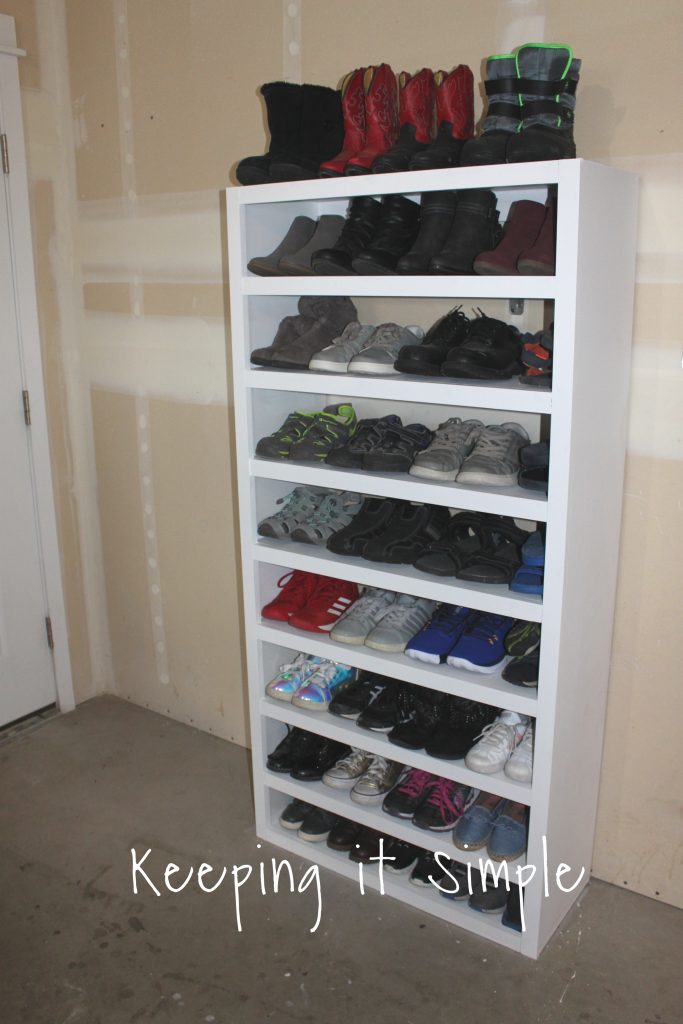
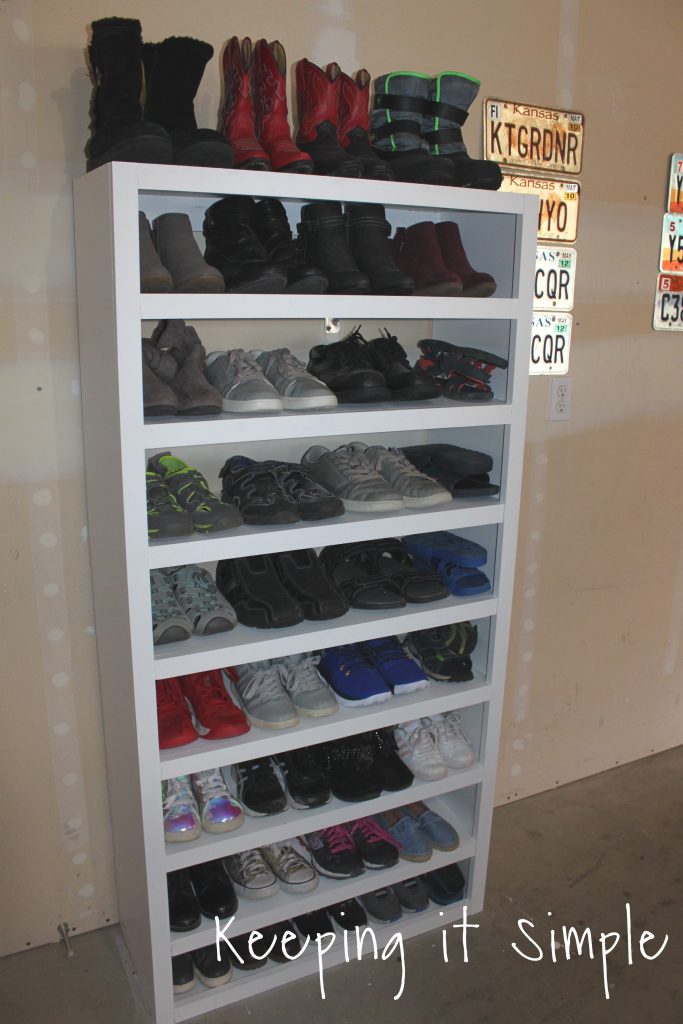
And that’s it! I loaded it up with shoes, I was able to get 36 pairs of shoes on it!!
Real quick, here is the break down of the cost:
1 4 x 8 melamine board- $28.97
5 1 x 2 boards- 5 x $3.63 = $18.15
Total= $47.12
Paint and supplies I had on hand.
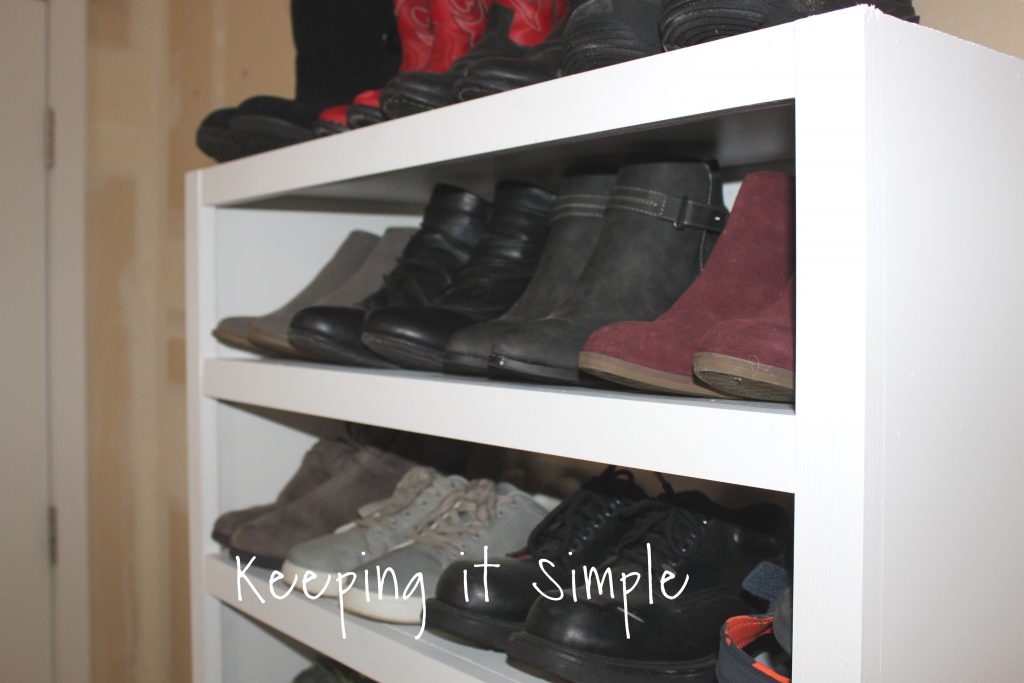
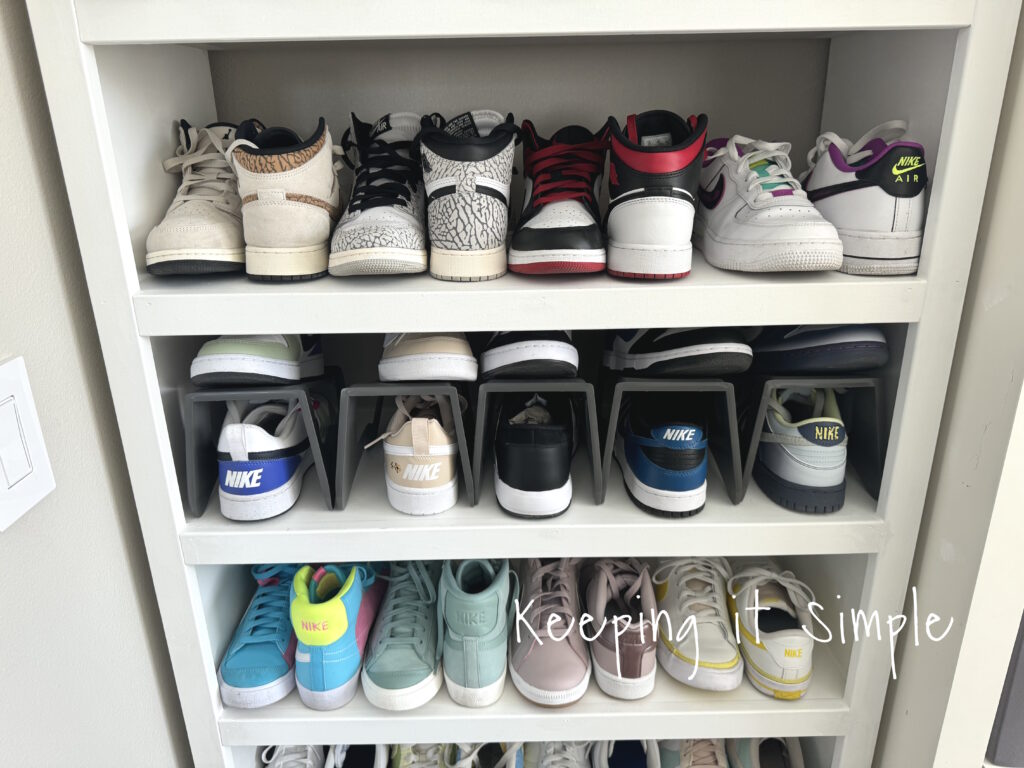
Here is a close up of the shoe storage.
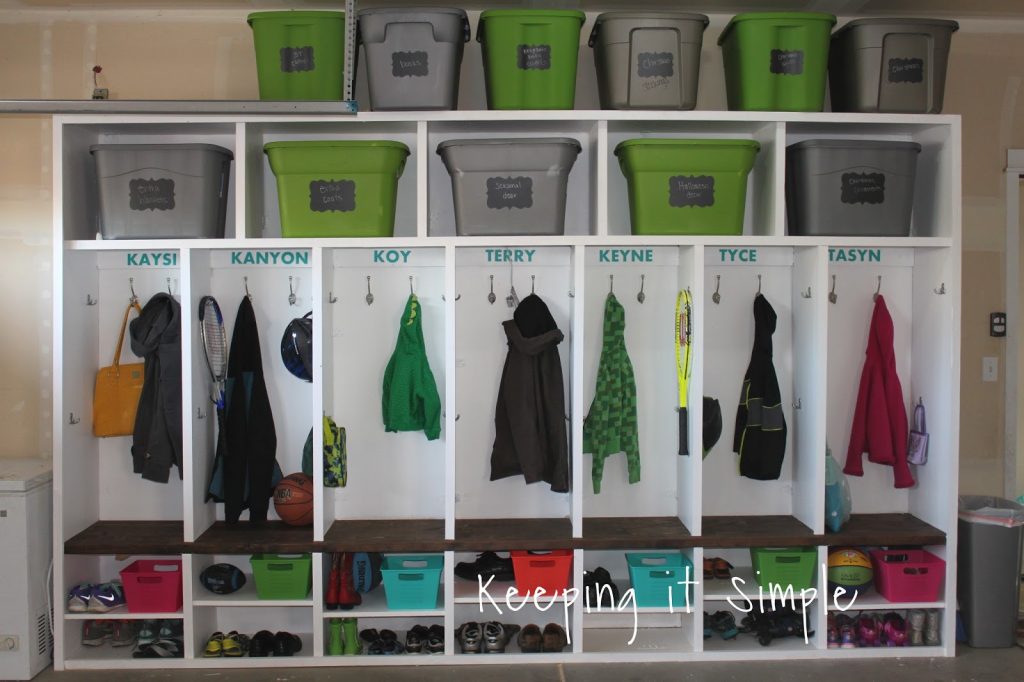
It’s really nice to have our shoes organized and easily accessible. We put the shoe organizer in our garage but it would look good in a closet or anywhere in a house that you store shoes.
***UPDATED MARCH 2024***
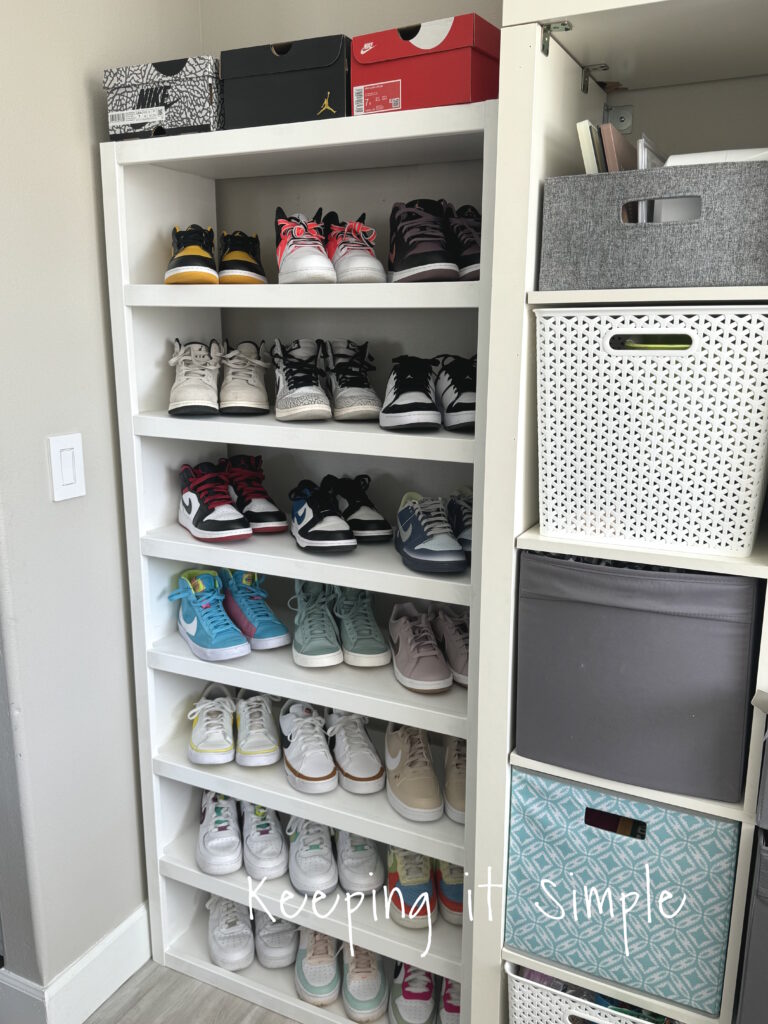
I have loved having this shoe storage shelf in our garage, it is so great. I recently started working at a high school and have gotten quite the collection of Nike sneakers, so I decided that I needed another shelf to display all of my sneakers.
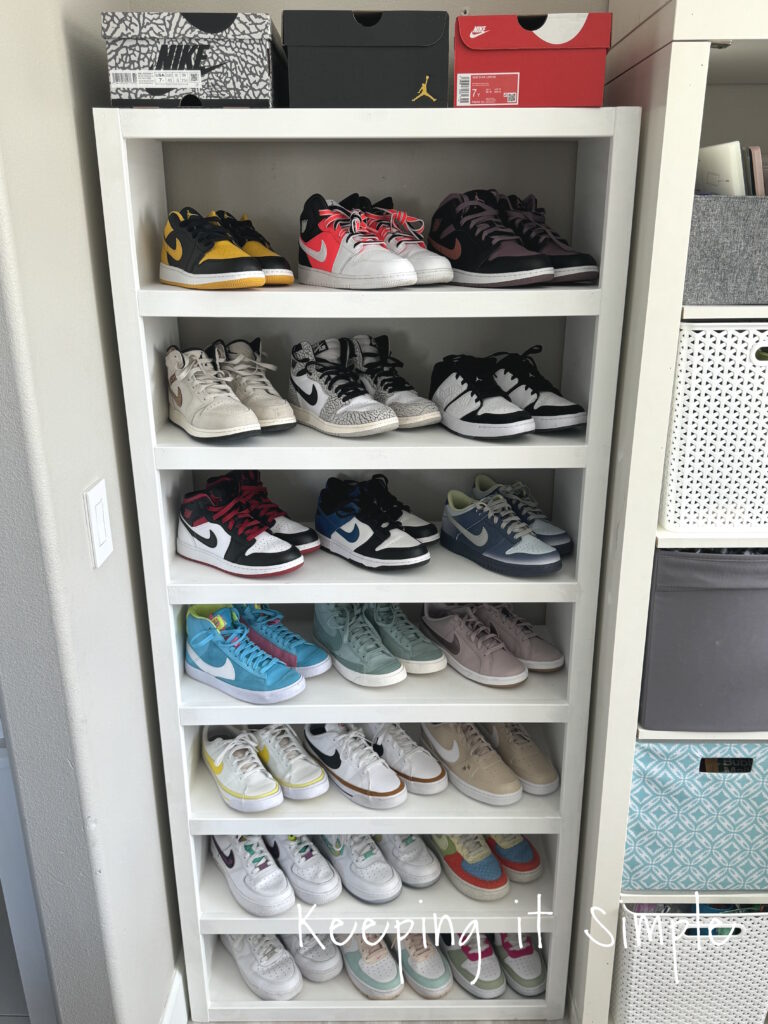
This time, I only used one 4×8 sheet of melamine and the dimensions are a little different since I had to make it fit into a space in my craft room. I made it the exact same way, but this time I only had 8 shelf pieces instead of 9. For this shoe display, I cut the 4×8 sheet into 4 12 inches pieces, like I did for the other one. But for the sides, I cut them to be 68 inches high instead of 64″. For the shelves, I cut them to be 29 inches wide instead of 30 because the space was smaller. Because there is one less shelf, the space in between the shelves was 9.5 inches instead of 8 inches. Another thing that I did differently was instead of buying the 1×2 white primed board (they were $8 a piece!), I used a 1×2 baseboard trim, it has rounded edges and isn’t as dense. But it does the trick.
Here is a break down of the cost of this shoe display shelf, built in 2024.
1 4×8 sheet of melamine- $43.98
4 1×2 trim- $4.33
Total= $61.30
Still not a bad price, especially considering inflation the past couple years.
You can put lots of shoes on these shelves. If you want to put more on, just rotate one shoe facing backwards and you can fit 4 pairs onto one shelf. Here are the 21 pairs done that way and there are 2 full shelves left over. And of course you an use the top too!
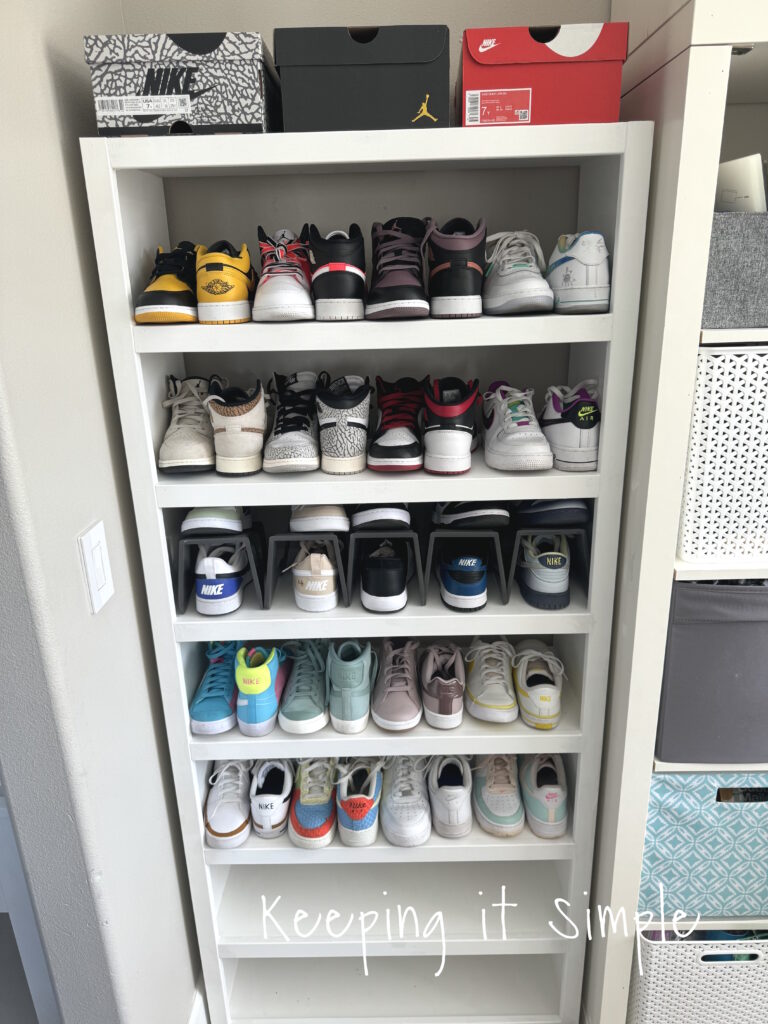
If you want to fit on even more shoes, you can get these shoe organizers and fit 5 pairs onto on shelf! Just a note- I wear a size 8.5-9 in womens. If you have bigger shoes, then you may not be able to fit as many shoes on there.
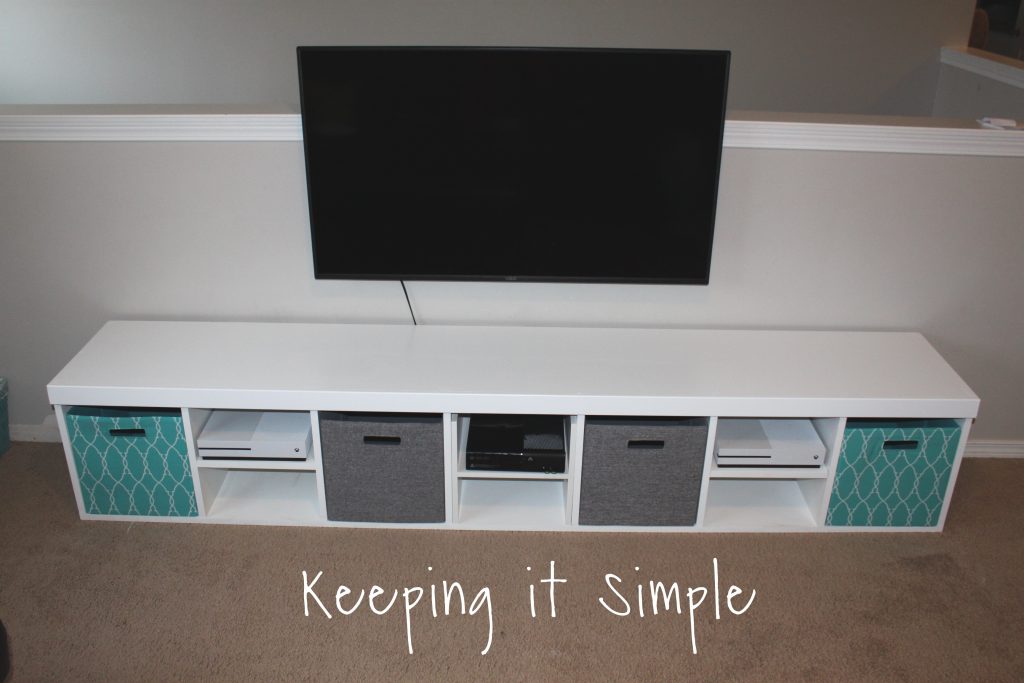
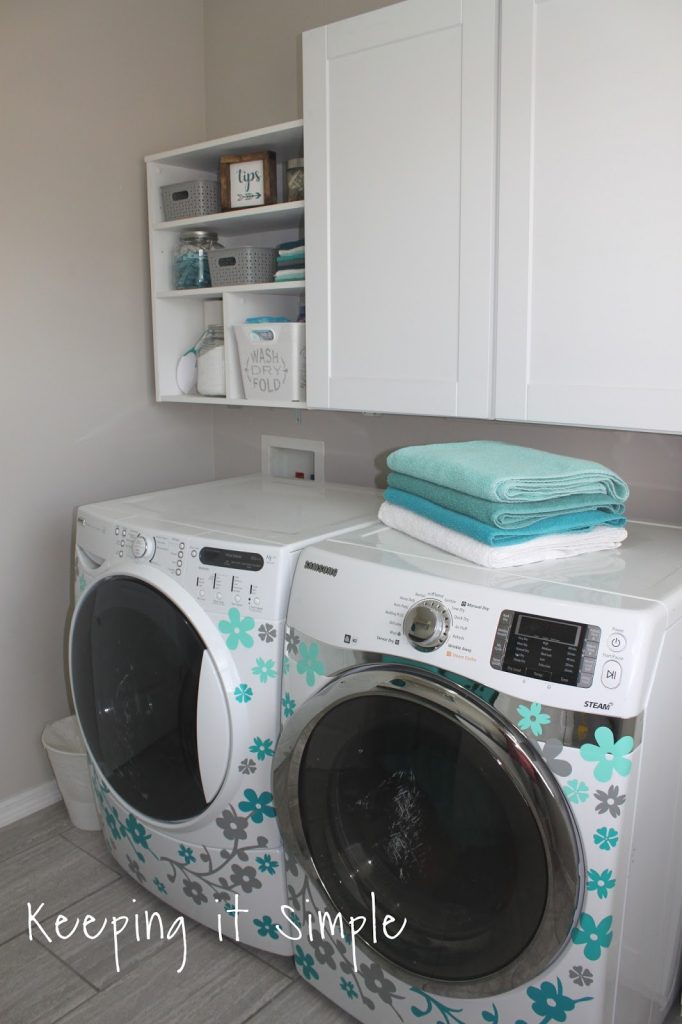
Check out my other organization posts:
This post contains affiliate links
Leave a Reply
You must be logged in to post a comment.