Easy Neighbor Gift Idea- Personalized Cookies for Santa Plate
Every year I make neighbor gifts for Christmas. I usually make 70+ gifts, so I try to come up with a fun idea that is simple, easy and inexpensive. The longer I live in one spot, I harder it is to come up with ideas. I have done Santa plates before but that was several years ago, so I decided to make them again this year. This time, I did them a little differently. I don’t like to give out neighbor gifts that someone can just run to the store and buy themselves, I like to give out something that is home made or semi homemade and usually personalized.
When I saw these awesome plates at the Dollar Tree, I knew that they would be great for cookies for Santa. Since I make so many neighbor gifts, I usually have a variety of designs and colors. Since inventory at stores are some times limited or different, I have to work with what is available. I found 3 different plate designs that were perfect for these personalized cookies for Santa plates.
This is how I made the personalized cookies for Santa plates.
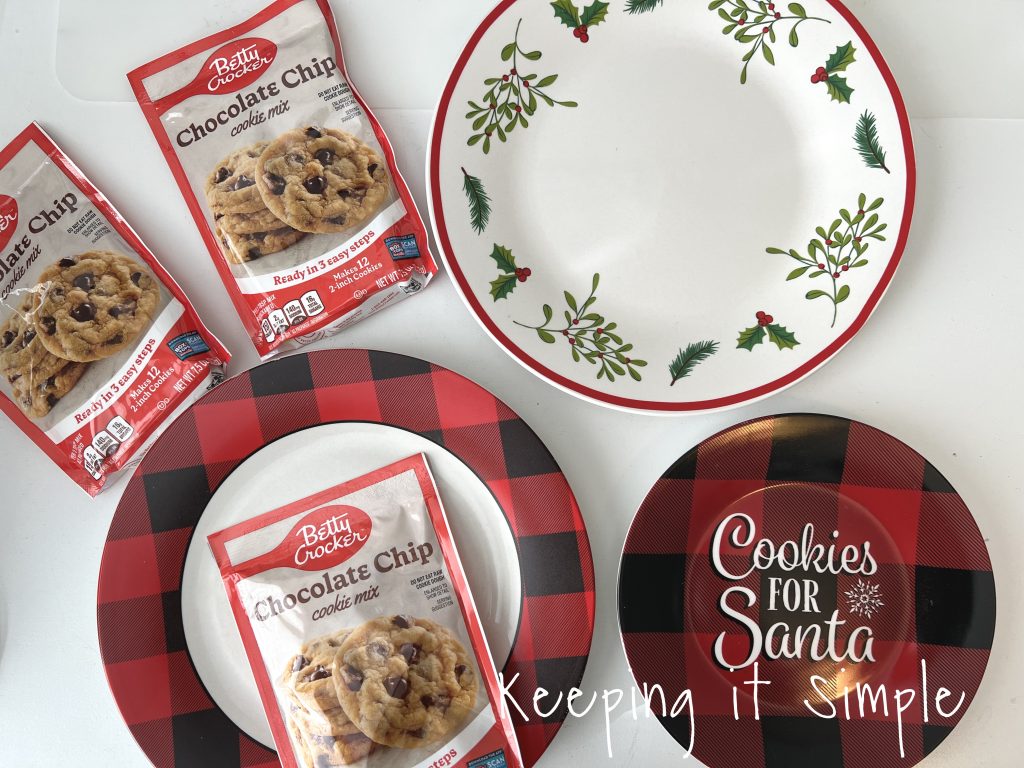
I started with the 3 plates I found at the Dollar Tree. I also found these little cookie mixes there too, so the total cost for these neighbor gifts are $2.50, not too bad!
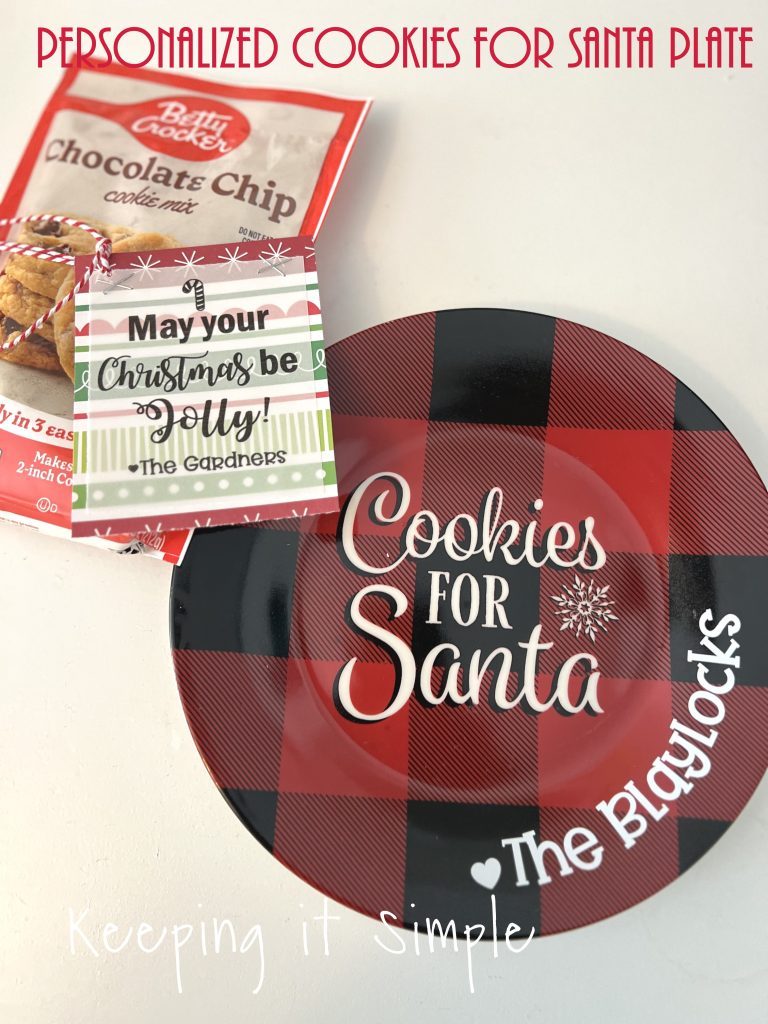
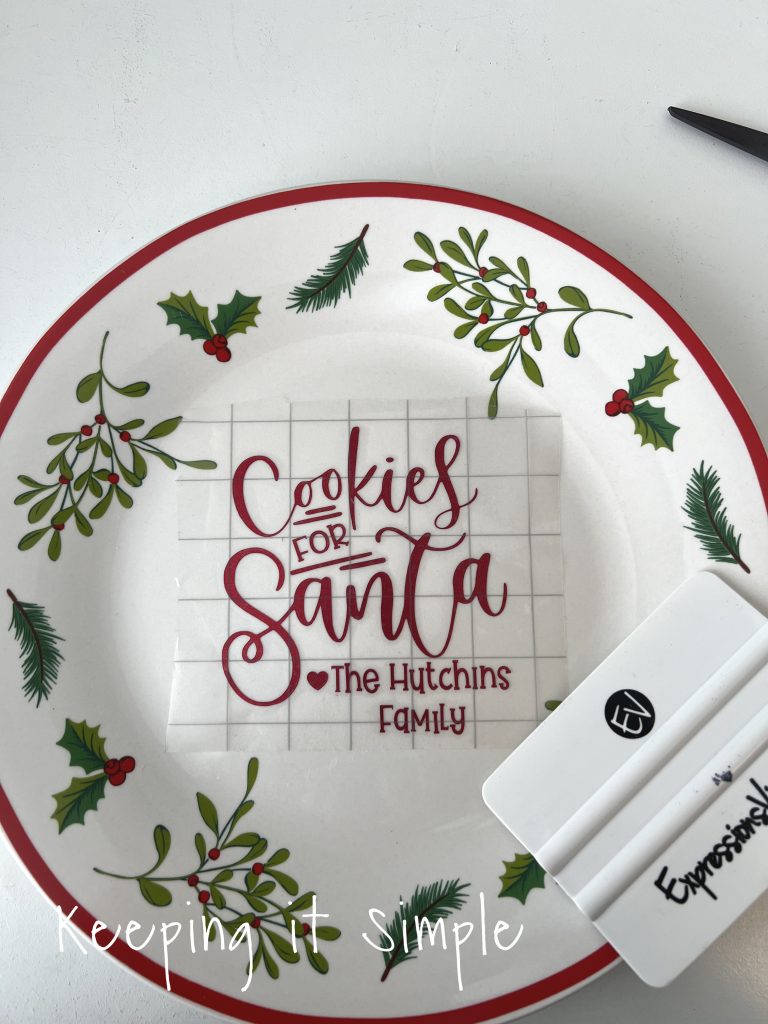
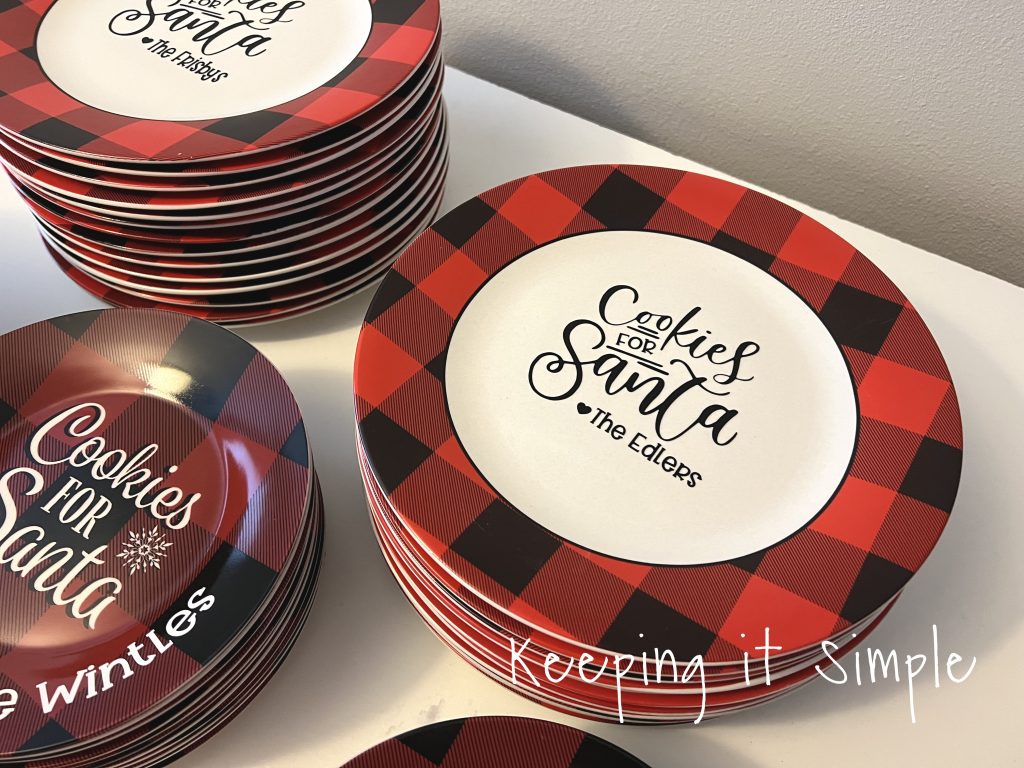
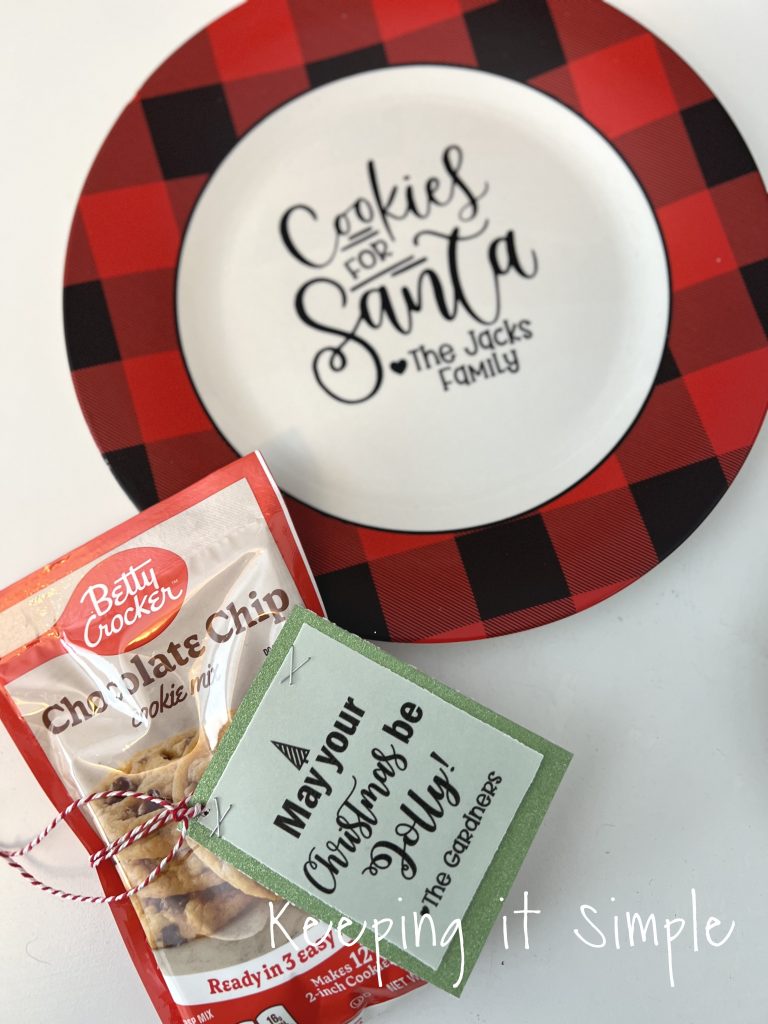
Using my Silhouette CAMEO, I cut out the cookies for Santa design out of permanent vinyl. You have to use permanent vinyl because the removable stuff will just come off, hence the names permanent and removeable. I used Oracal series 651 in matte white and black and then a red metallic vinyl. I cut out the design with a little heart and then my friends’ last name on it, making it personalized. For the most part, I just put an S at the end of their last name, but when the last name ended with an S, instead of adding ES to the last name, I made it from their family. That seemed to sound better.
Once the vinyl was cut and weeded, I used clear transfer tape and put it onto the vinyl to transfer the design to the plate. I used the application tool to really press the vinyl onto the tape.
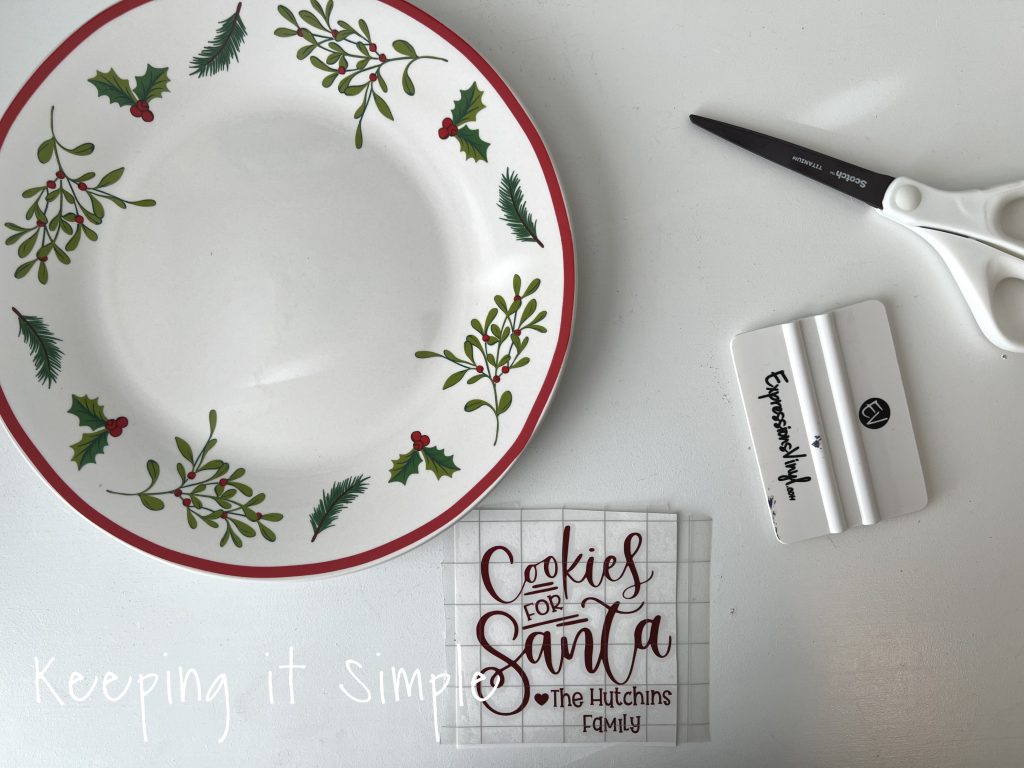
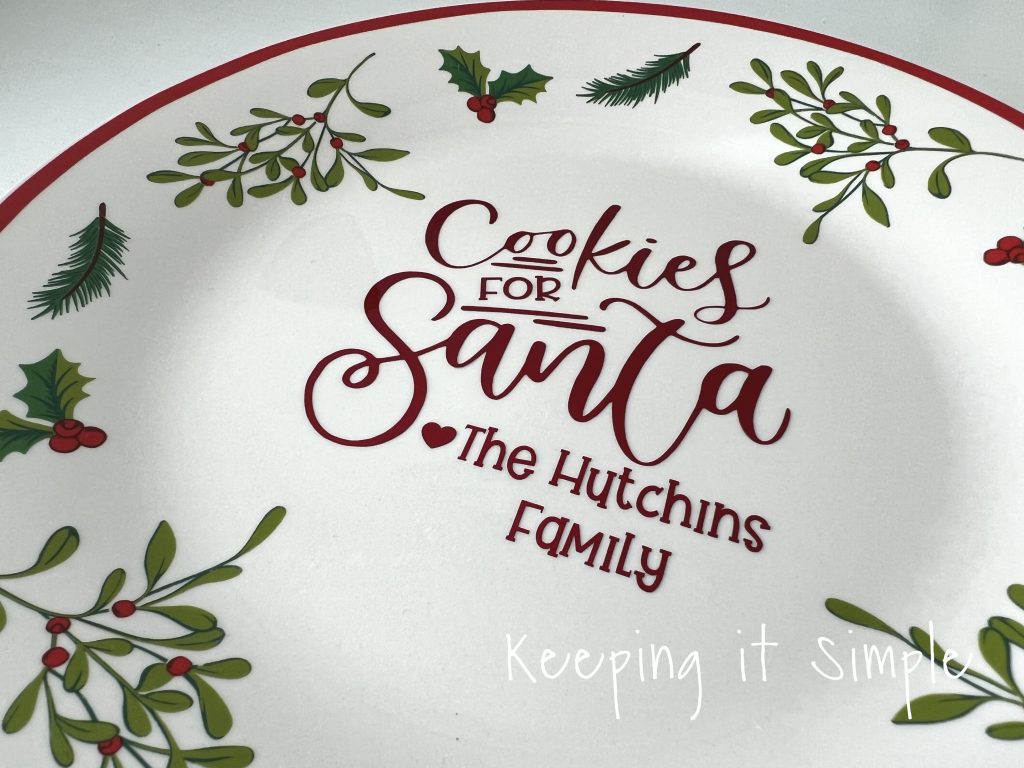
I then put the design onto the plate. I once again used the tool to really press the design down onto the plate to make sure it was on there nice and good. I slowly peeled back the transfer tape, leaving the vinyl on the plate. I went slow because the design is intricate and if you go too fast, it will just pull the vinyl off with it.
It’s hard to see, but the metallic finish of the vinyl is super cool! It looks so good on the plate.
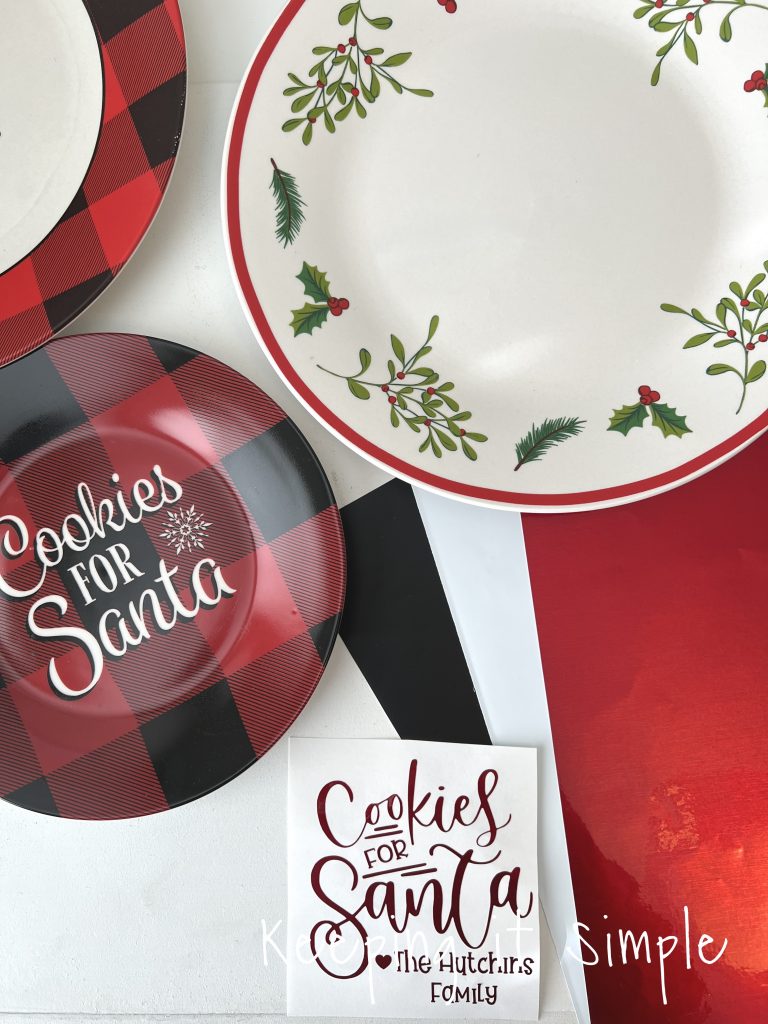
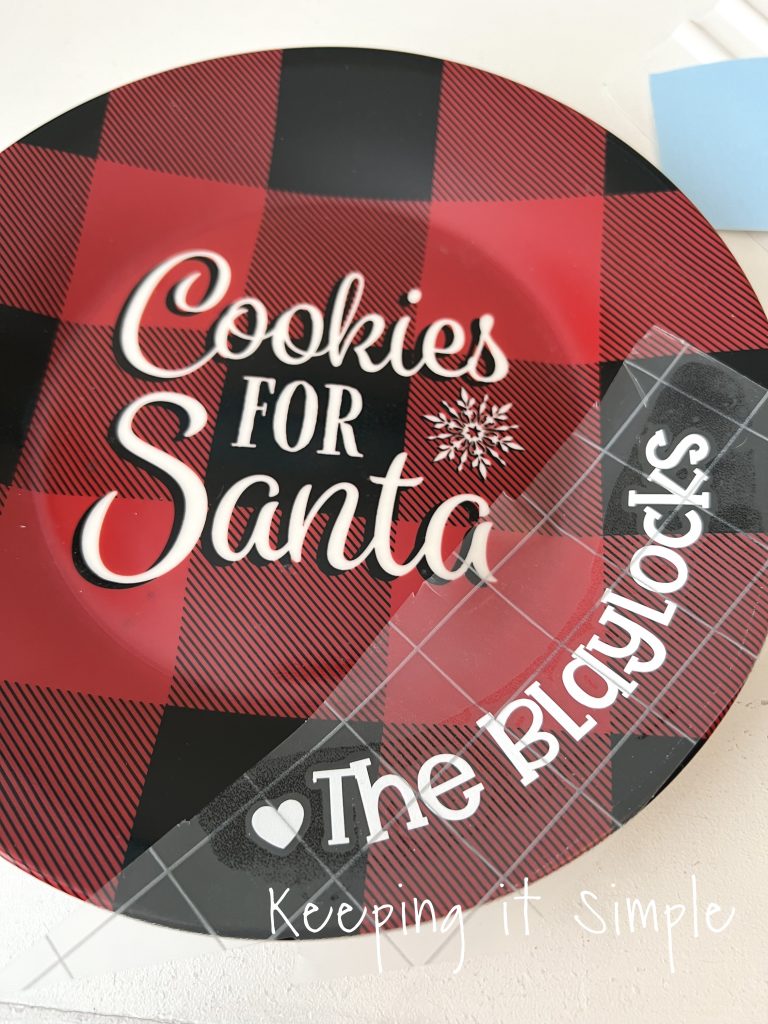
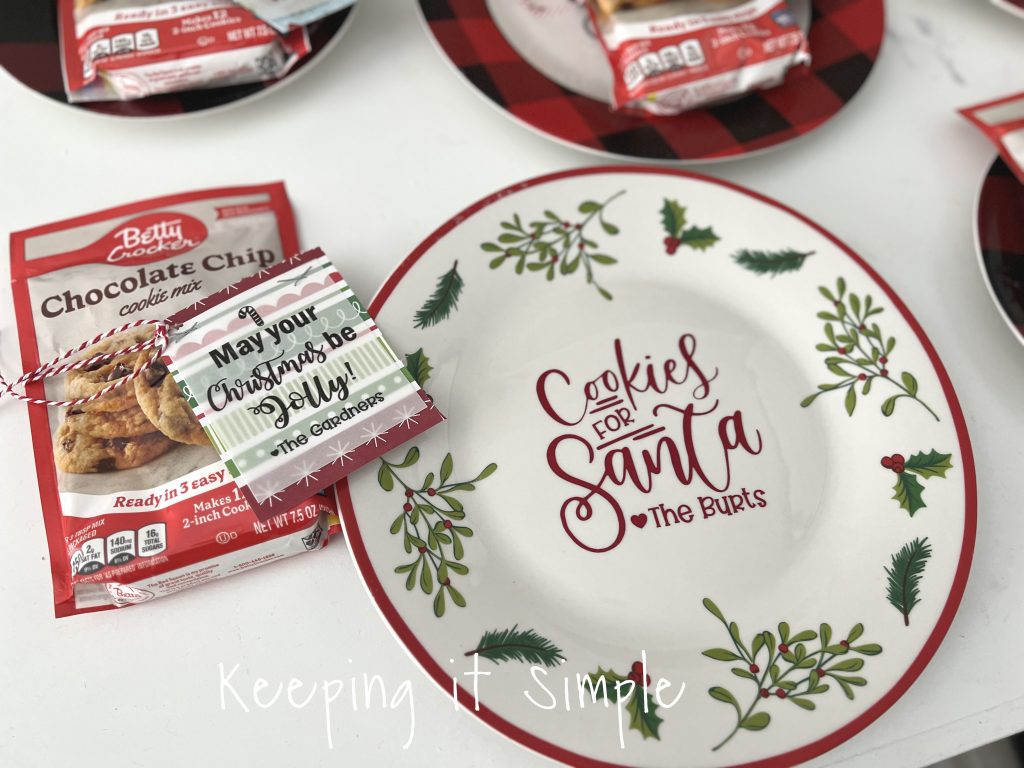
The next plate I found at the Dollar Tree was one that already said cookies for Santa. These are super cute plates. Honestly, if I wanted just to have this cookies for Santa plate and add a cookie mix to it, it would have been perfect for a neighbor gift. But like I said before, I like to give things that people can’t go buy themselves, so I personalized it a little bit more.
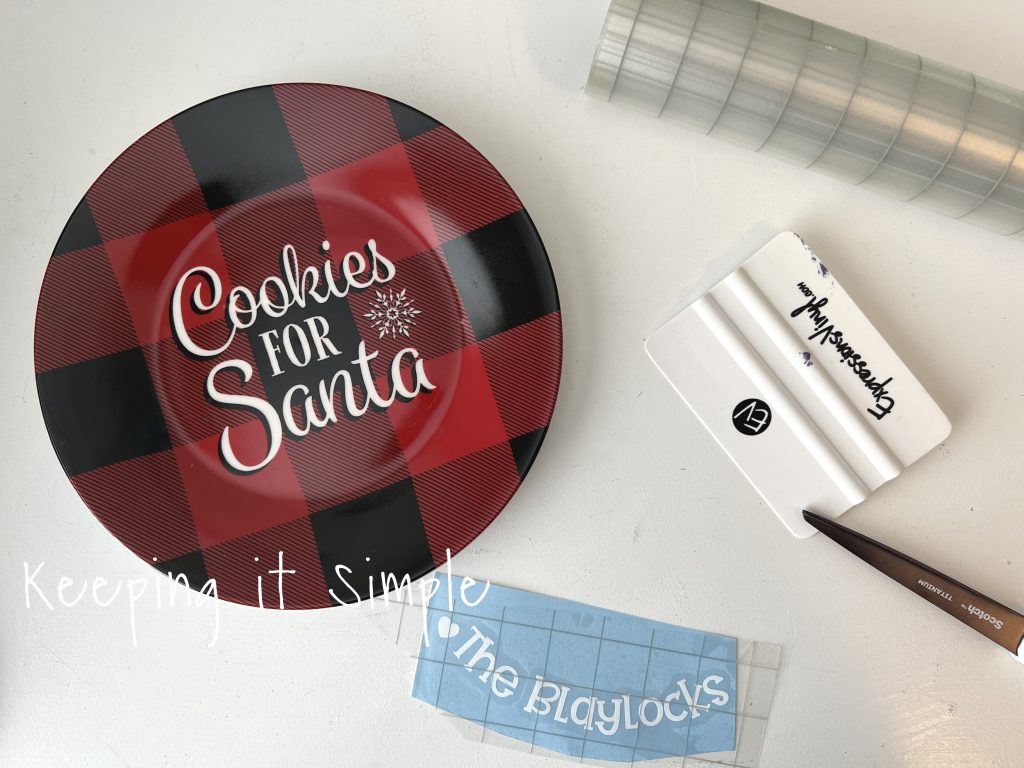
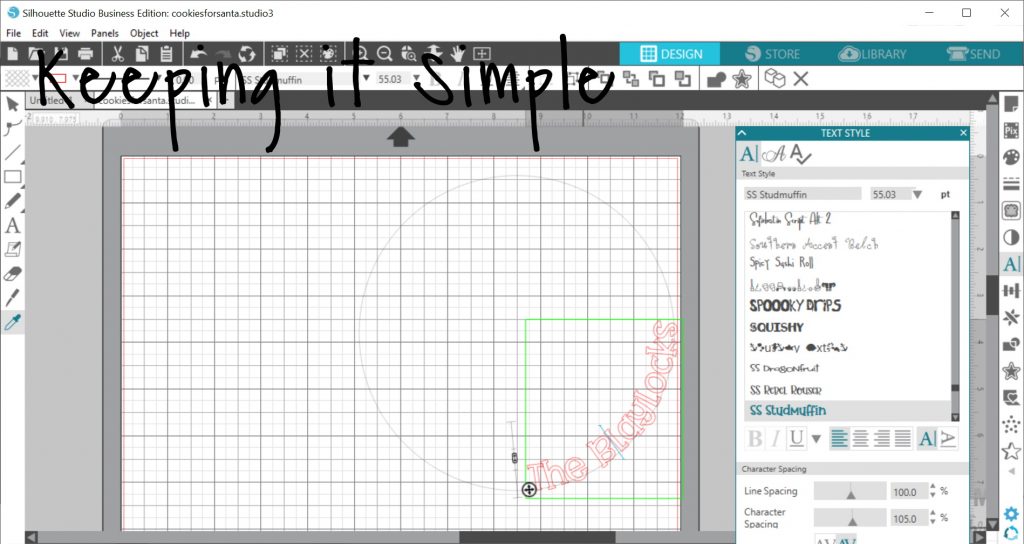
I put the last name on the curve for these plates. If you’ve never done this in Silhouette design studio, this is how.
The first thing to do is measure the plate and figure out the diameter of the area that you want the name to go. Since I did the name at the bottom right, the name will be in the inside of the curve, I made the circle bigger than the diameter. I made the circle 6.75 inches in diameter. Next I then typed out the name, changed the font and sized it how big I wanted it to be. For these, I made the letters .9 inches high. Once the name was the size I wanted, I then double clicked on the words, making the toggle show up (that is the little circle with a cross in the middle).
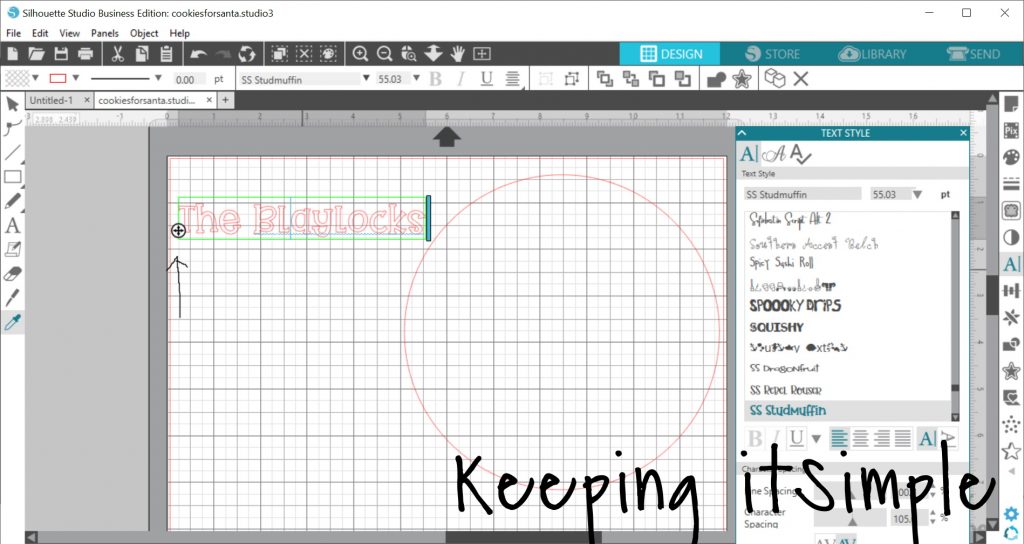
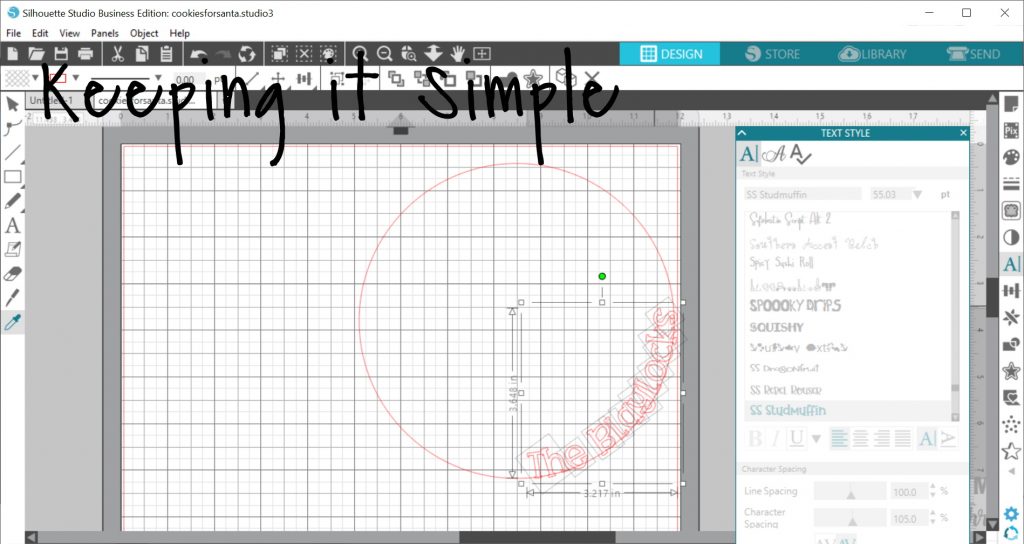
I then clicked on the toggle and dragged it to the circle. It will immediately start forming to the circle, you can go on the outside of the circle or on the inside, like I did here.
Since the letters are close together, I welded the letters together. If you don’t do that, the letters with cut each line, welding it put the two letters together. You do that by right clicking on the words and then clicking on weld. This separates the word and circle but keeps the curve. I then group the letters together and cut it as is.
To put the last name on the curve, I did the same thing as the other plate but instead of the application tool, I used my fingers and really pressed the last name into the plate. Lining up the letters in the middle of the curve is key to make look good.
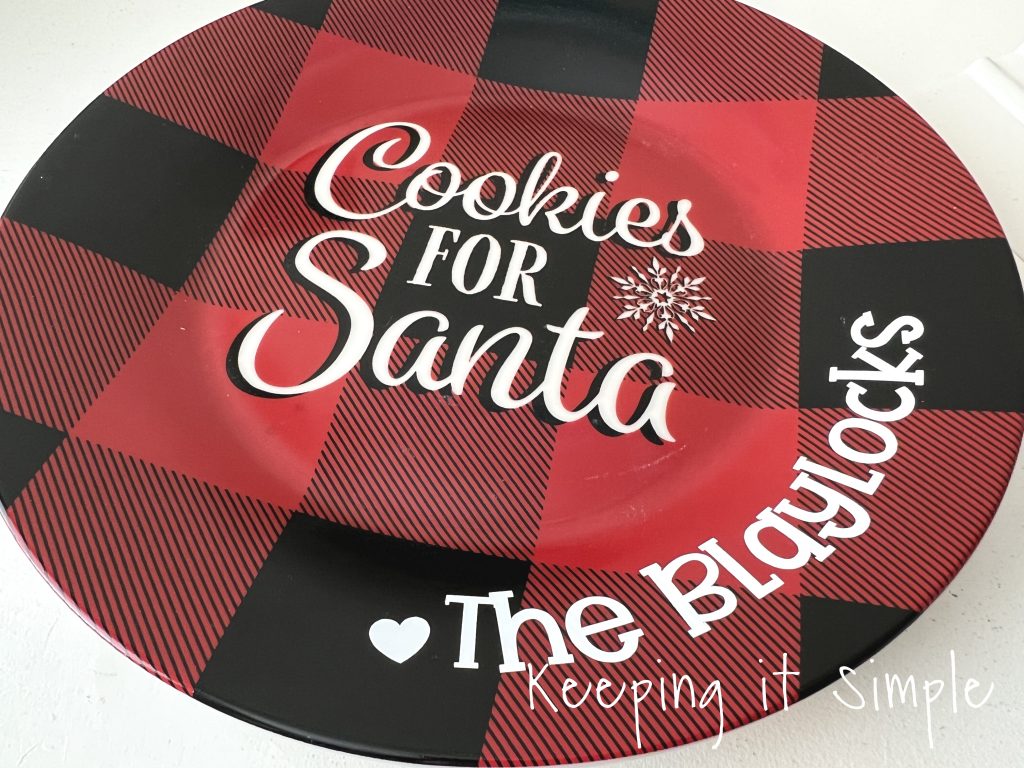
I love the simplicity of the plate with the name on the curve.
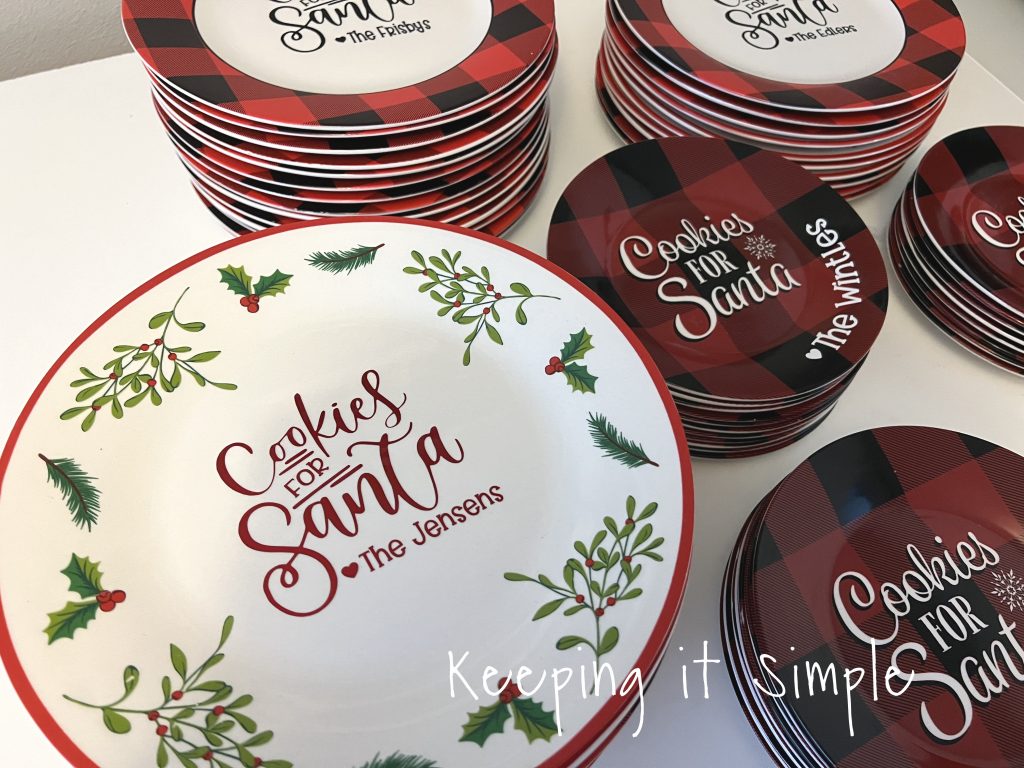
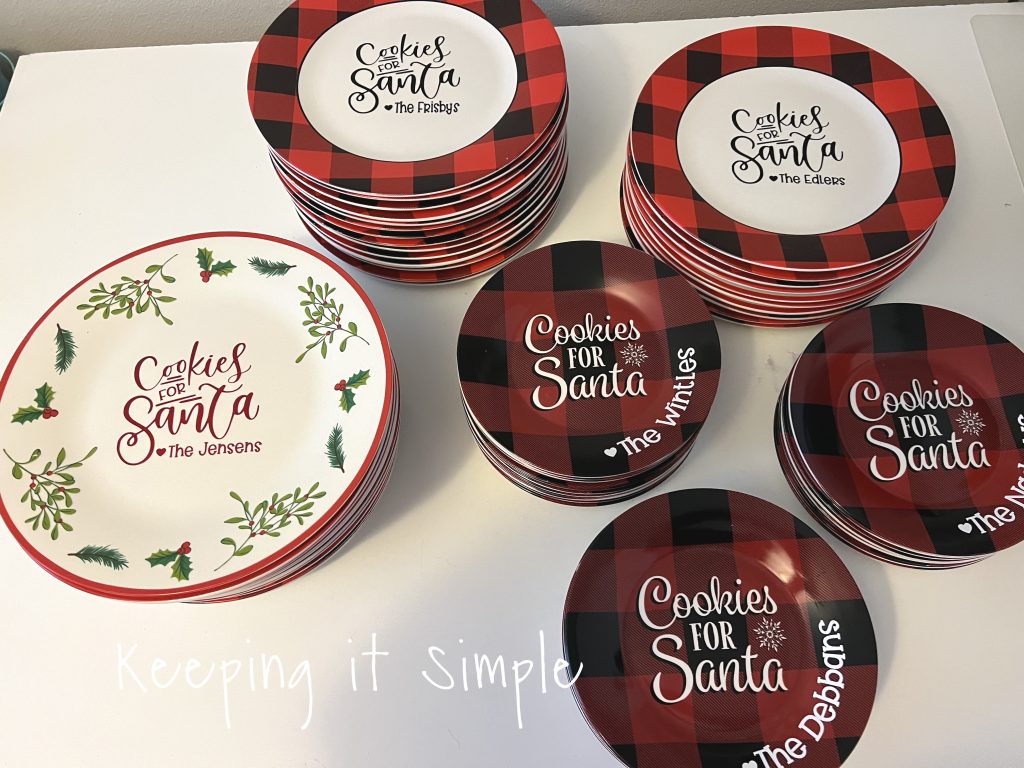
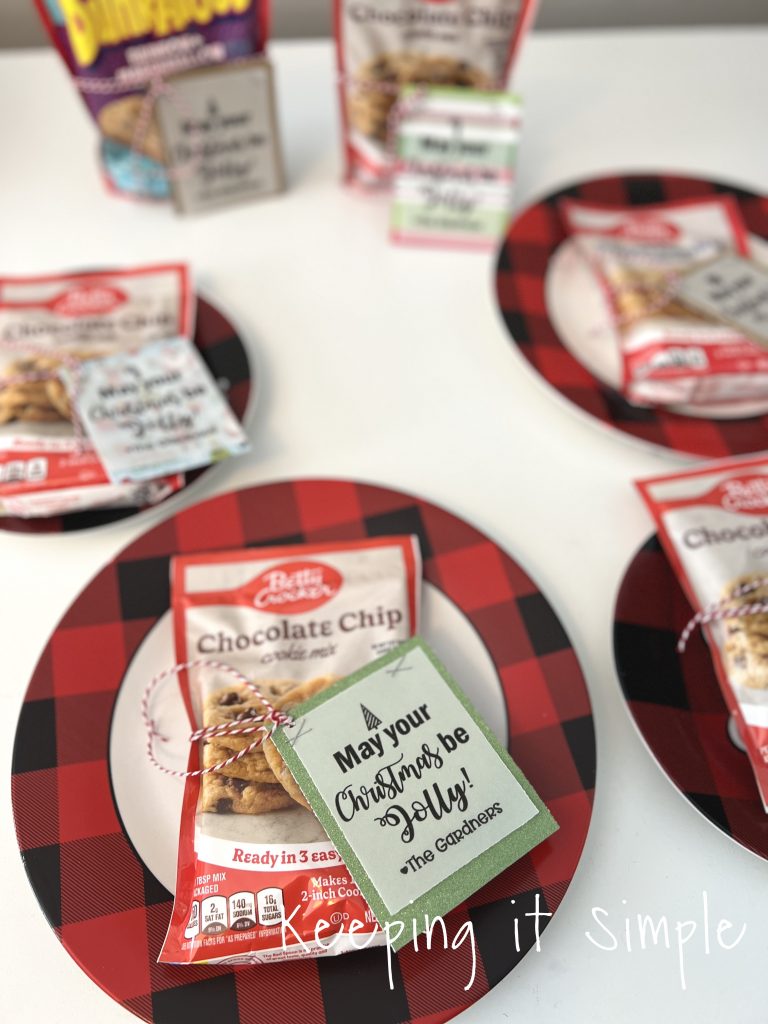
Here are all the plates that I made. For the buffalo plaid ones, I just used black matte vinyl, but did it the same way as the red vinyl.
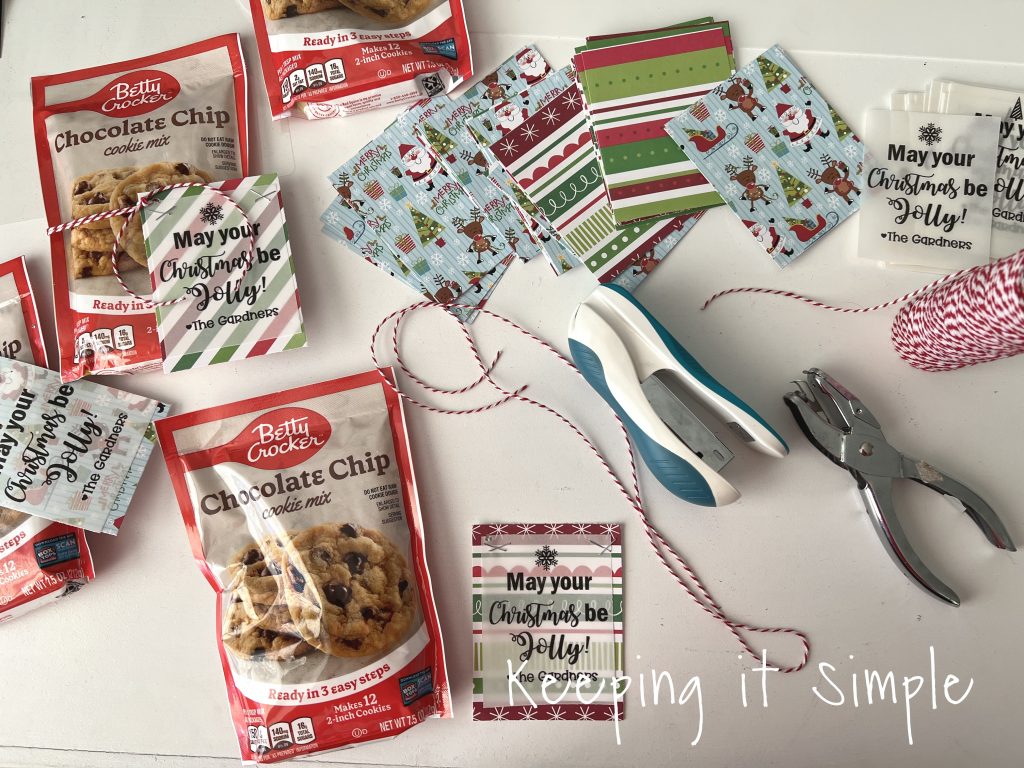
Now time for tags. I made up a tag and printed it on vellum and put them onto Christmas Scrapbook paper. You can get the free printable here (there are two links, because there are two versions):

I cut all the vellum and then paper to fit. The paper was cut 4 inches high and 3.25 inches wide.
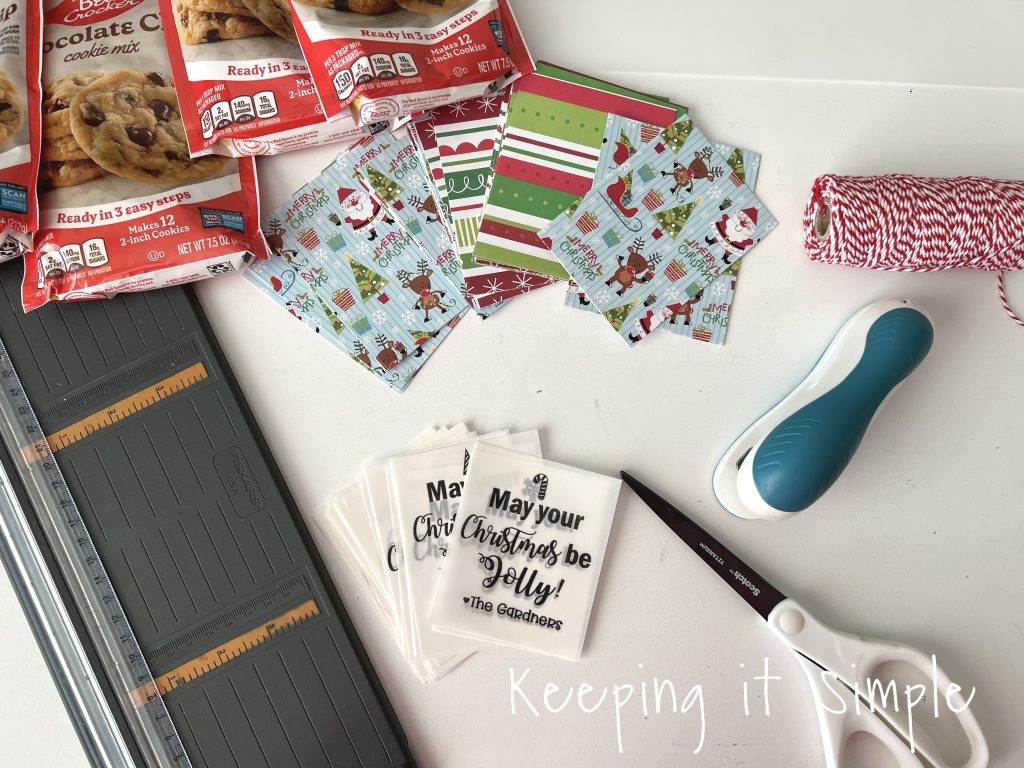
I then stapled the vellum to the scrapbook paper and then attached the tag to the cookie mix with baker’s twine.
And that’s it! Super easy neighbor gift idea!

Check out my other neighbor gift ideas:
This post contains affiliate links.
Leave a Reply
You must be logged in to post a comment.