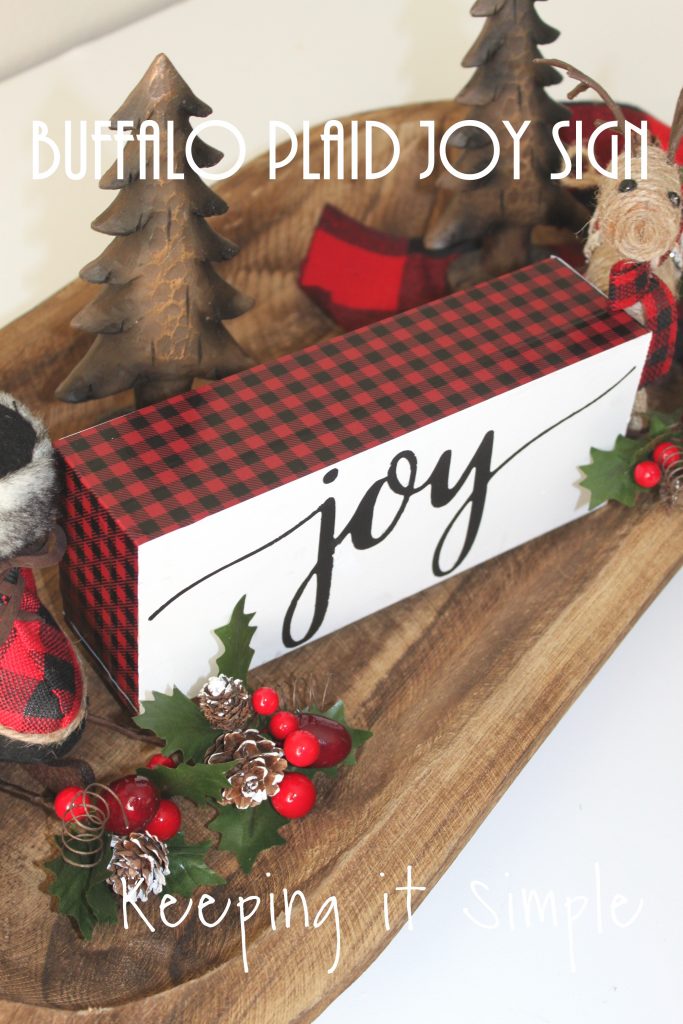
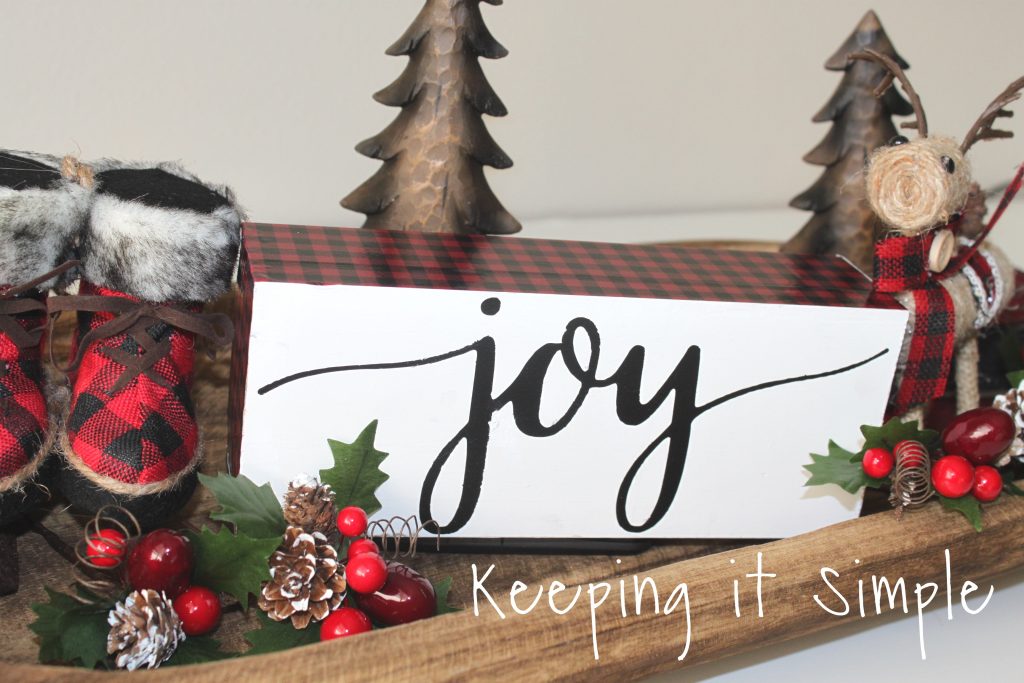
Red Buffalo Plaid Christmas Joy Block
It is never too early to start thinking about what you want to do for Christmas and how you want to decorate for it! If you love the buffalo plaid trend as much as I do, you might be thinking about decorating with colors that match and go with it. This red buffalo plaid Christmas joy block is super easy to make and looks amazing with lots of other fun Christmas decor.
Here is a quick video to show you the process of making it:
This is how I made the Christmas joy block.
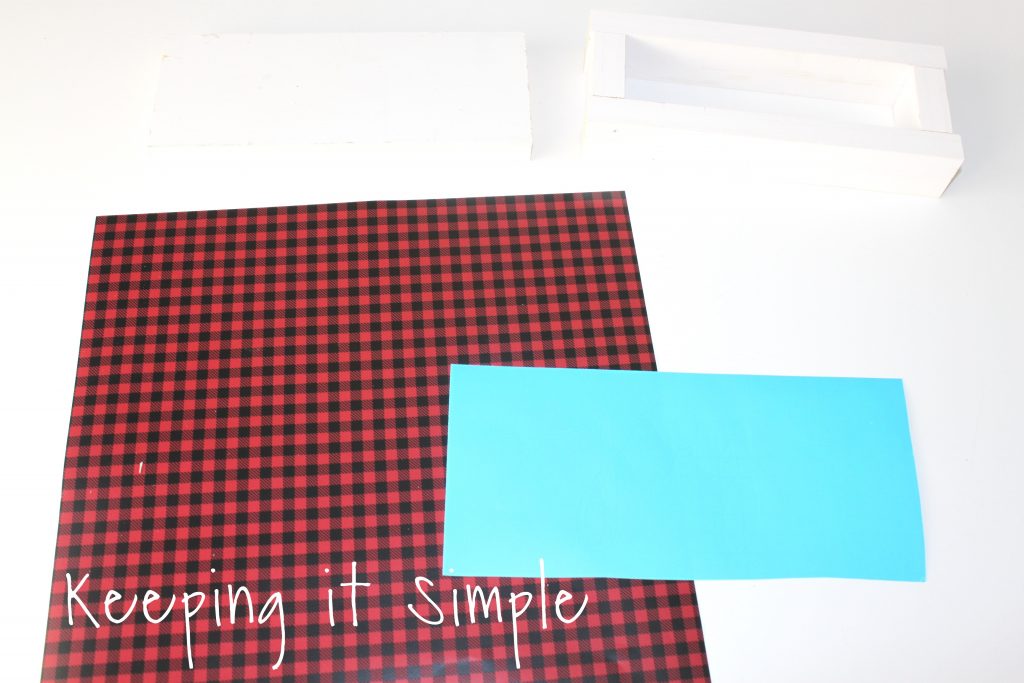
I used a 1×4 board for the block and then a 1×2 board to make the block thicker. I cut the 1×4 to be 8.5 inches and then I cut the 1×2 board into 4 pieces, two of them were 8.5 inches and the other two were 2 inches. Then I used the red buffalo plaid vinyl and stencil vinyl to create the sign.
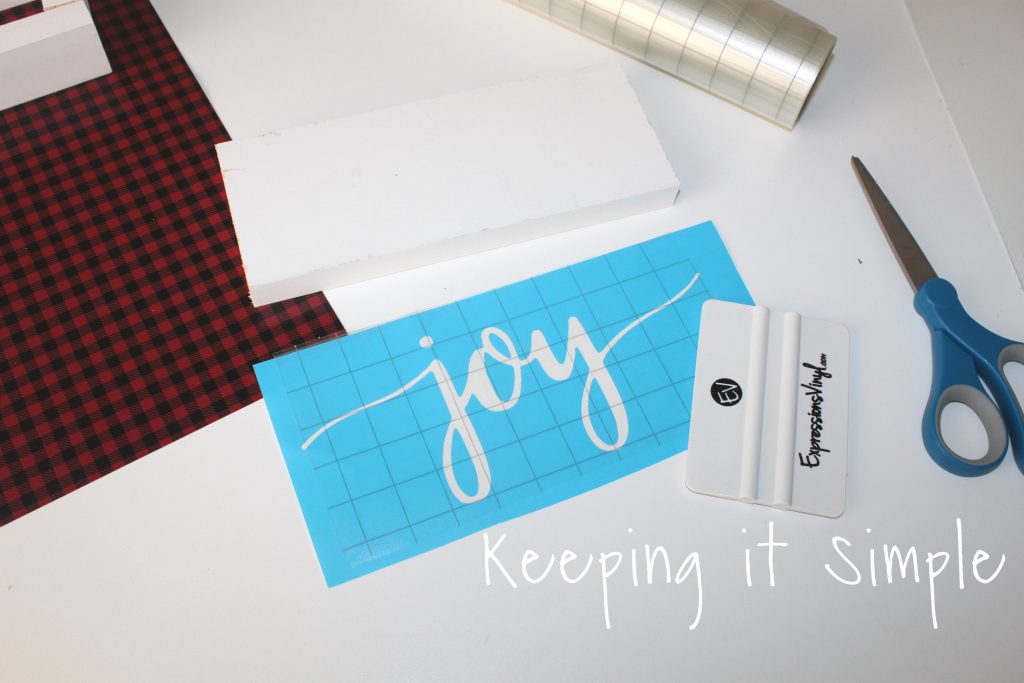
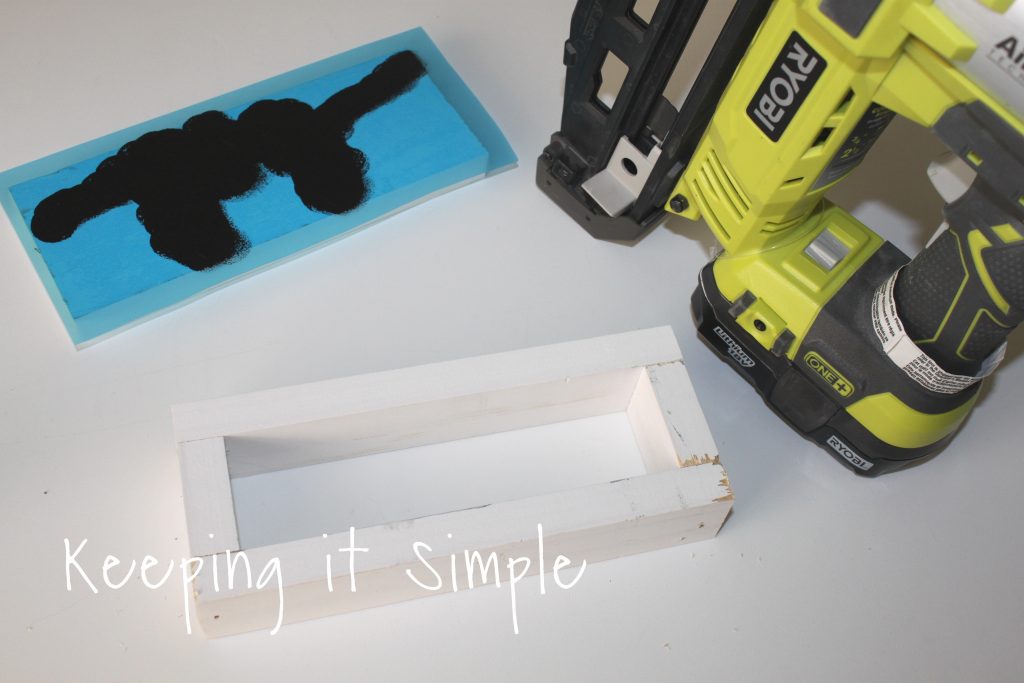
I used my Silhouette CAMEO to cut out the word joy for the block. I then removed the word to make it a stencil. I used grid transfer tape to put the vinyl onto the block of wood. You can get the cut file for the word joy here:
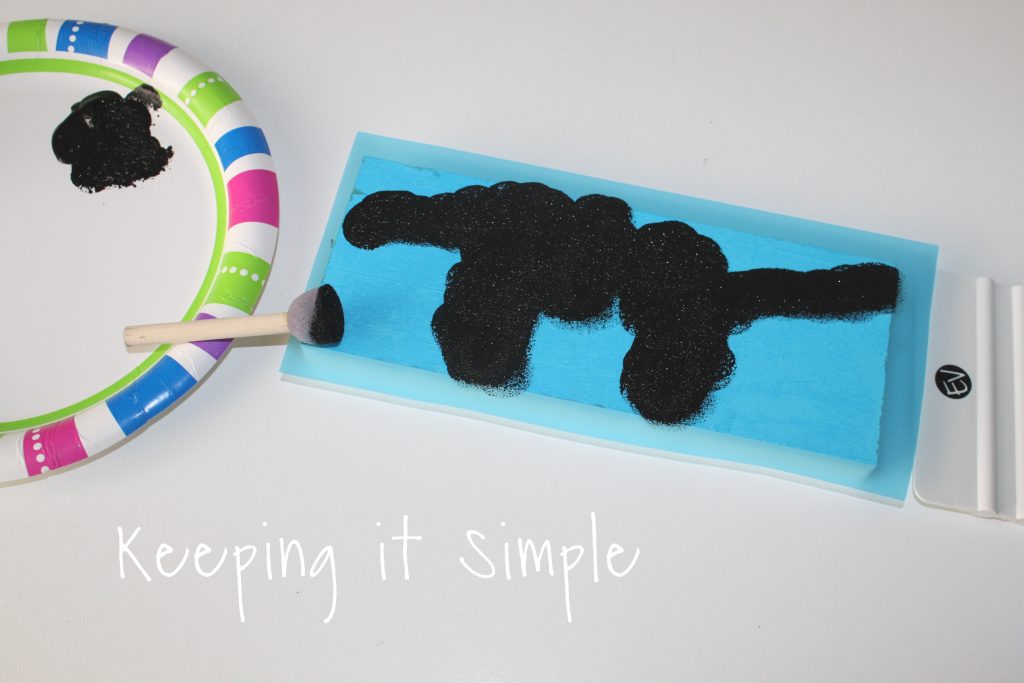
Using a stencil brush, I painted the word onto the board.
While the paint was drying, I put together the block. I used a nail gun and then nailed the 4 pieces together.
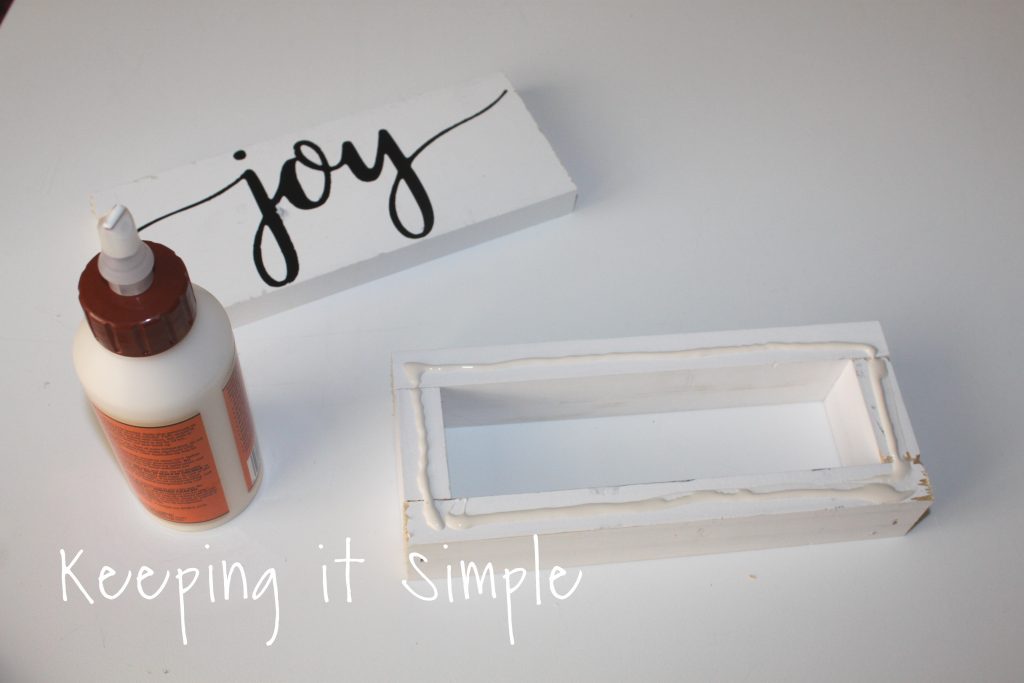
I then peeled off the vinyl (when the paint was dry). Using wood glue, I glued the block onto the pieces of wood. I put something heavy on it to set it and let it dry.
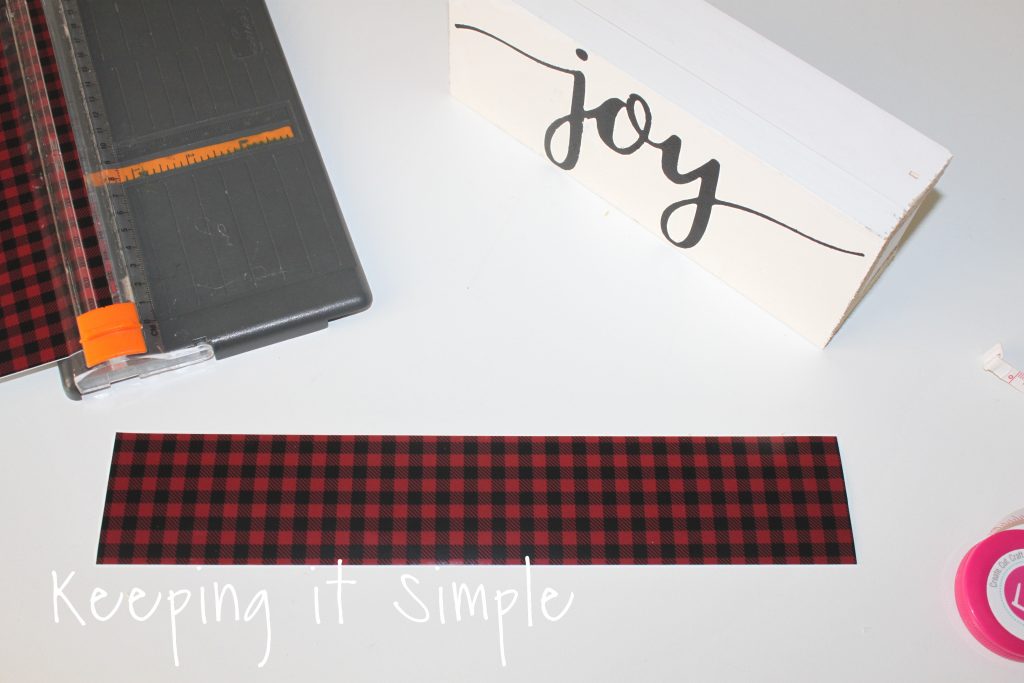
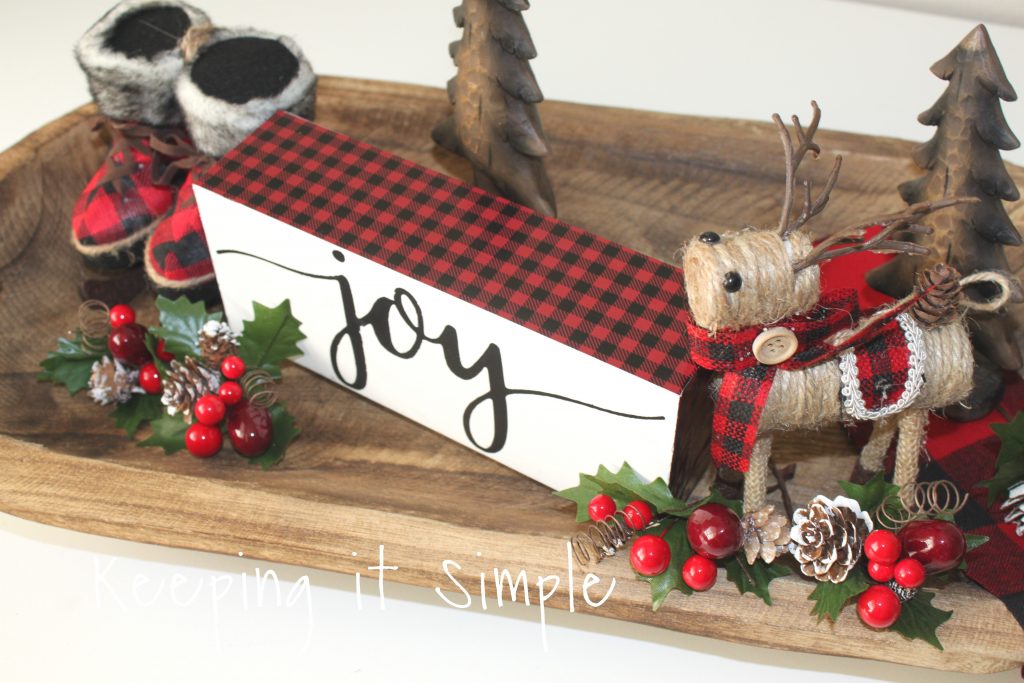
Once it was dry, I put the red buffalo plaid vinyl onto the sides. I cut the buffalo plaid to be 2 1/4″ wide. I cut two pieces to go all around the block.
I put the vinyl all around the block and pushed down to get all the bubbles out and make sure it stuck really good.
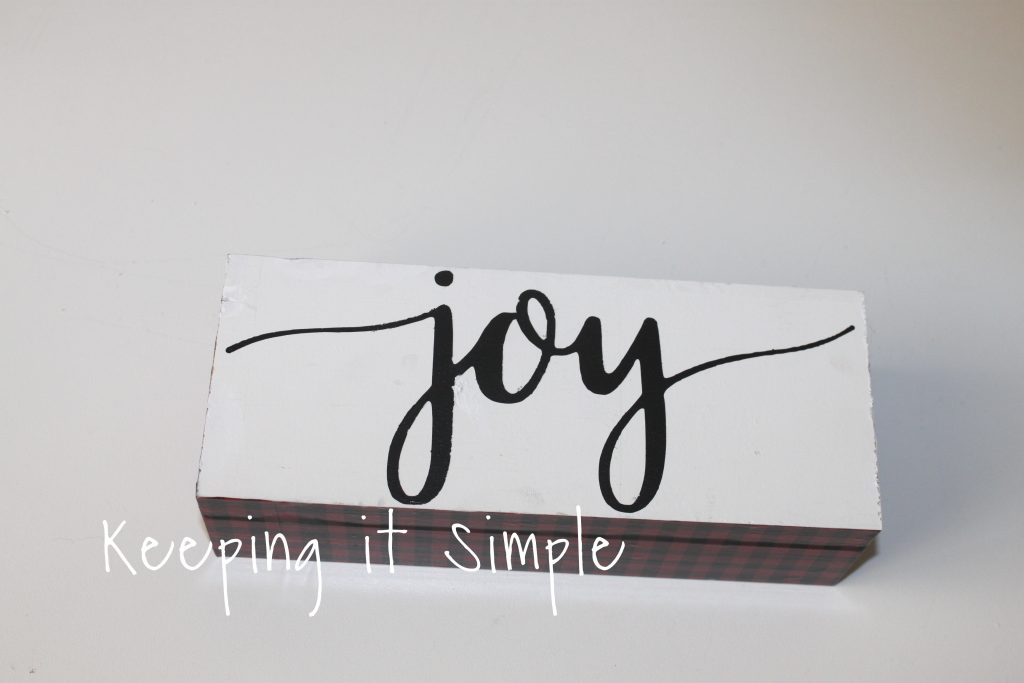
And that’s it! I love how it looks and the buffalo plaid looks amazing with my other Christmas decor!

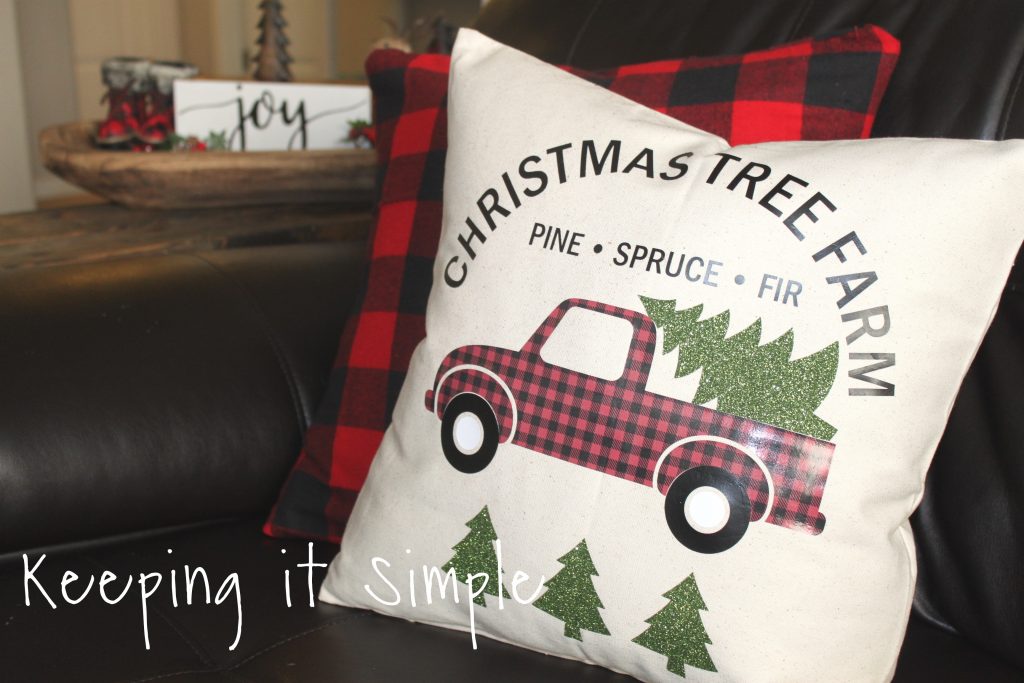
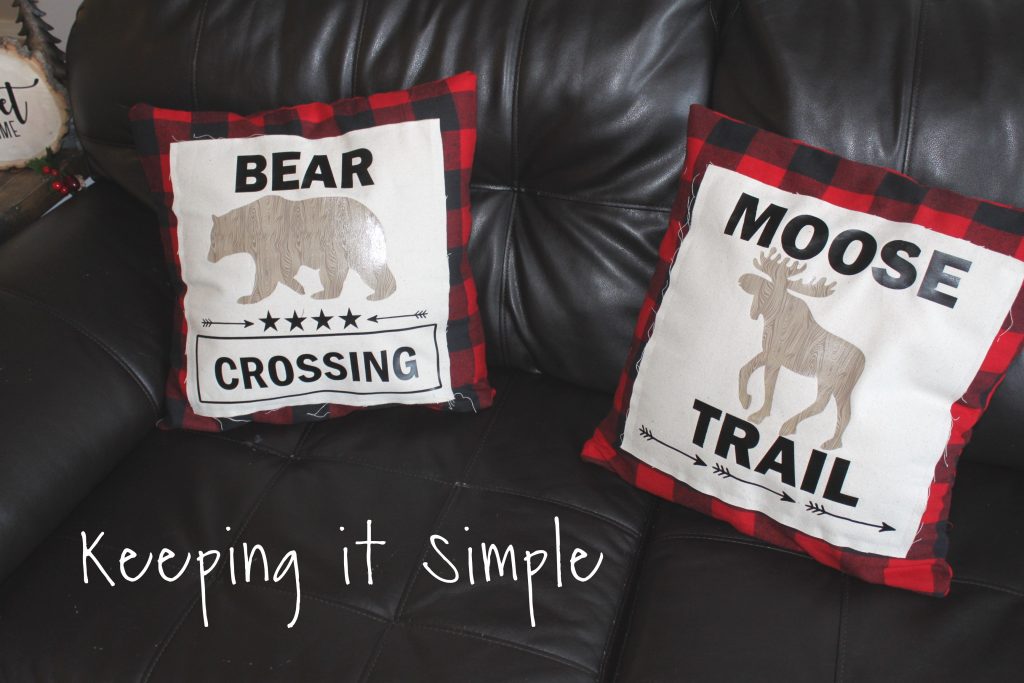
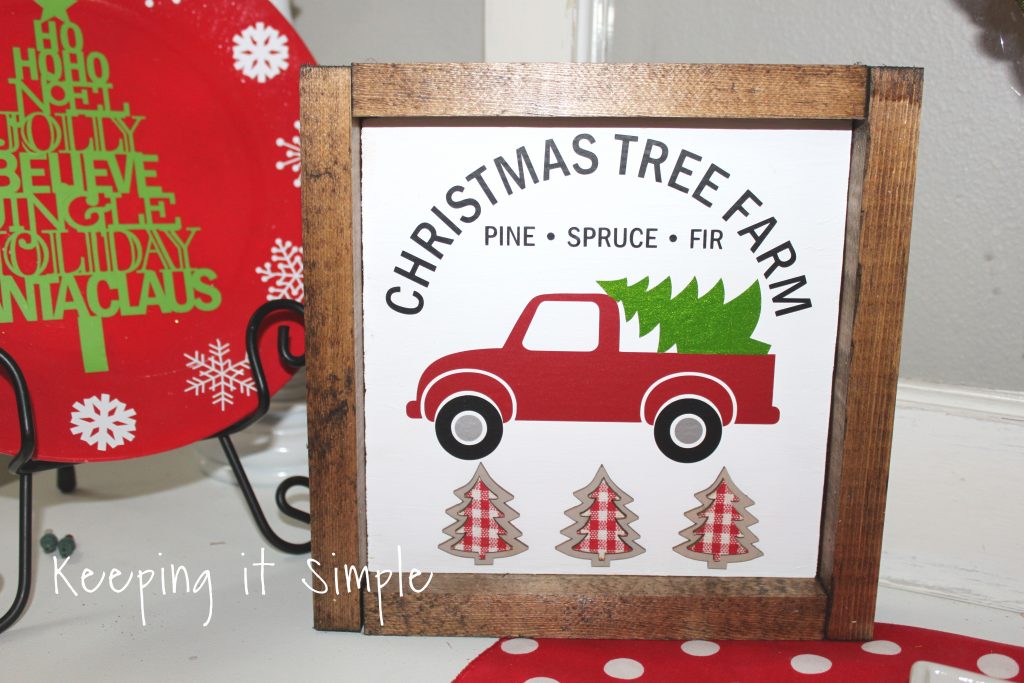
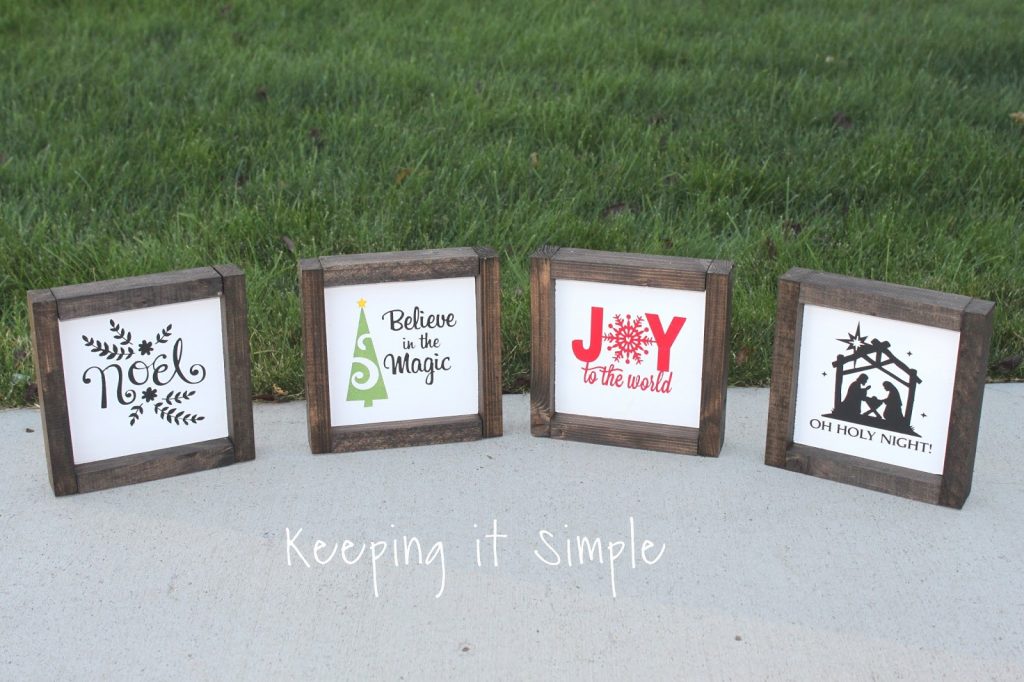
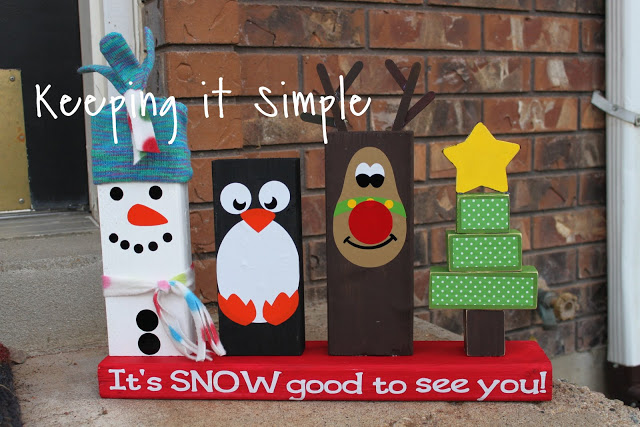
Check out my other Christmas decor ideas!
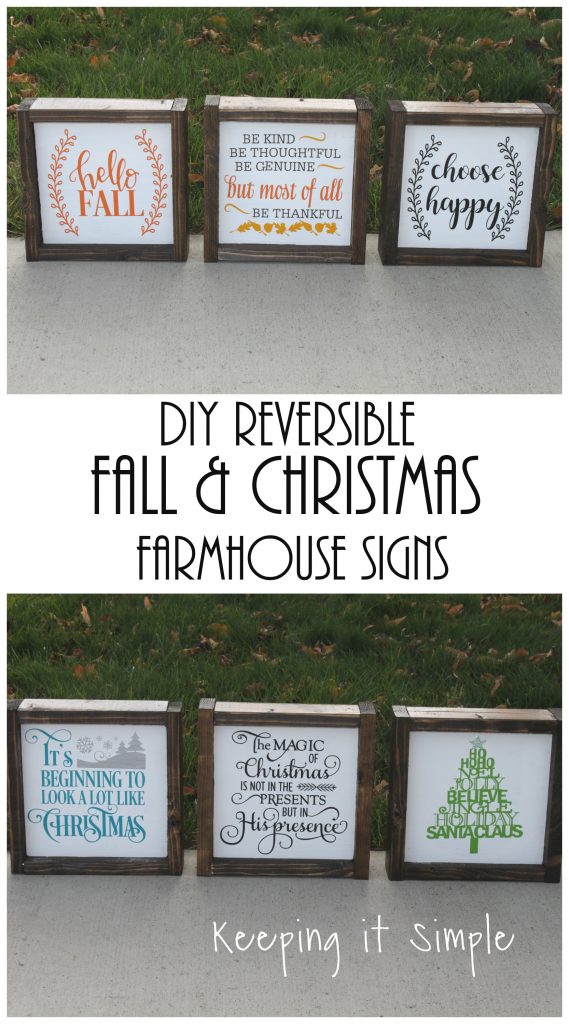
Fall/Christmas Reversible Signs

Leave a Reply
You must be logged in to post a comment.