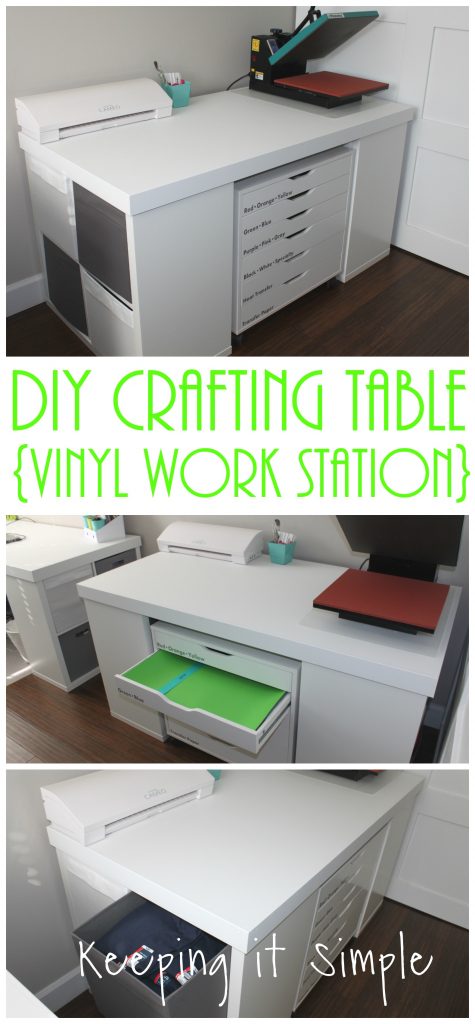
DIY Crafting Table {Vinyl Work Station}
A couple months ago, I got an itch to start moving furniture. That is always bad news for me, because it ends up snow balling and I end up changing up several rooms in the house. Whenever I do it, I love the outcome, so I end up doing it lots, LOL. The piece of furniture that I wanted to move was the piano that was in my craft room. It was just taking up space and ended up being a catch all kind of thing and no one ever played it. So I decided it was time to move it and so we put it upstairs in our loft, leaving a nice big empty space for me to do something with. I knew that I wanted some kind of crafting table but I also wanted it to have storage because I wanted a place to keep of my vinyl stuff, so it had to be functional. I loved my computer desk that I made with the Kallax shelves from Ikea that I decided that it would be perfect for my vinyl work station. I made it so it would fit my Alex cart from Ikea, because that is where I store all of my vinyl.
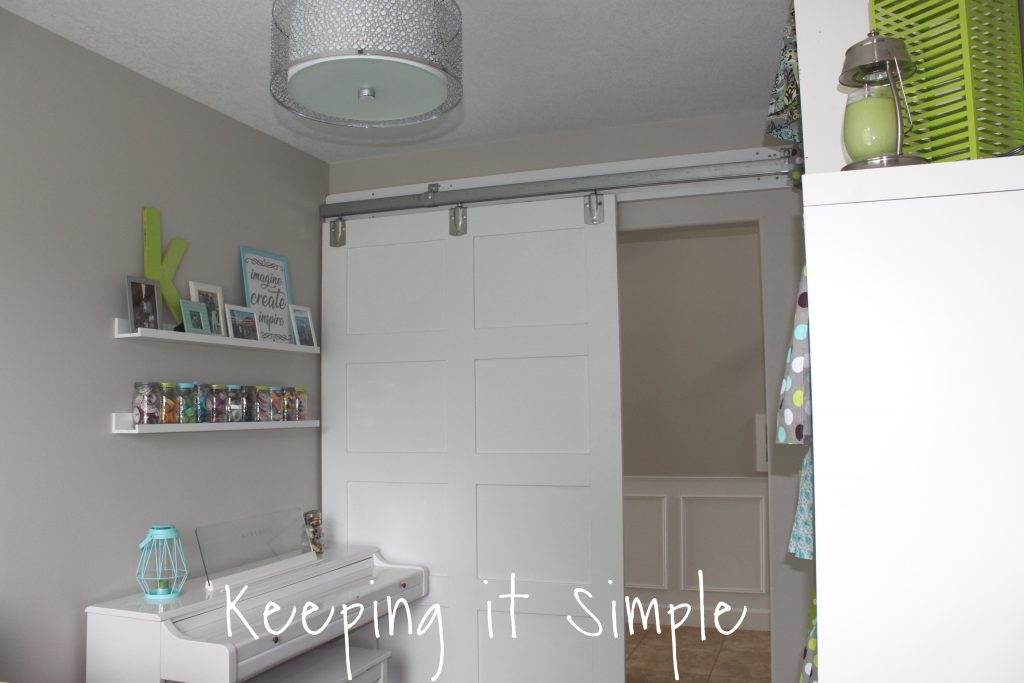
Here is what the space looked like before with the piano. So much space, wasted. The crafting table I built is SO MUCH better!!
This is how I made the crafting table.
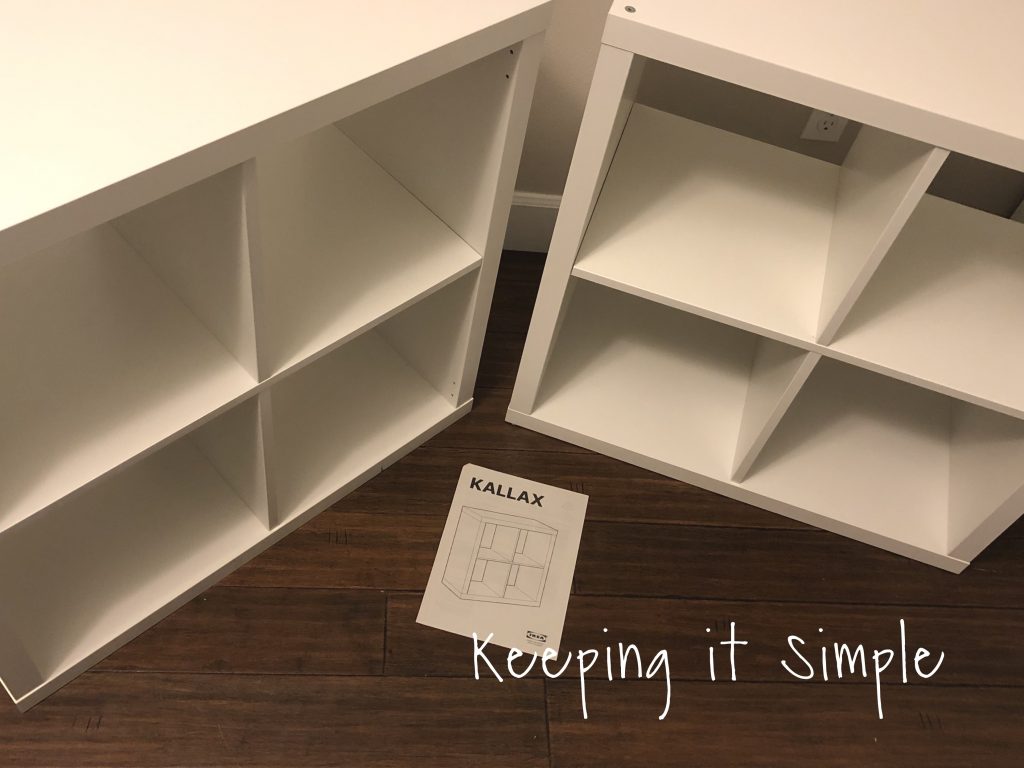
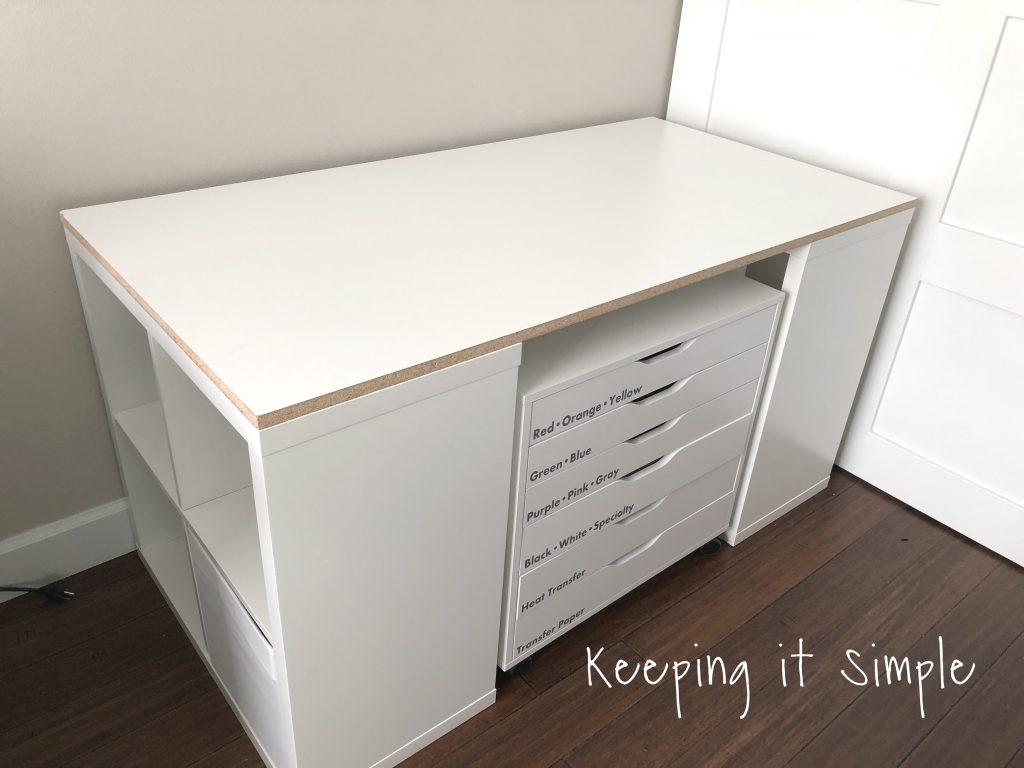
I started with two Kallax shelves from Ikea. I just followed the instructions to build them.
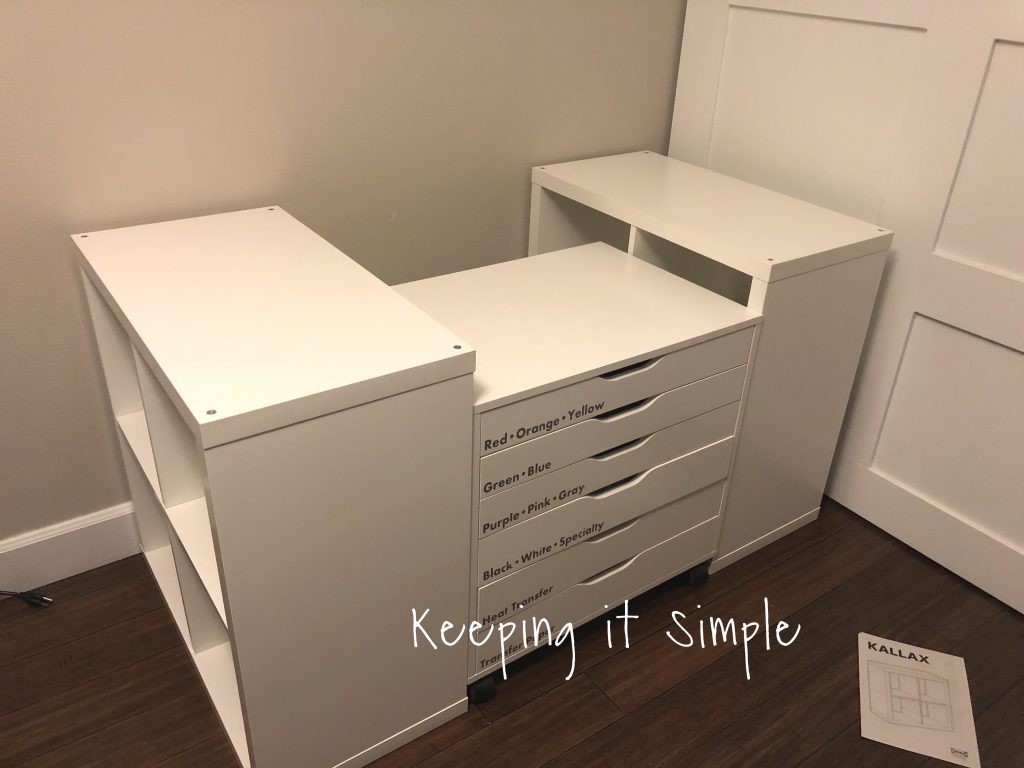
I then put them together with the Alex storage unit. I made sure that there was about 1-2 inches on either side of the cart so it can easily be moved.
I headed to Home Depot and bought a sheet of 4×8 melamine board.
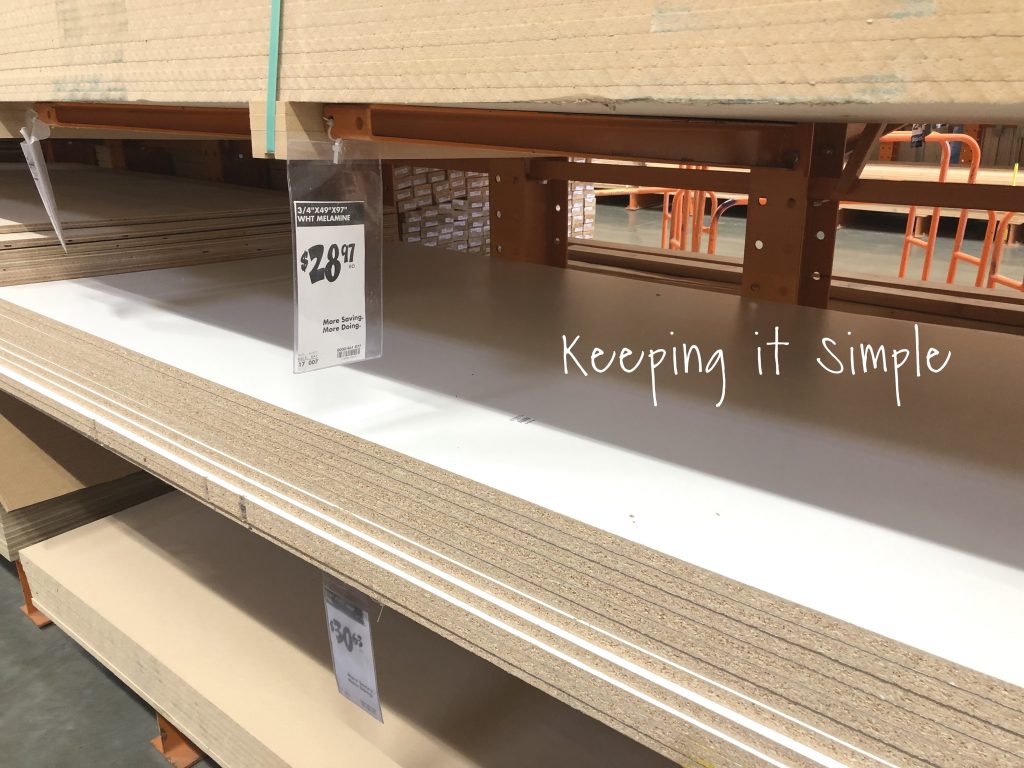
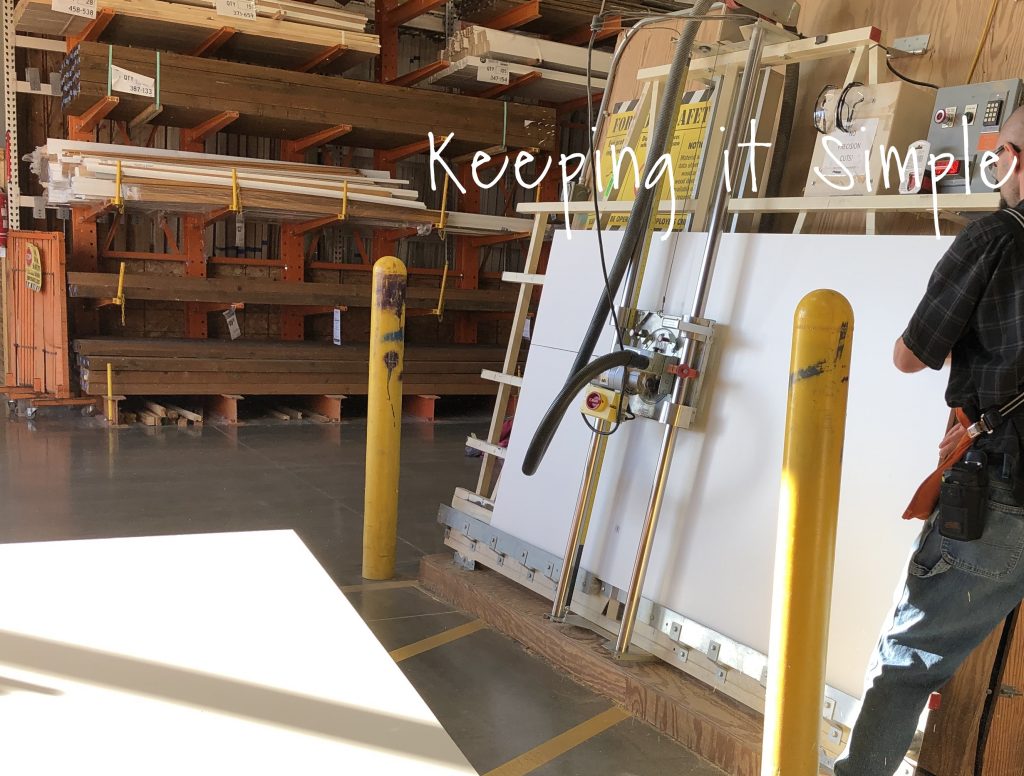
I had a worker at Home Depot cut it at the store, it’s so much easier for them to cut it there than it is at home. I had him cut it to be 59 inches wide and 31 1/4″ high.
Here is what it looks like on the shelves, a perfect fit!
Using liquid nails, we nailed the board to the shelves. We used quite a bit of the glue on it.
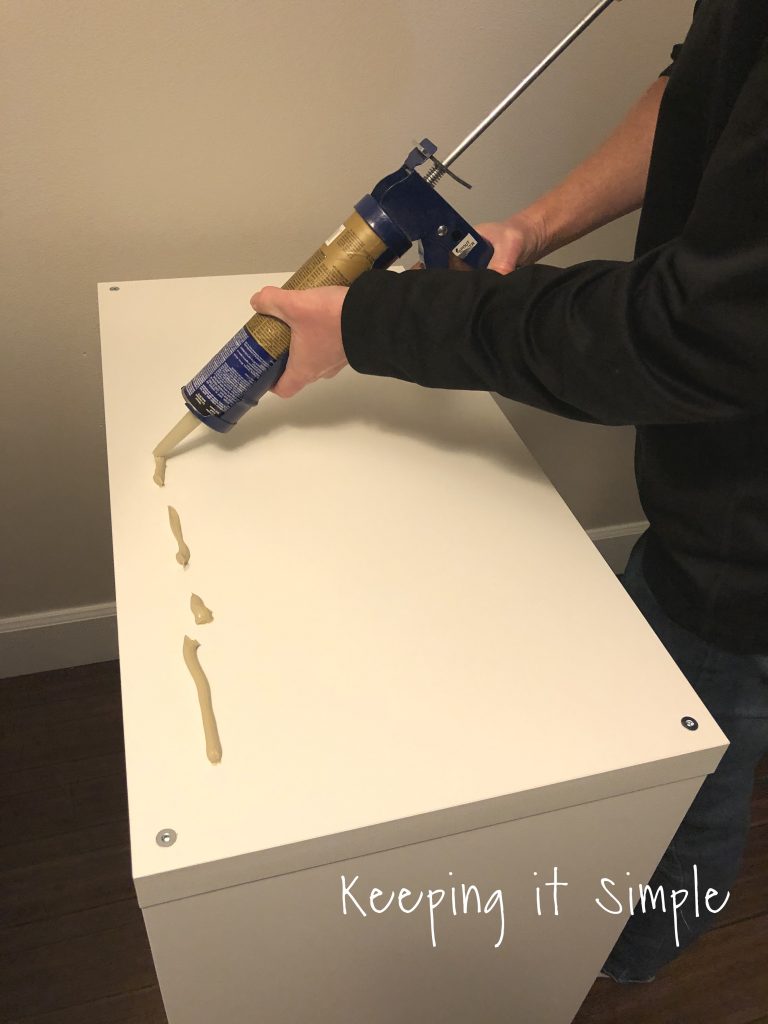
As you can see, we had fun with it :).
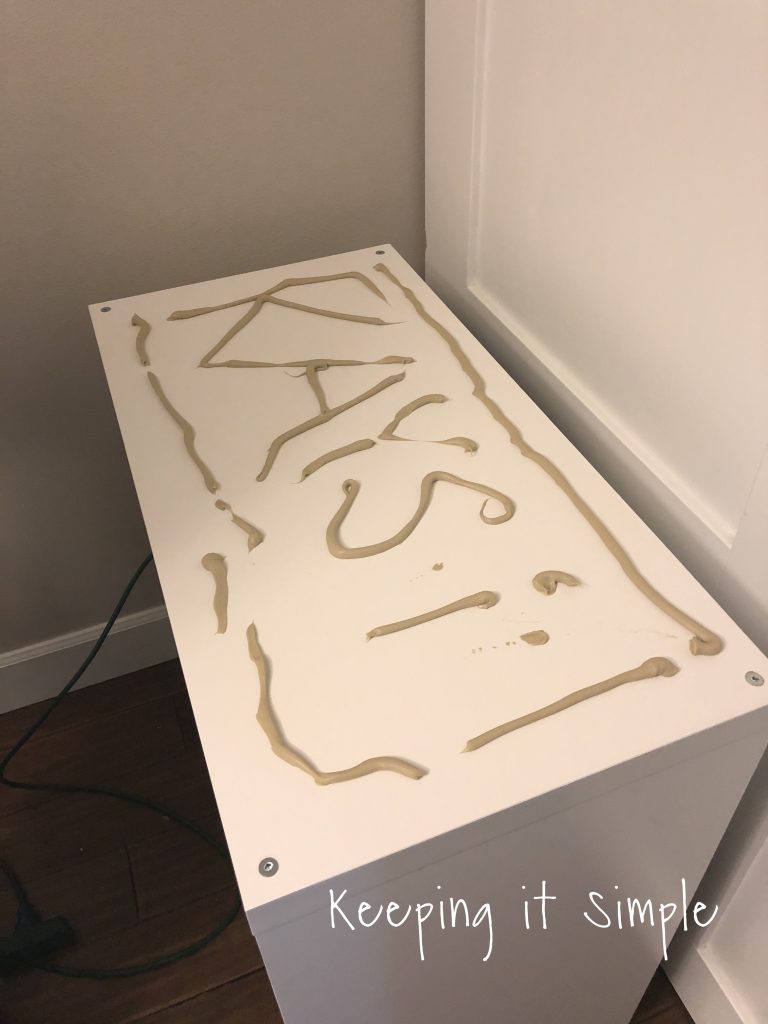
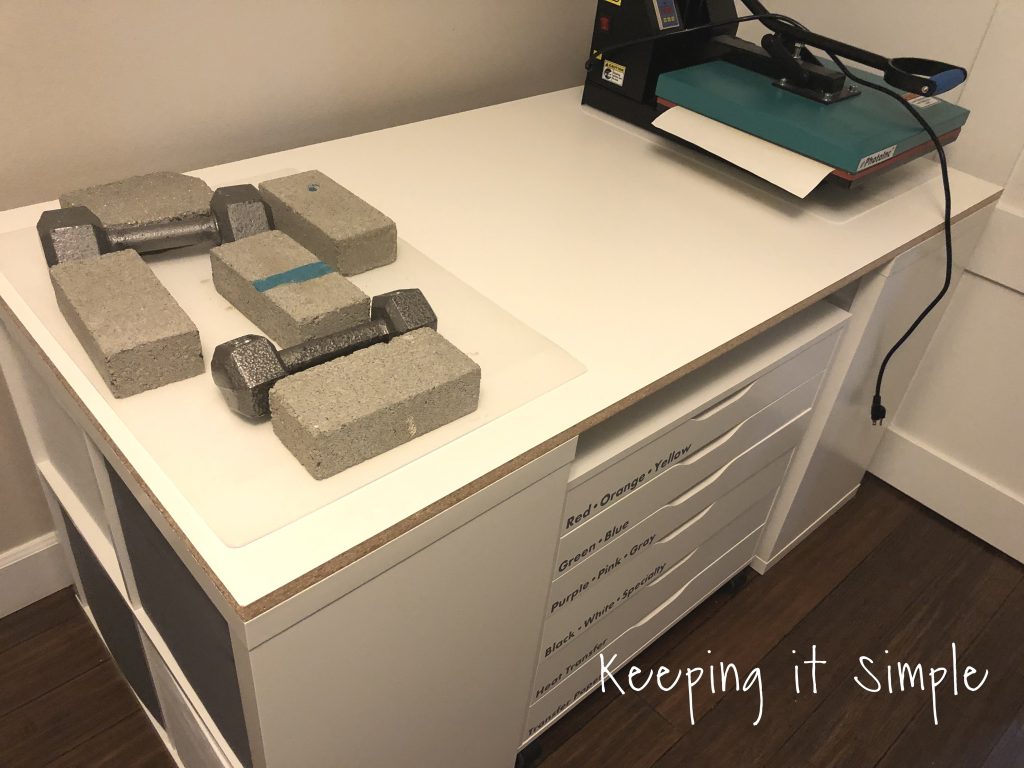
We put on the melamine board and then put heavy objects on it to hold it down. We left it over night.
To give it a nice and finished look, we put some white trim around it. These boards are 1/2″ thick and 2 1/2″ wide. We bought 2 8 foot pieces of it. For the corners, we cut them to a 45 degree angle.
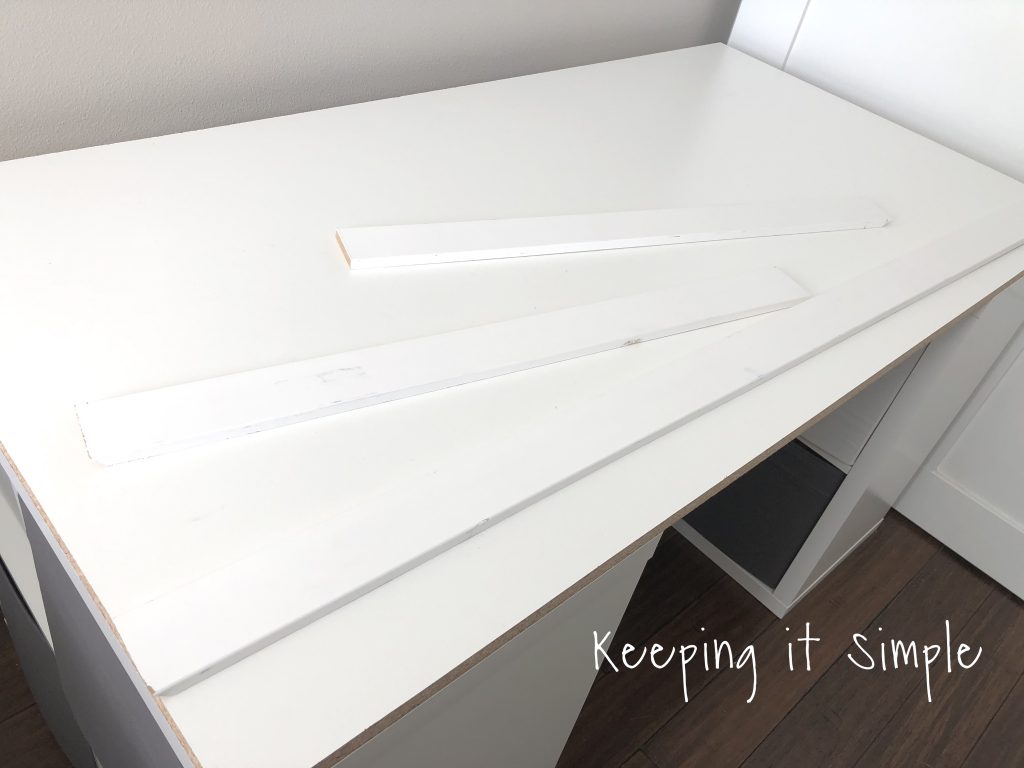
Using a nail gun and 1 1/2″ nails, we nailed the trim onto the melamine board (not into the shelves at all).
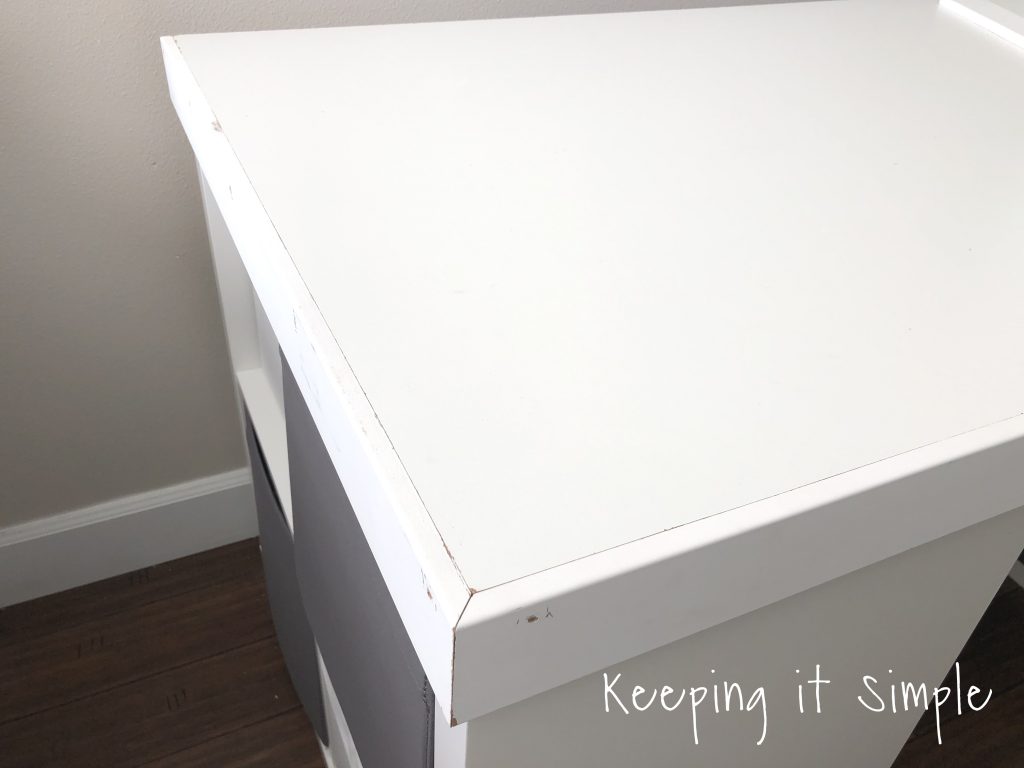
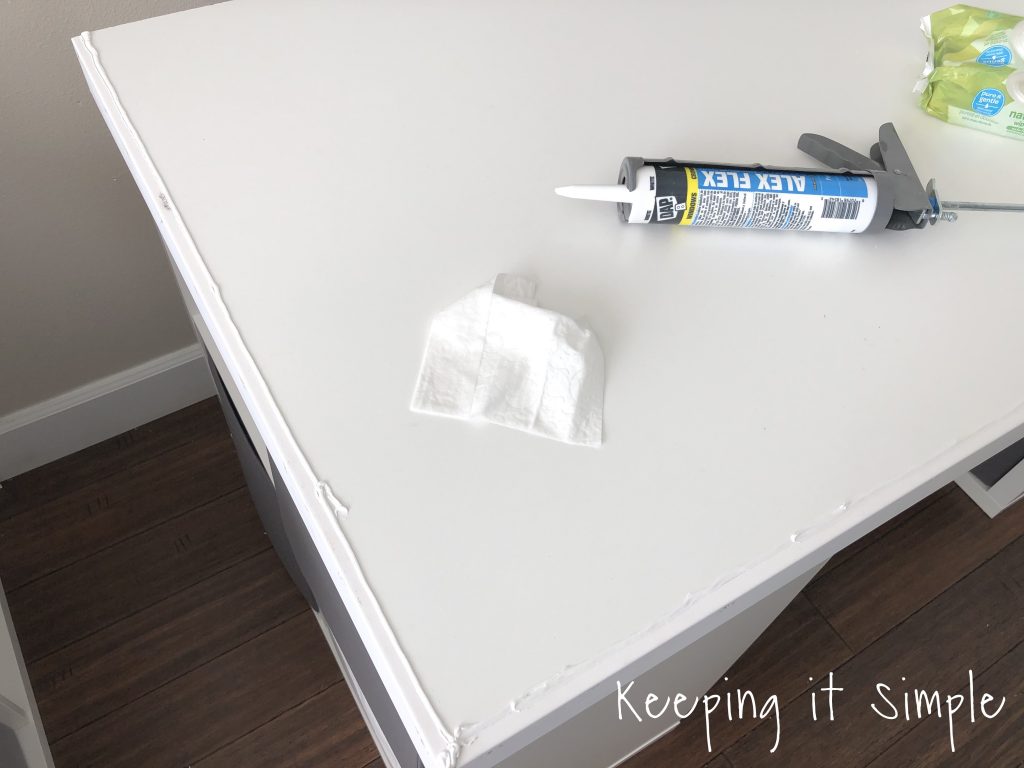
Using caulk, I filled in the holes and cracks. I like using baby wipes when I caulk, they are great for removing the excess caulk.
I then painted the trim and top a nice, bright white.
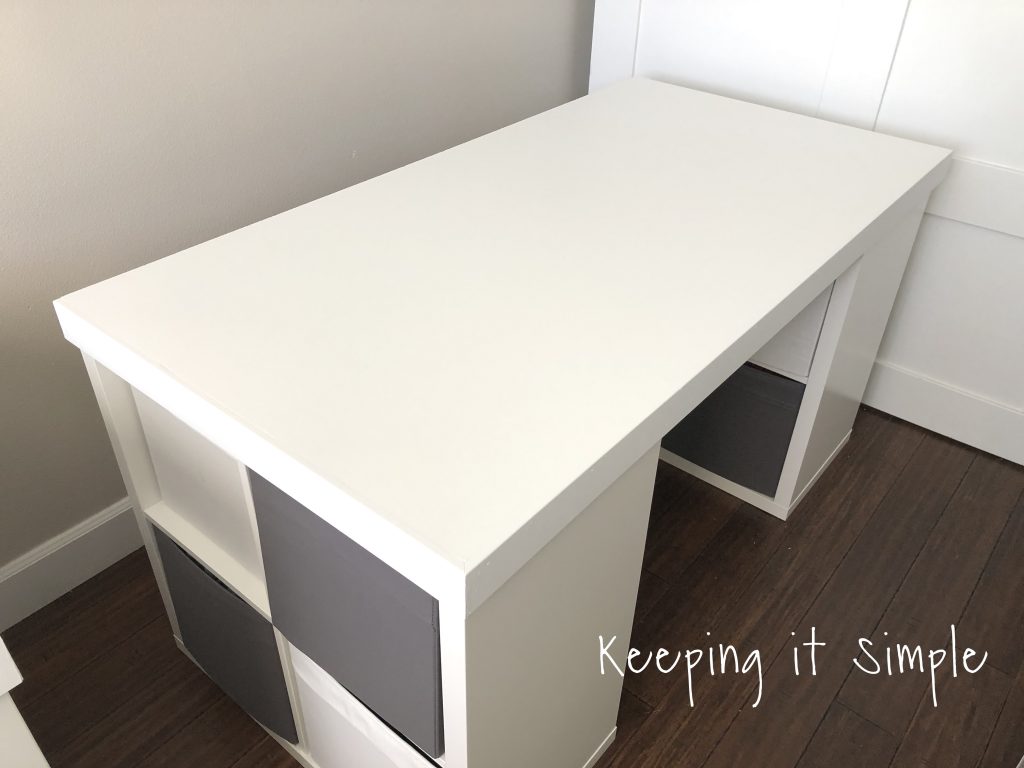
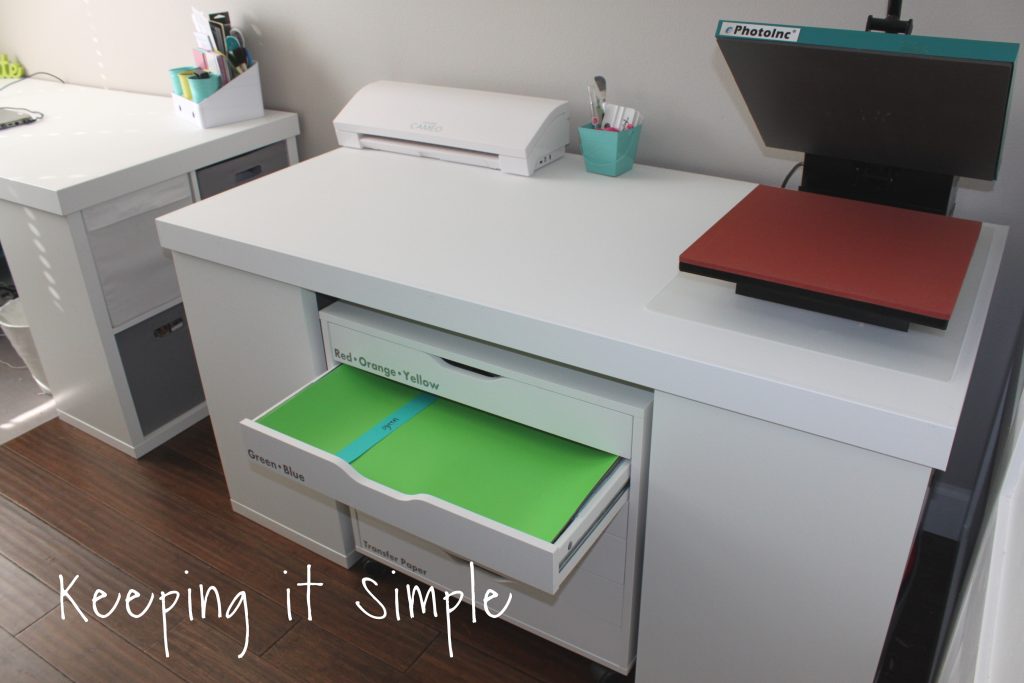
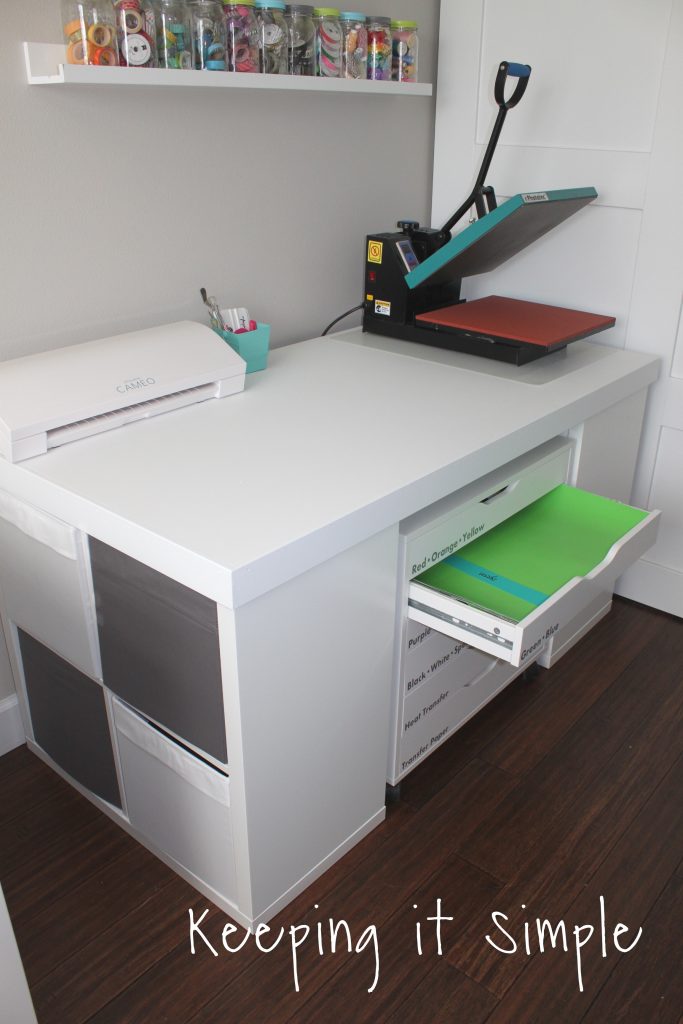
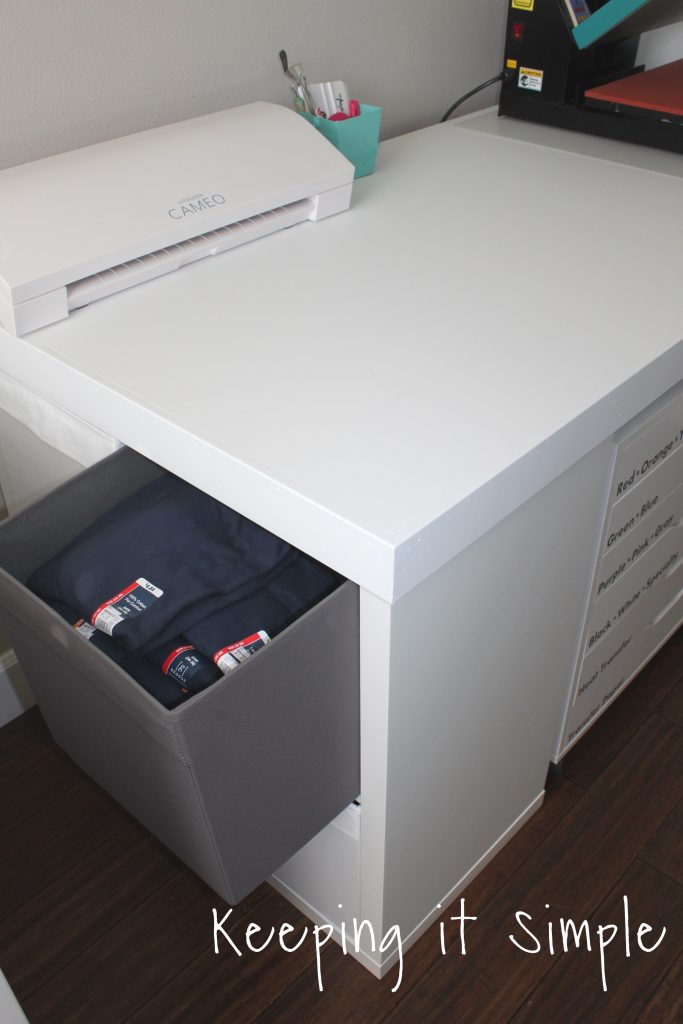
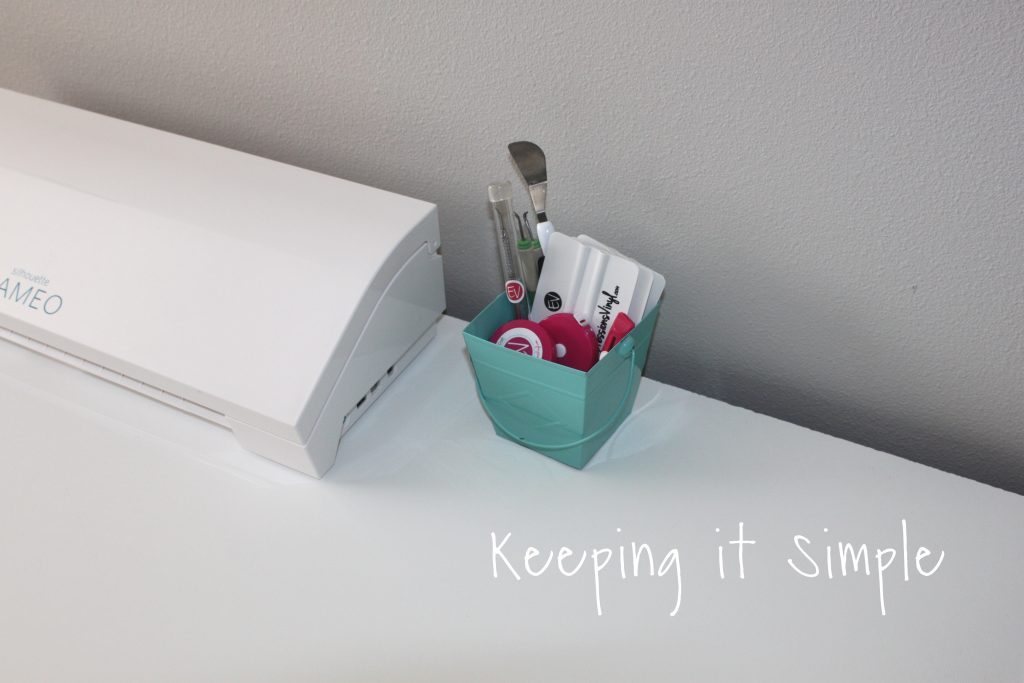
And that’s it! My vinyl station is complete! I put my heat press on it, my Silhouette CAMEO and then some vinyl tools that I used when I am creating with vinyl.

All of my vinyl is in that Alex storage unit. To see how I like to store my vinyl, I wrote a whole post about it here.
I love how big the crafting table is, lots of space to work on. I like how it look against my large barn door too!
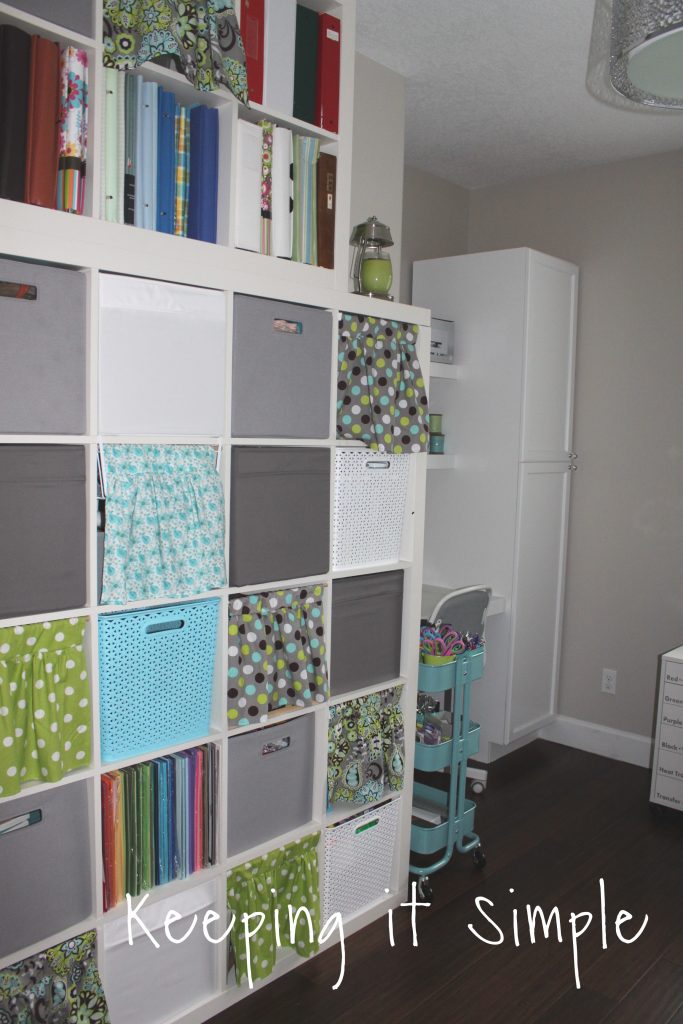
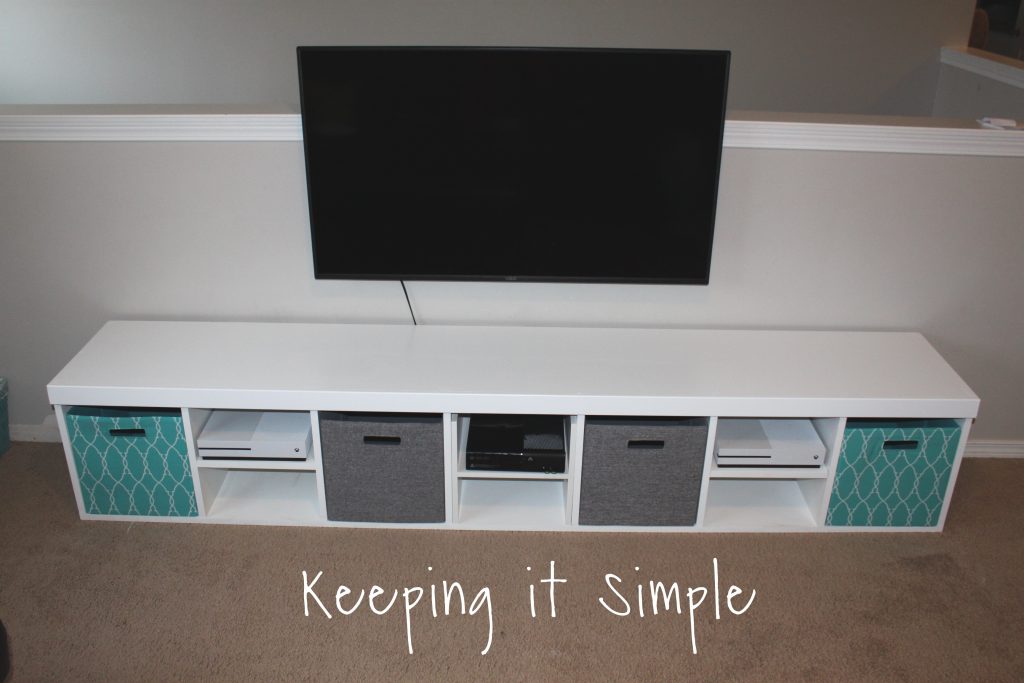
I choose the Kallax shelves because they are inexpensive and they can hold A TON of stuff. These storage bins are AWESOME, you can get them from IKEA, Walmart, Target or even Amazon. These ones are from Ikea. I like to store all of my vinyl blanks in there, especially shirts. I buy shirts when they go on clearance, I stock up on them and so I always have a shirt on hand.
Here is what the crafting table looks like next to my computer desk. I have a lot of space to create on and I LOVE IT!
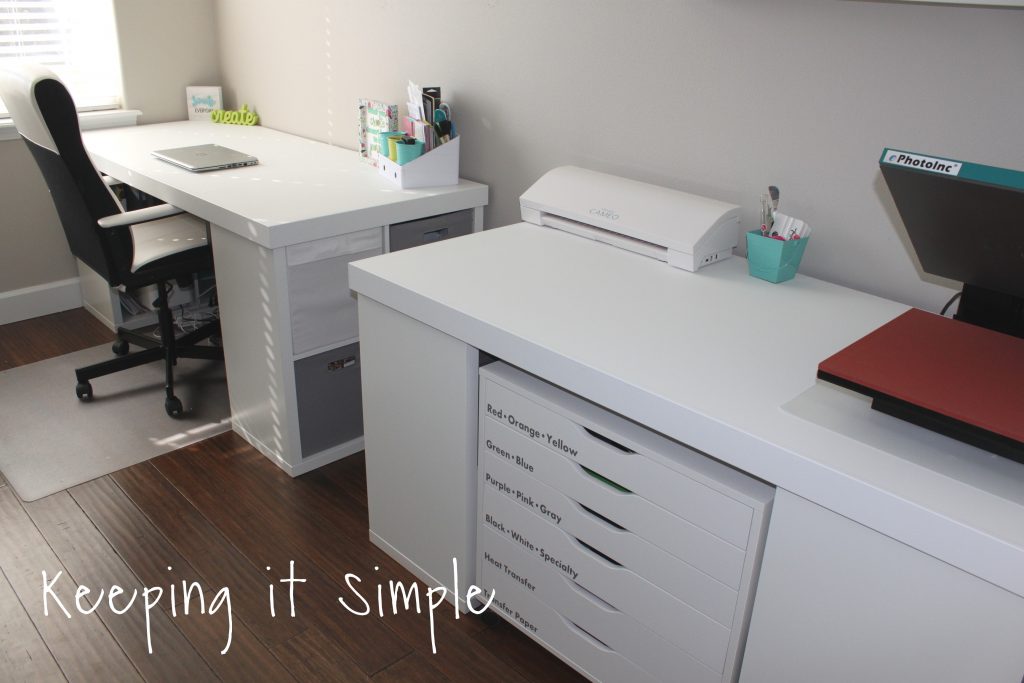
I didn’t want to have too much stuff on the top of it because I wanted a nice big surface to work on, but I do have these vinyl tools on there so when I am working I can just grab them and use them to weed or to apply the vinyl.
Make sure to check out the rest of my craft room here.
Check out my other DIY projects:
This post contains affiliate links.
Leave a Reply
You must be logged in to post a comment.