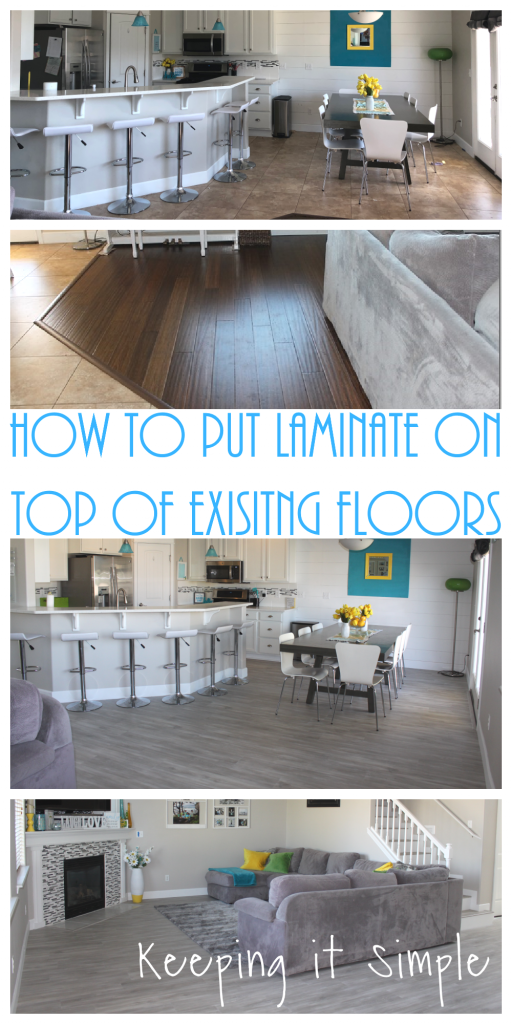
How to Put Laminate Floors on Top of an Existing Floor
Did you know that you can put a floating floor on top of an existing floor? Yup, it is true! You can put a floating floor on top of an existing floor, as long as it is a level and solid surface. You can use laminate or luxury vinyl plank too. The key for floating floors to stay put is the baseboards, transitions and trim, so as long as you can put the baseboards, transitions and trim down, then you should be good to go. It’s is really easy to do and it looks amazing too. We loved our tile floors in our entry way, dining room and kitchen but the color was really clashing with the rest of my house, since the majority of it is now gray and white. So laying the laminate floors directly on top of the tiles was the perfect solution to our problems because we didn’t want to have to pay to have our tiles ripped up. I love how they turned out and I can’t stop staring at the new floors, they just look so good!
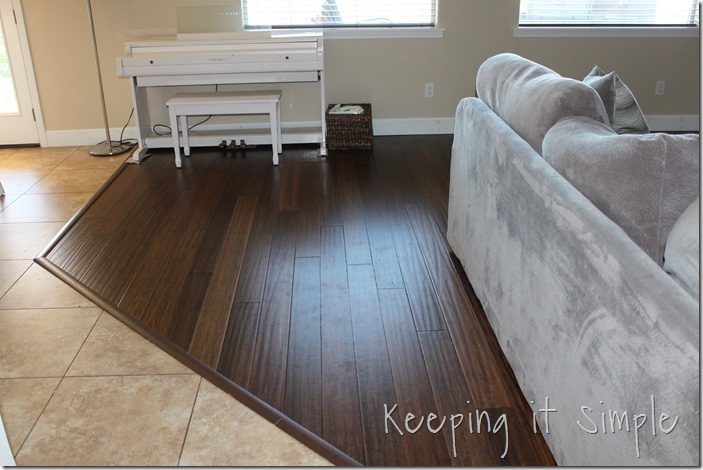
Here are a few before pictures. We put in the hardwood floors about 5 years ago, I really liked them but I never liked the transition. It drove me CRAZY because it broke up my dining room and living room. I felt like the space was kind of wasted because of the placement of the transition, it made my dining room feel so much smaller than it was. Let’s just say, I was not sad to see it go.
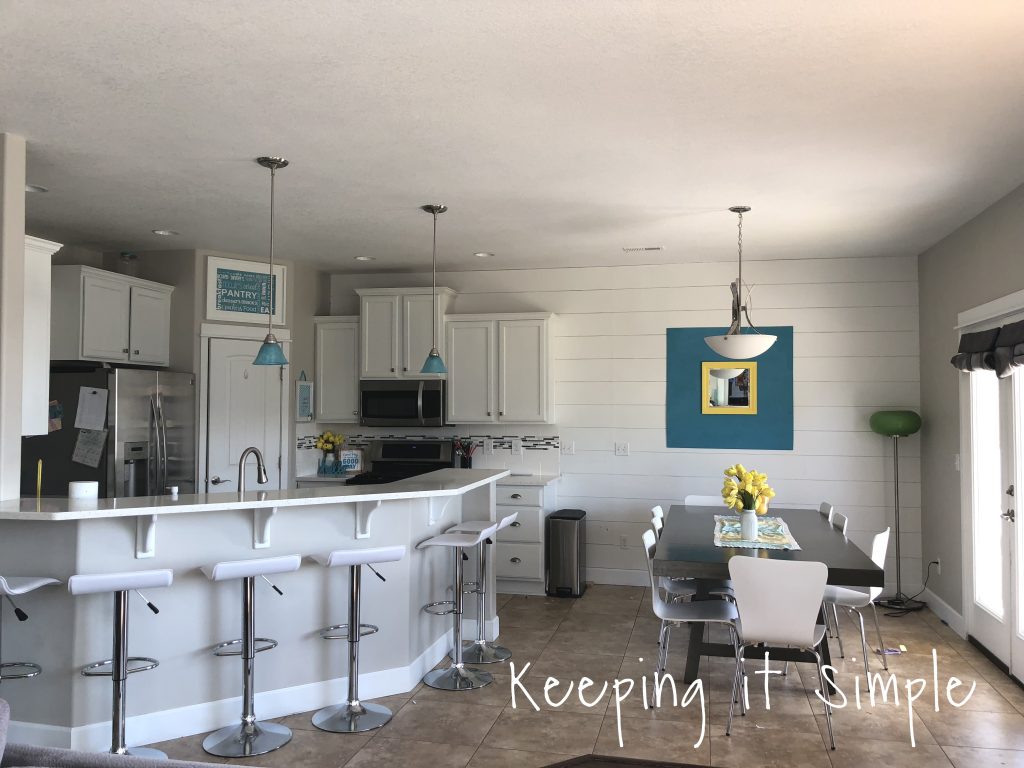
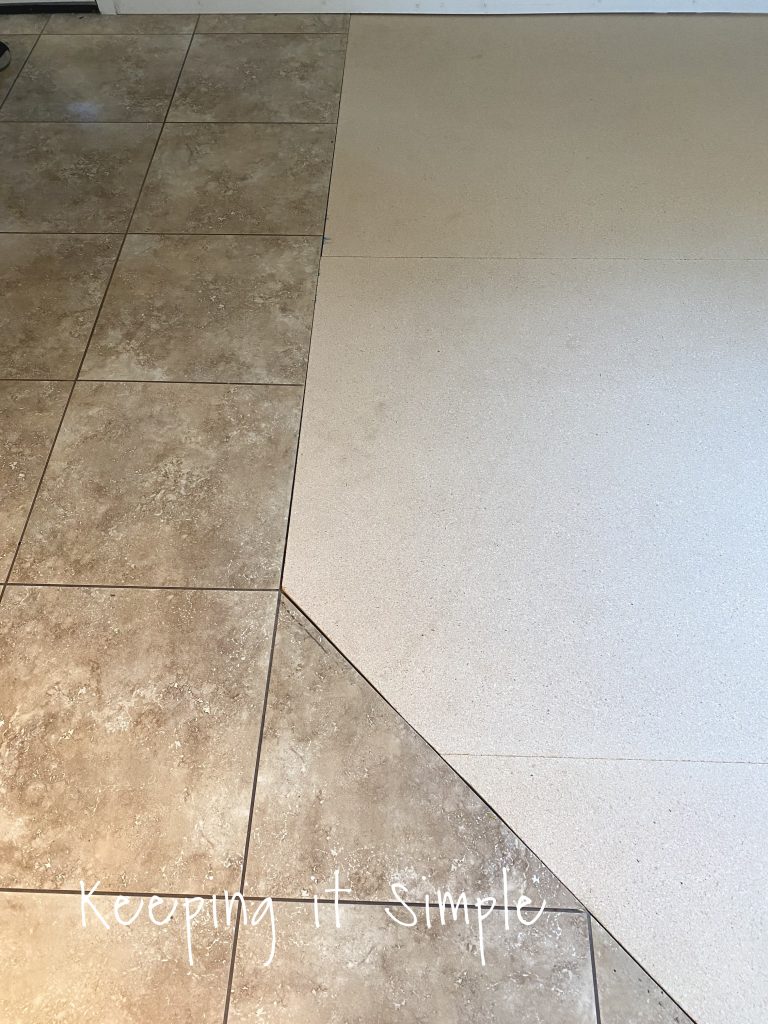
Here is the tile in the kitchen, the beige color was really throwing off the colors in there. Plus even when the tile was clean, the tile didn’t look clean. It always looked like there was dirt on it. That was nice because it hid the dirt but not great because when I clean, I like to be able to see the clean.
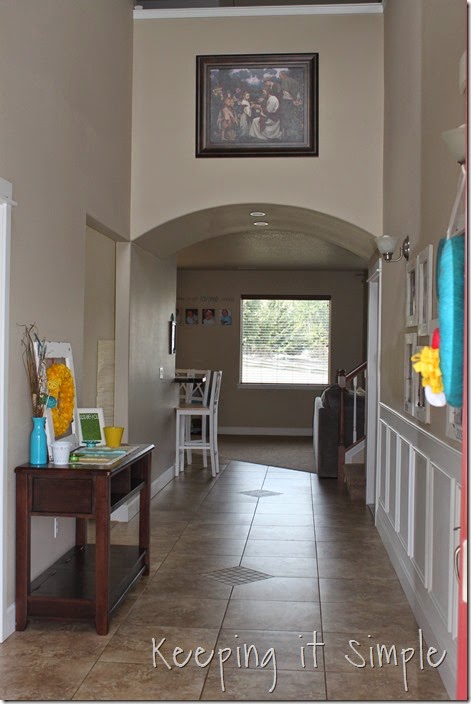
Next we have the tile in the entry way, I really love this tile. I love the little details on floors. I’m not going to lie, I was a little sad to see it go. The sadness lasted only a couple seconds after the floors where done because I love how they turned out so much.
Alright, now that we have seen the before pictures, now to get to the tutorial on how to put laminate on top of existing floors. This is how we installed them.
The first thing we did was took off the baseboards and took out the hard wood. Then we put in a 3/8″ plywood to make the living room area level to the tile in the dining room and entry way.
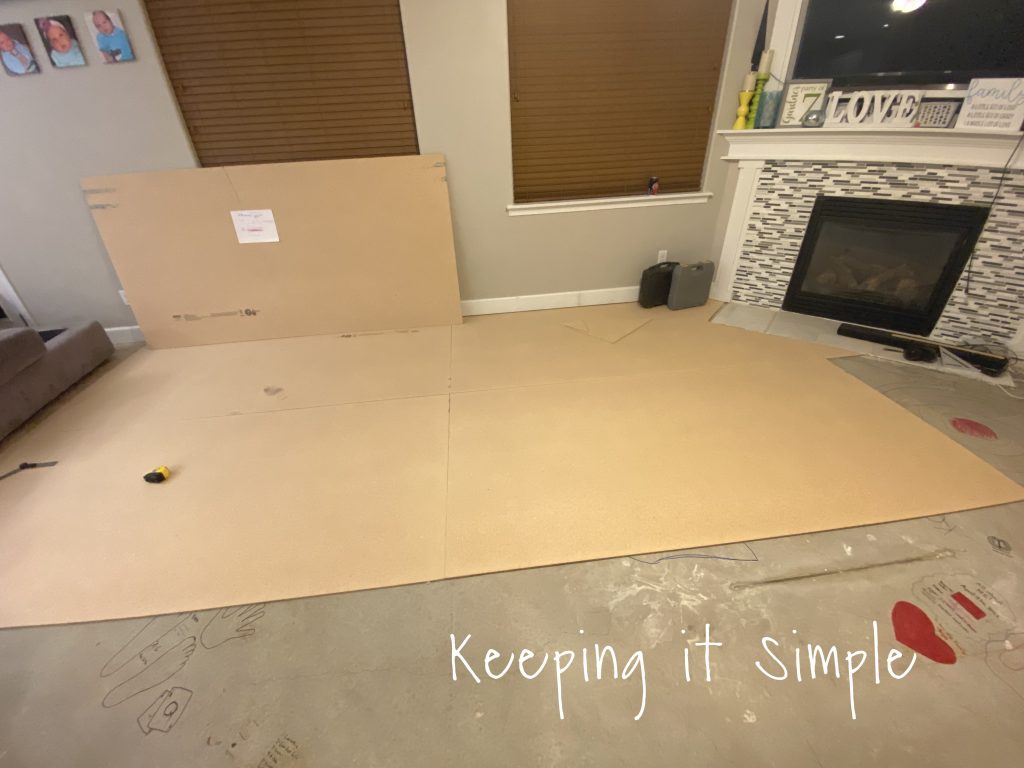
We made sure to find a plywood that was the same thickness as the tile so that there was a level surface to put the laminate on top of. It is really important to make sure to get it as level as possible because if it isn’t, then the floors won’t stay together.
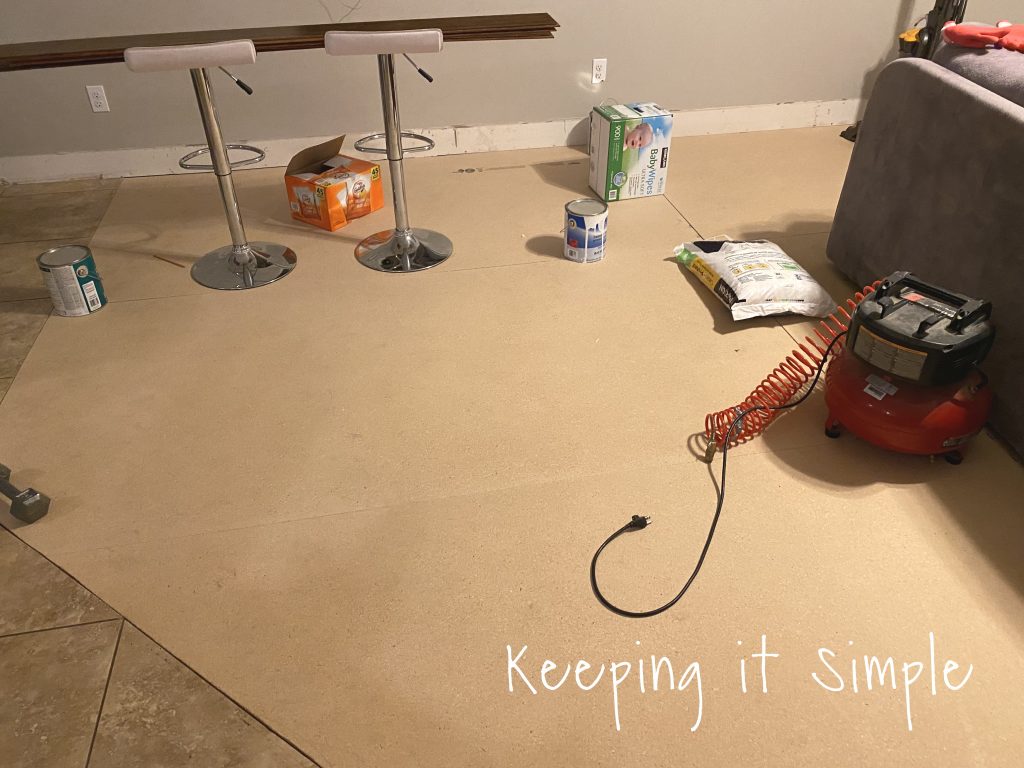
Using a really strong construction adhesive we glued the plywood down to the floor. We just did the glue on the sides and then put heavy objects to hold the glue down plywood. We let it set overnight before putting the flooring on top of it.
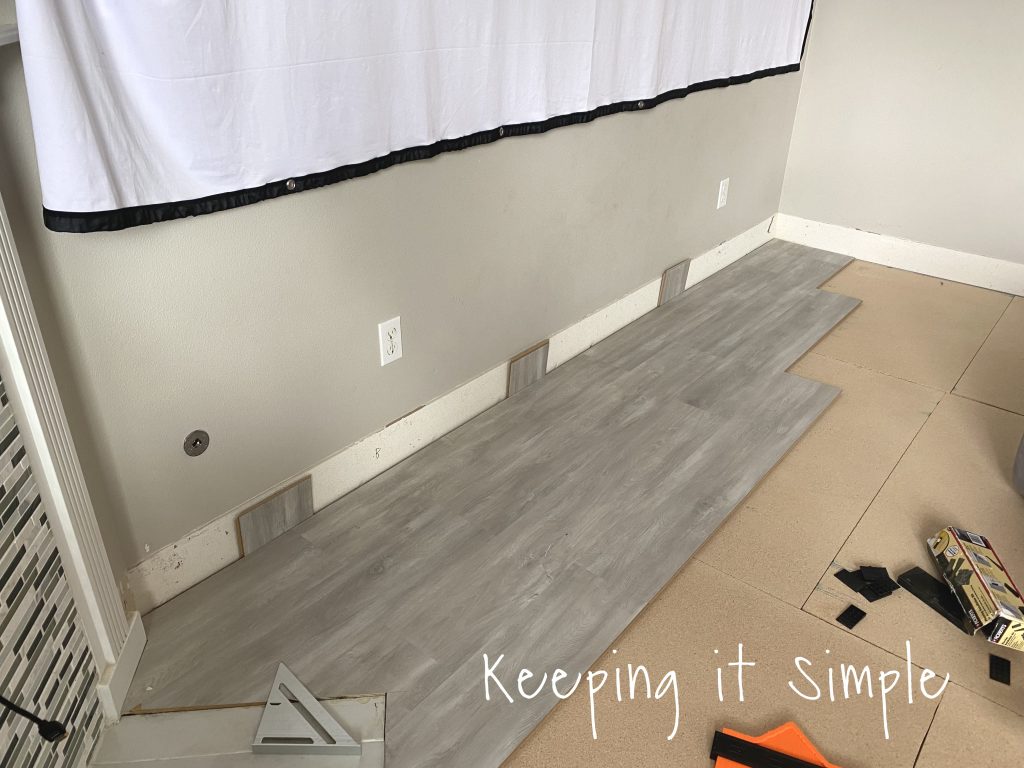
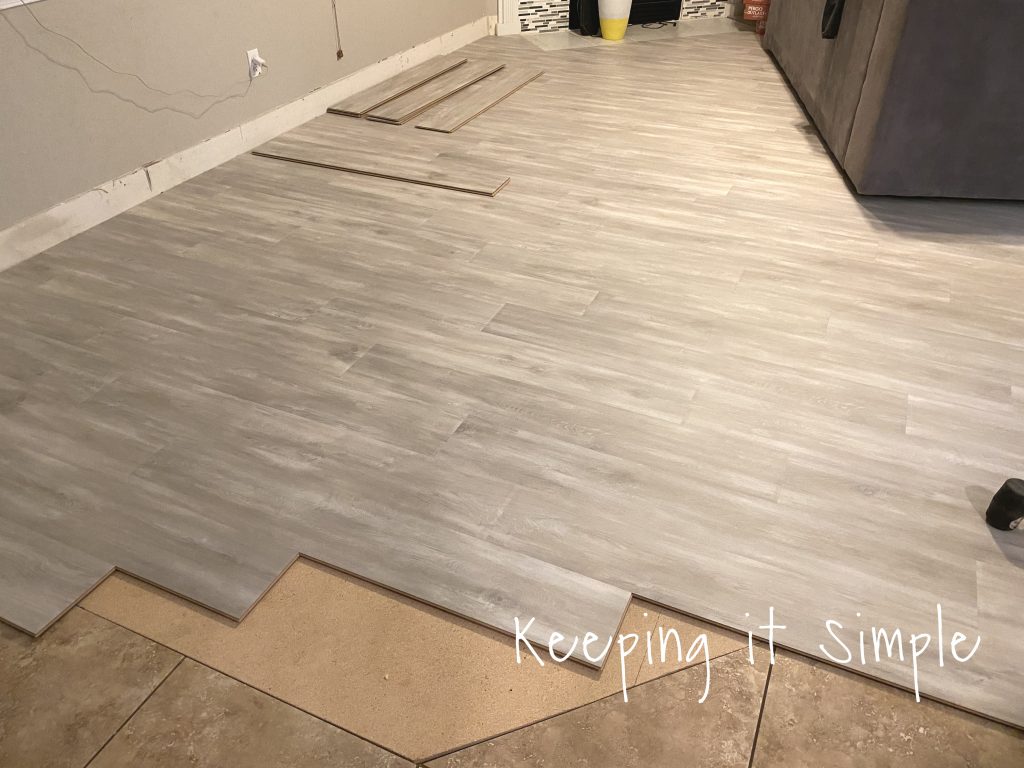
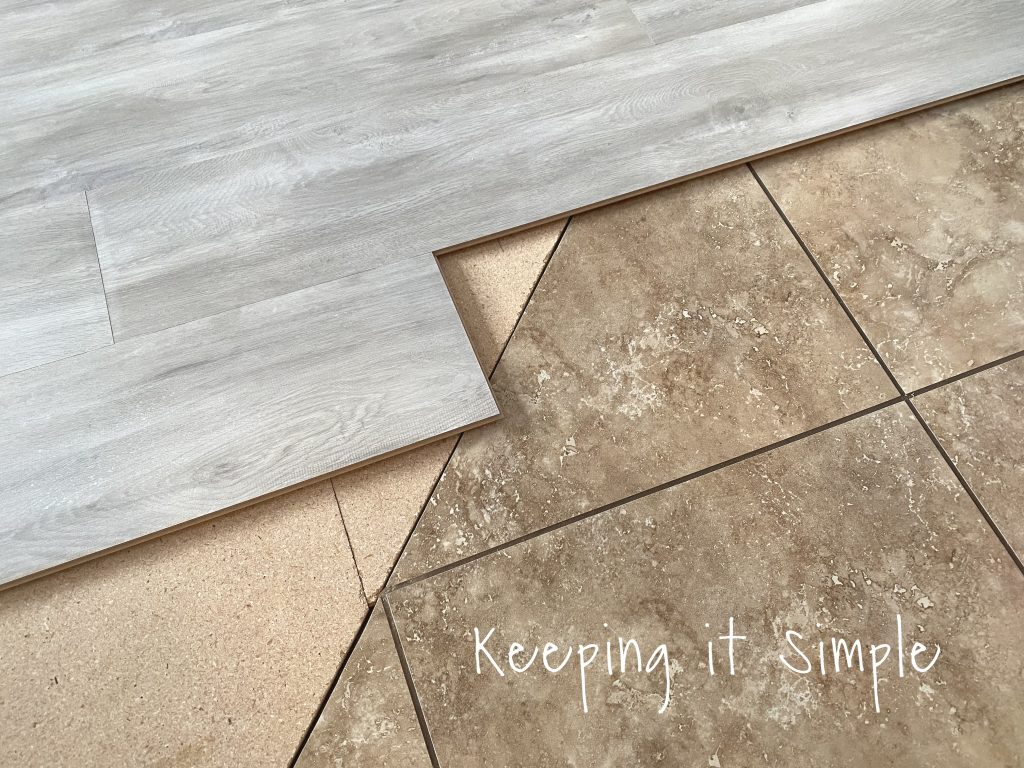
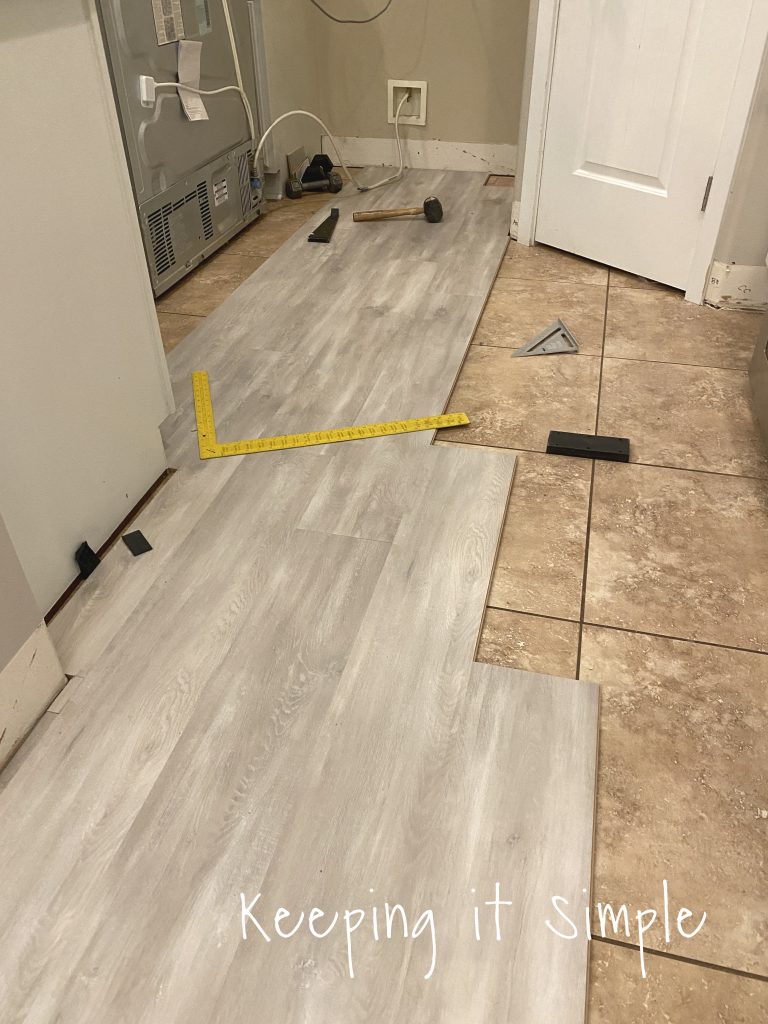
Once the plywood was down and glued, it was time to put the flooring down. We used a waterproof laminate called Soft Oak Glazed, the particular laminate did not need an underlayment but if it did, we would have placed it down on top of the plywood and the tiles. If you want to see how to install floating floors, check out this detailed post.
We continued with the floors and installing them. When we got to the transition to the tile, we put a couple daps of glue directly onto the flooring to help make sure that it was secure.
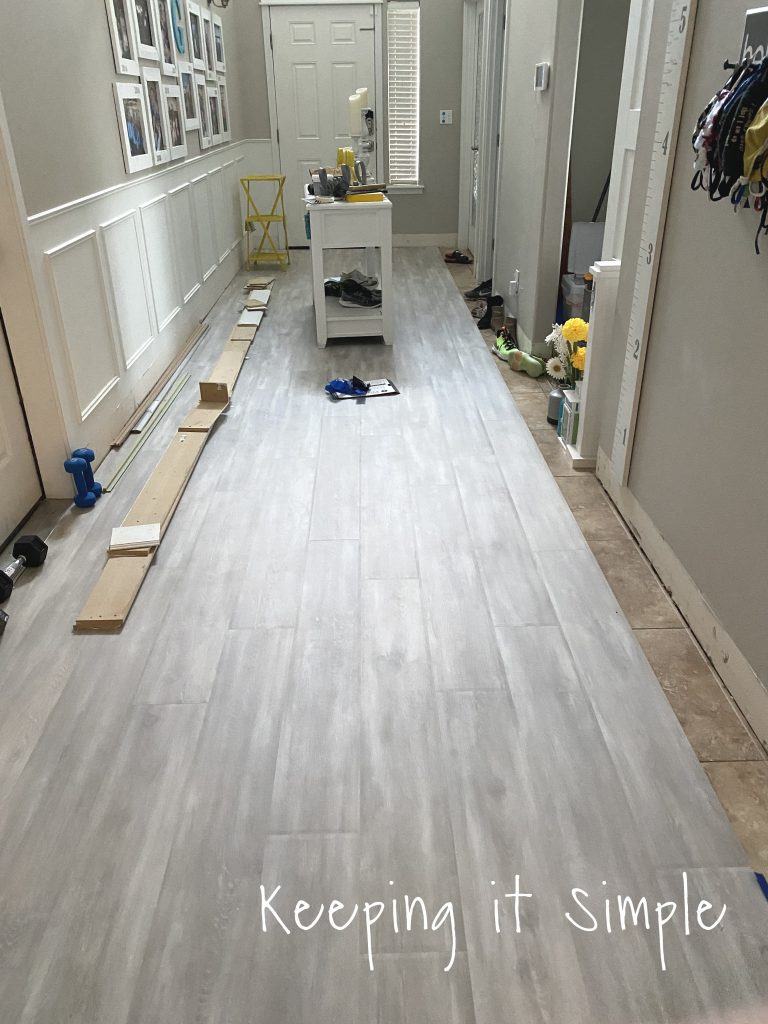
We worked down the entry way and continued with the flooring. Whenever there was a spot where the flooring ended and didn’t have a baseboard or trim on top of it, we glued it down to the floor. For example, right in the front of the garage door, we glued it down.
Once the entryway was done, we worked our way to the dining room. The laminate flooring went on really good over the tile, I was very happy as we went along and was very impressed by how well it was staying together.
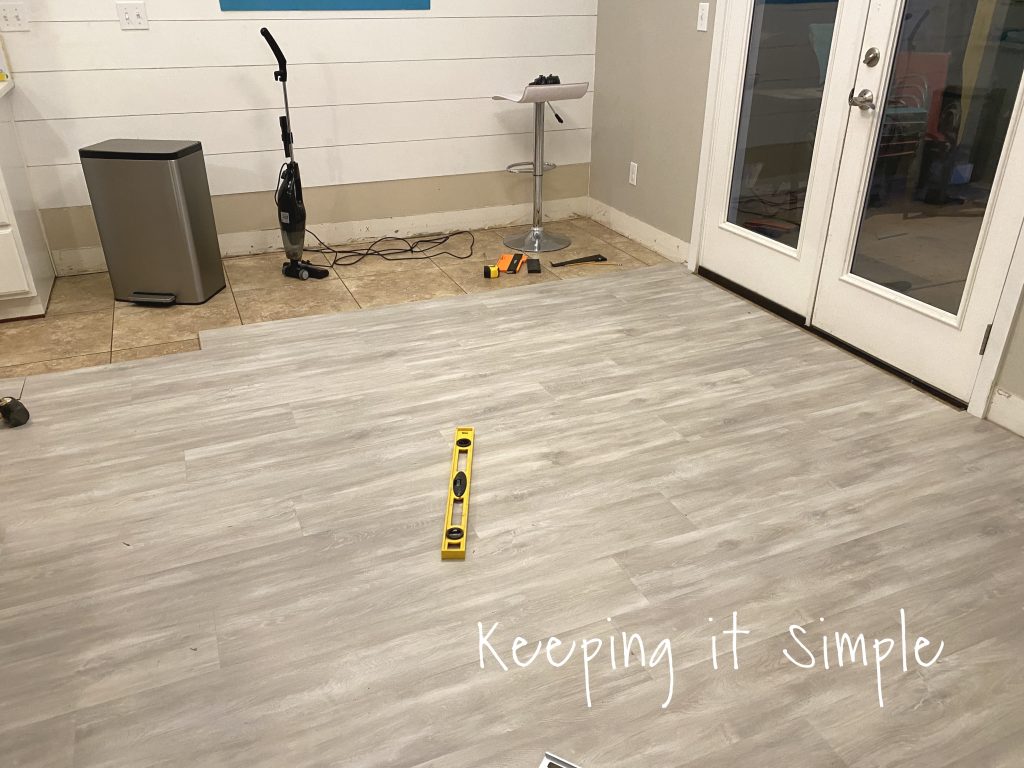
We then went into the kitchen. Normally you would take out all the appliances and put in the flooring. We didn’t want to have to unhook the water and gas line, so we just pushed them out of the way and then put the flooring in. Then we put back the appliances. Maybe not the best way, but it worked out just fine :).
We did the same thing for the range and dishwasher. Just wanted to show that you do need to put the flooring under the appliances too.
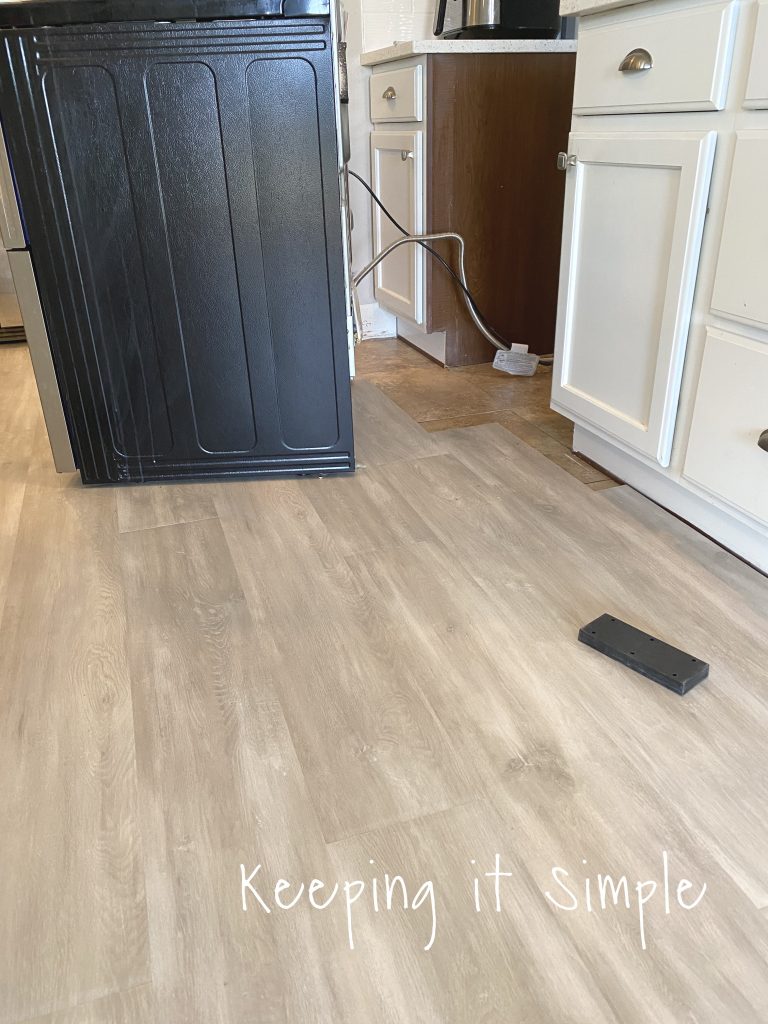
Here is the flooring in the kitchen. We went into the pantry too (I just don’t have a picture of it).
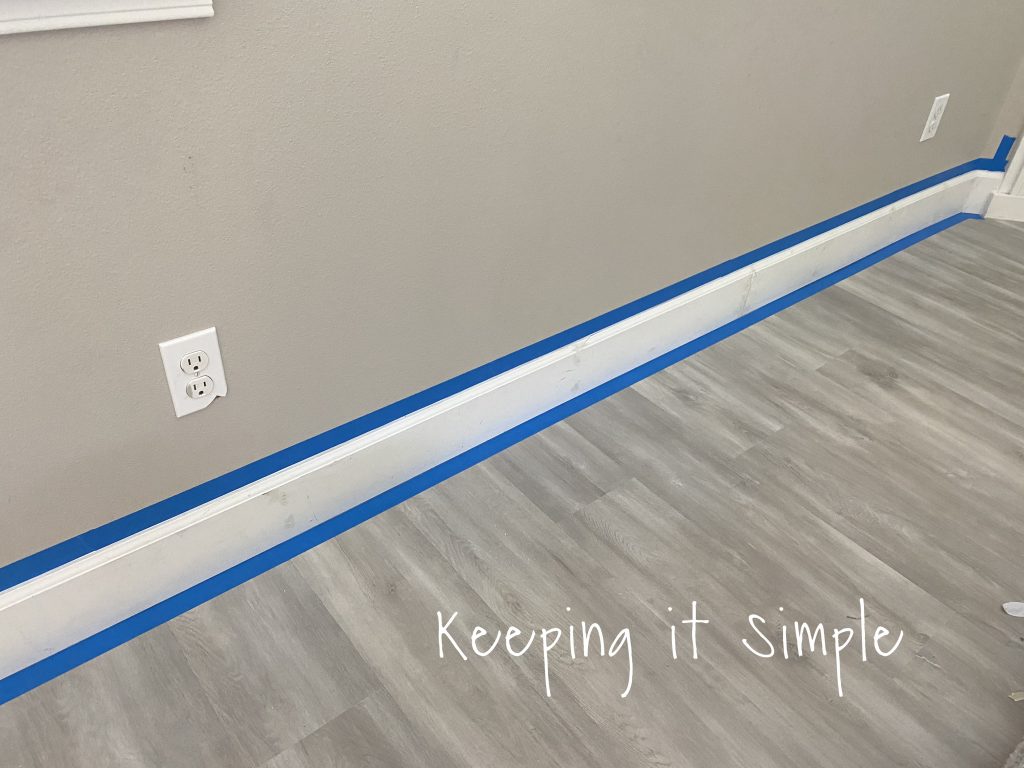
Now for the fun part, putting things back together. We put the baseboard and trim back on using a nail gun. When putting it back on, there were a couple things that we had to adjust. For example, some of the baseboards that went up to the cabinets had to be cut down because we raised the floor up about 3/8″, so we had to compensate for that. To make it look nice and clean, we used caulk to fill in any holes or cracks.
Here are the baseboards on, caulked and ready to be painted.
We taped the walls and floors and then painted the baseboards with a nice bright white.
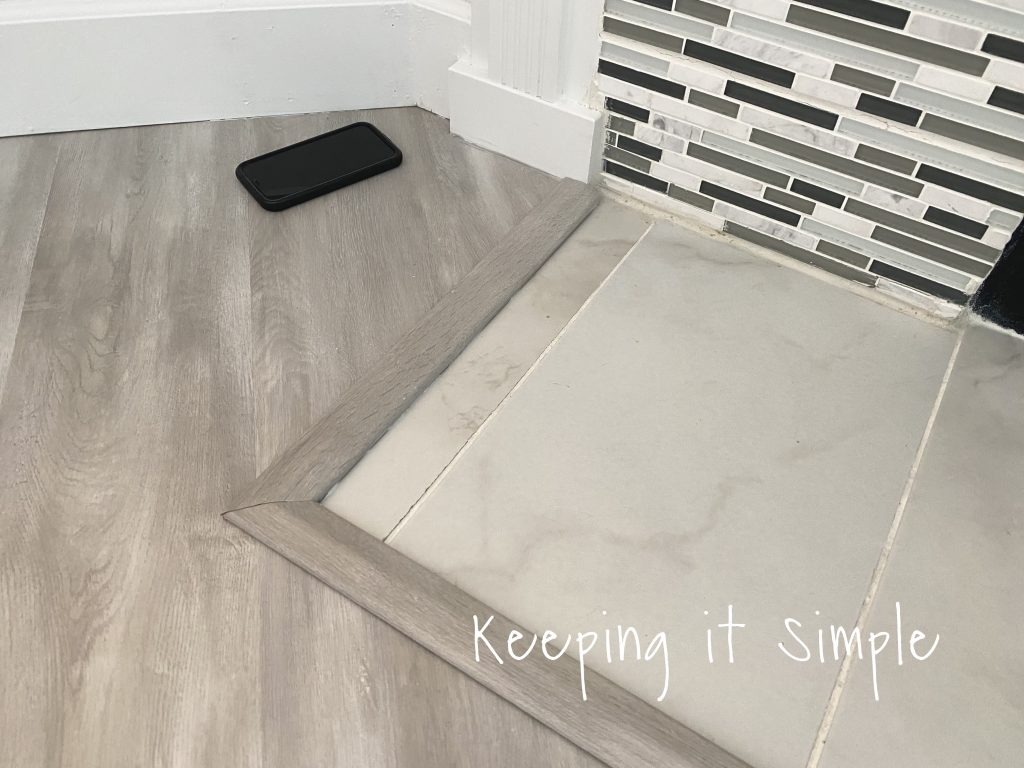
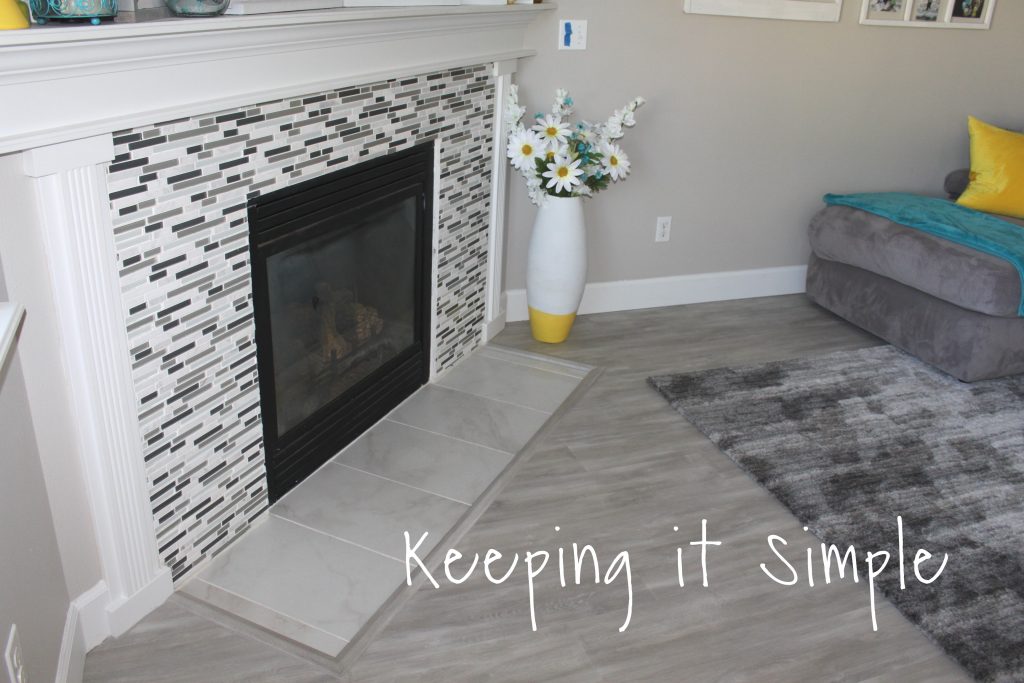
Once the baseboards were on, we worked on the transitions. For the fireplace tile, we had to use a trim reducer, we cut the sides at a 45 degree angle and then glued it down. Using a light gray caulk, we filled in the sides and cracks.
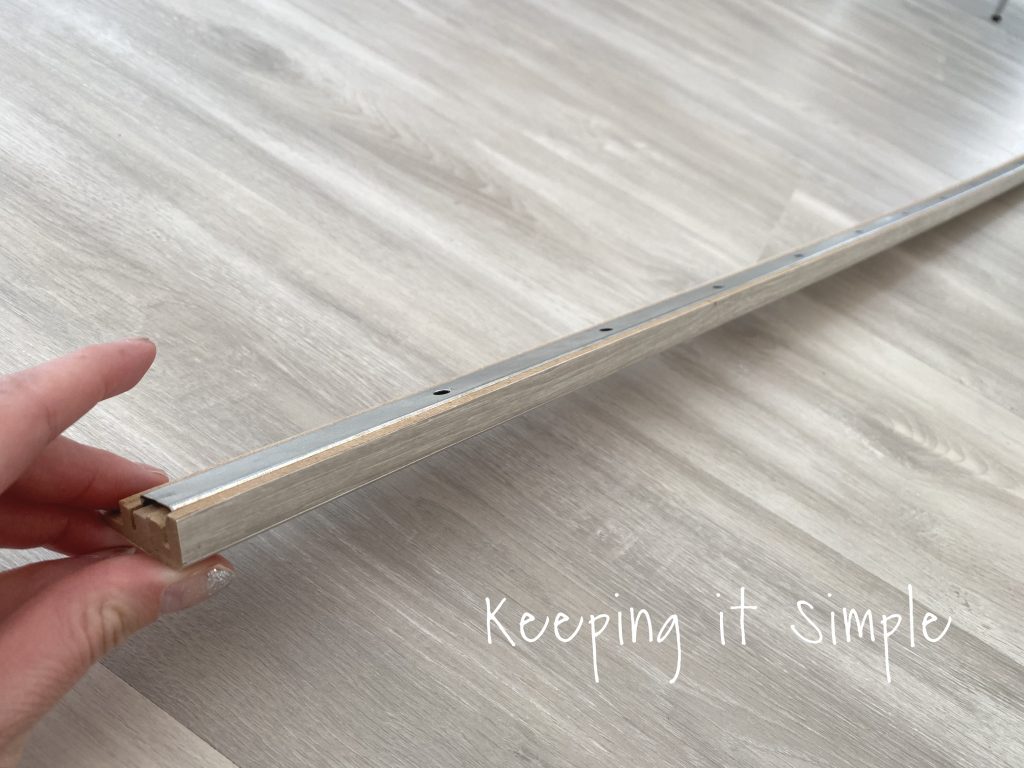
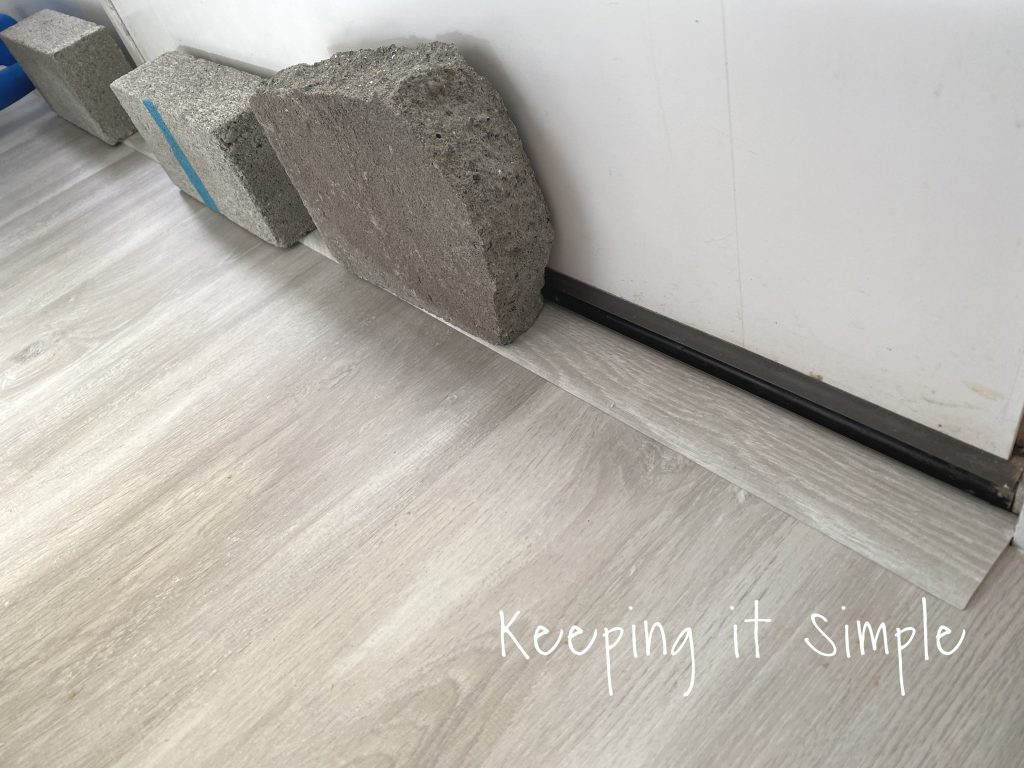
For the back door and front door, we used a finishing trim. Instead of it going over the floors, it ends it right in front of the door.
We used 3 different kinds of trim through out the downstairs. The trim really helps finish the floors and it helps keep it the floor place since you can glue it down (or nail if you are putting the floors onto a sub floor).
We glued it down with the strong construction adhesive. Once it was dry, we caulked in the sides.
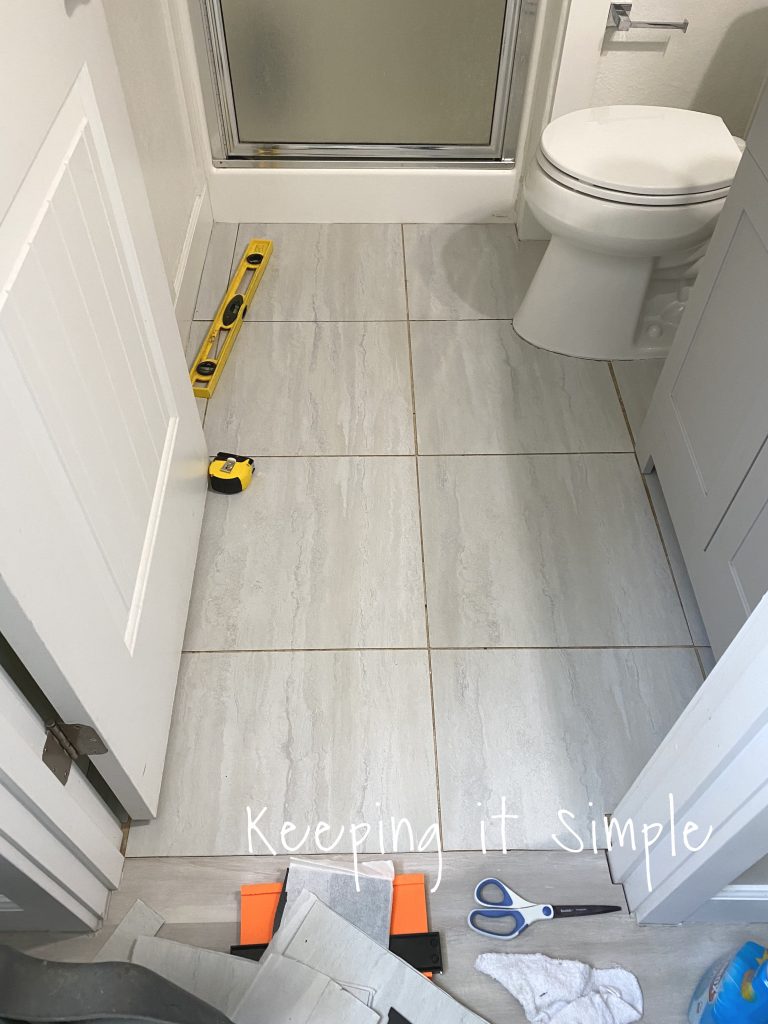
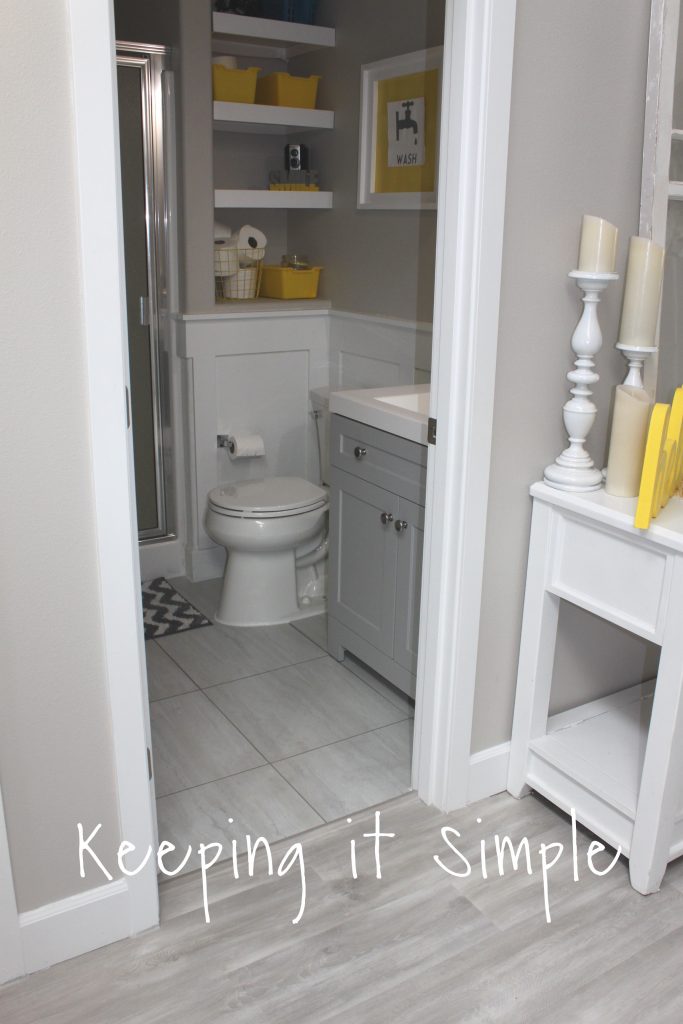
The last place that had the tile was the downstairs bathroom. We didn’t want to put the laminate flooring in there because we have 4 boys….. and even if the flooring is waterproof we just didn’t think it was going to last with our boys. So instead of the laminate, we put in a vinyl tile. It was a quick peel and stick vinyl called Terraza Grand Artic White. It was easy to install, we just cut the tiles with an utility knife and then put them down.
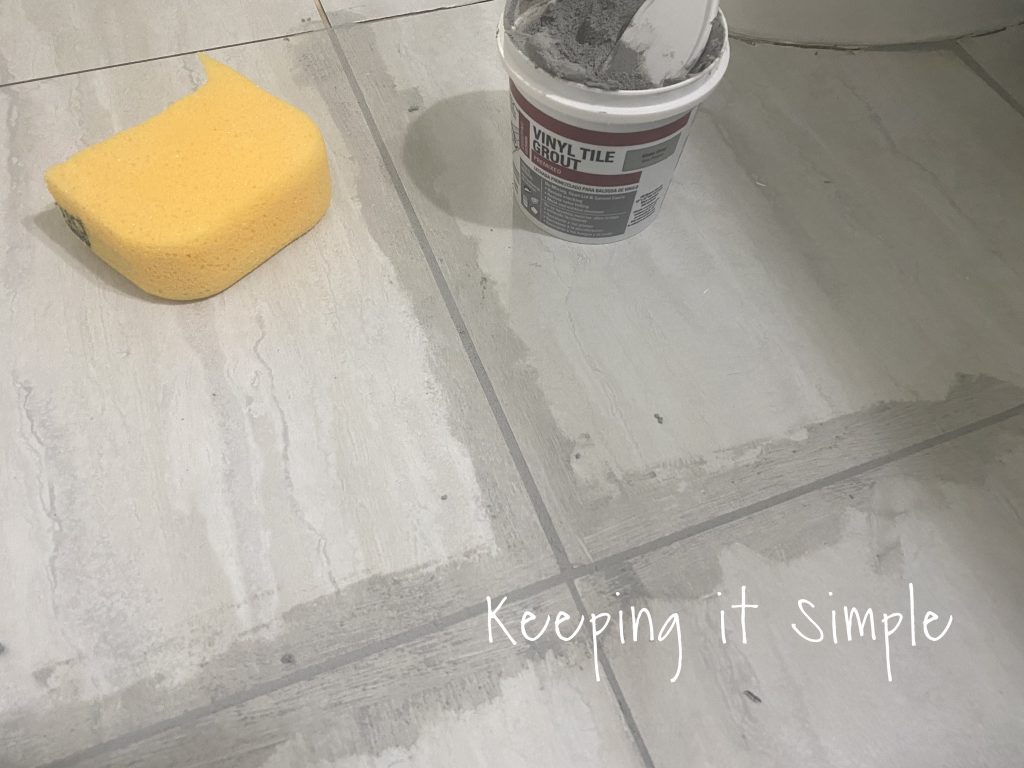
To make it more durable, we used a grout in between the tiles. To see how to grout tiles, check out this post.
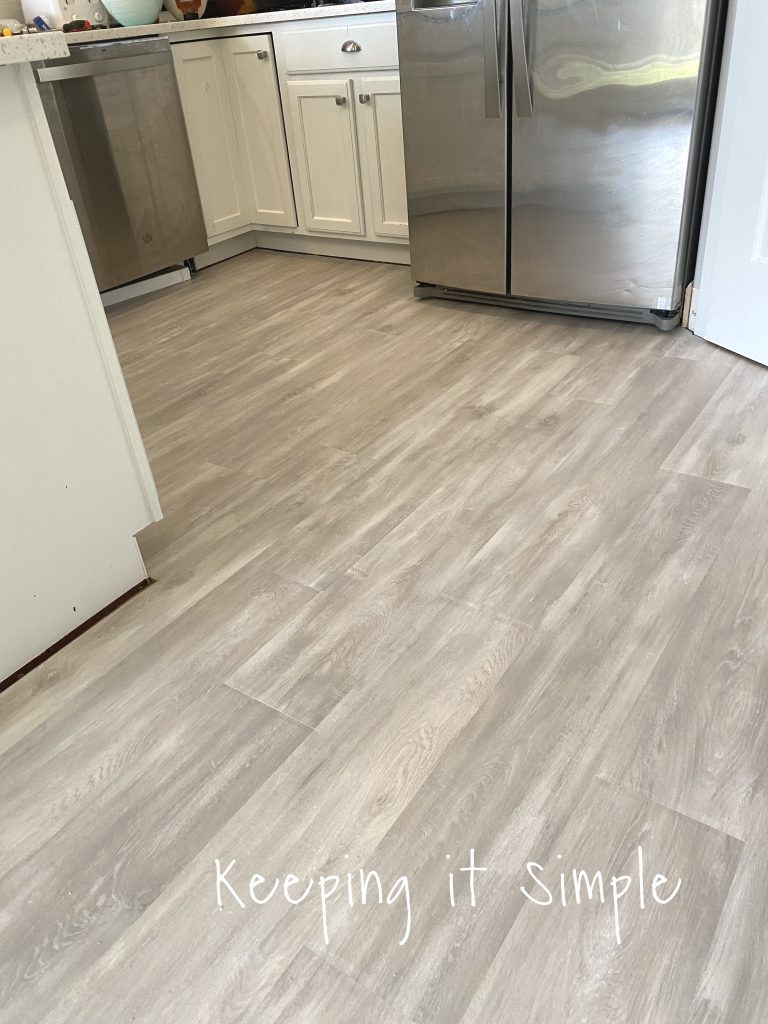
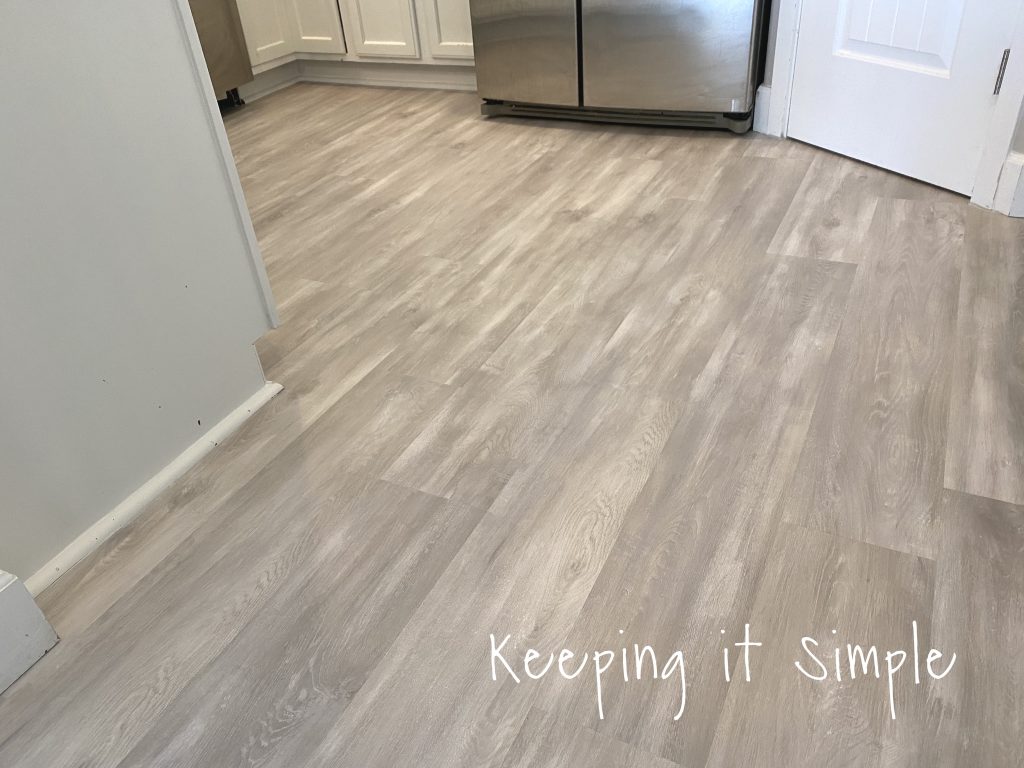
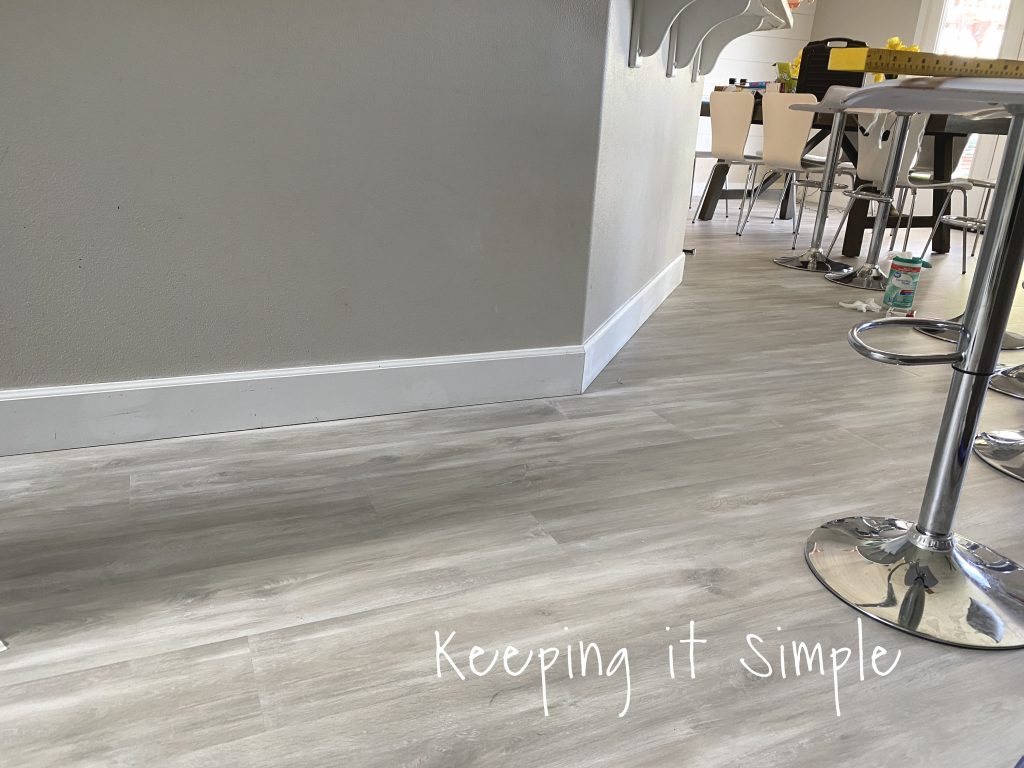
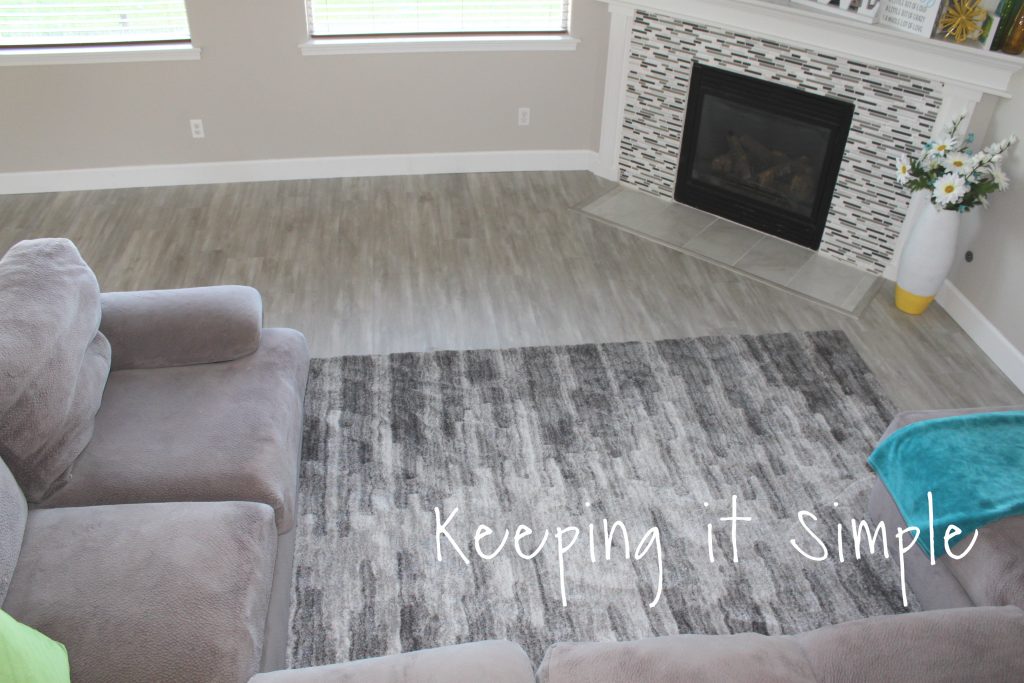
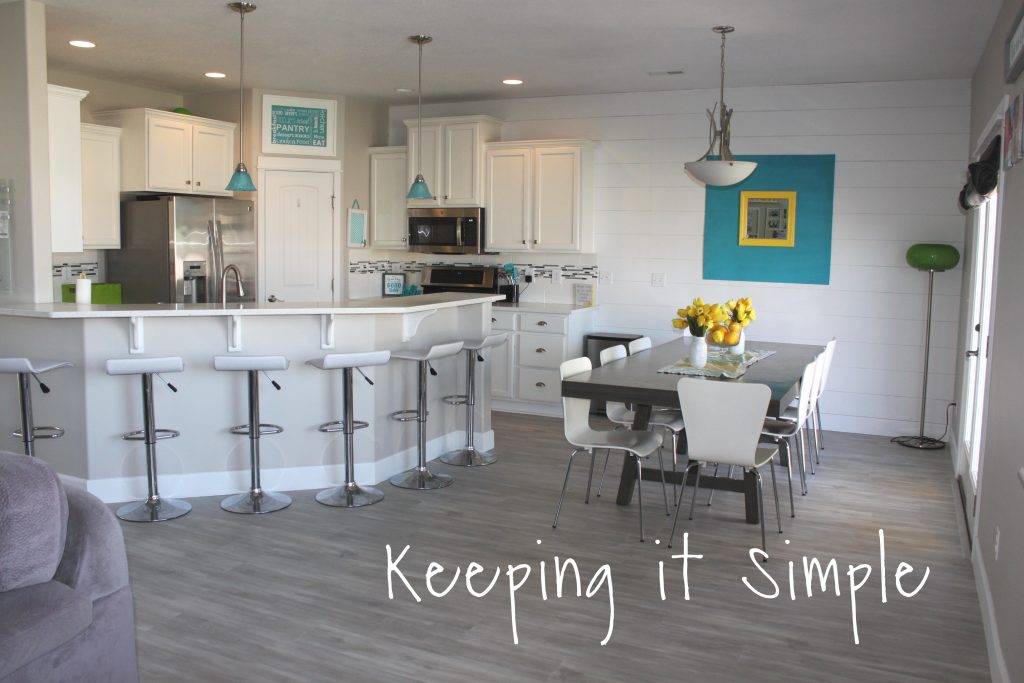
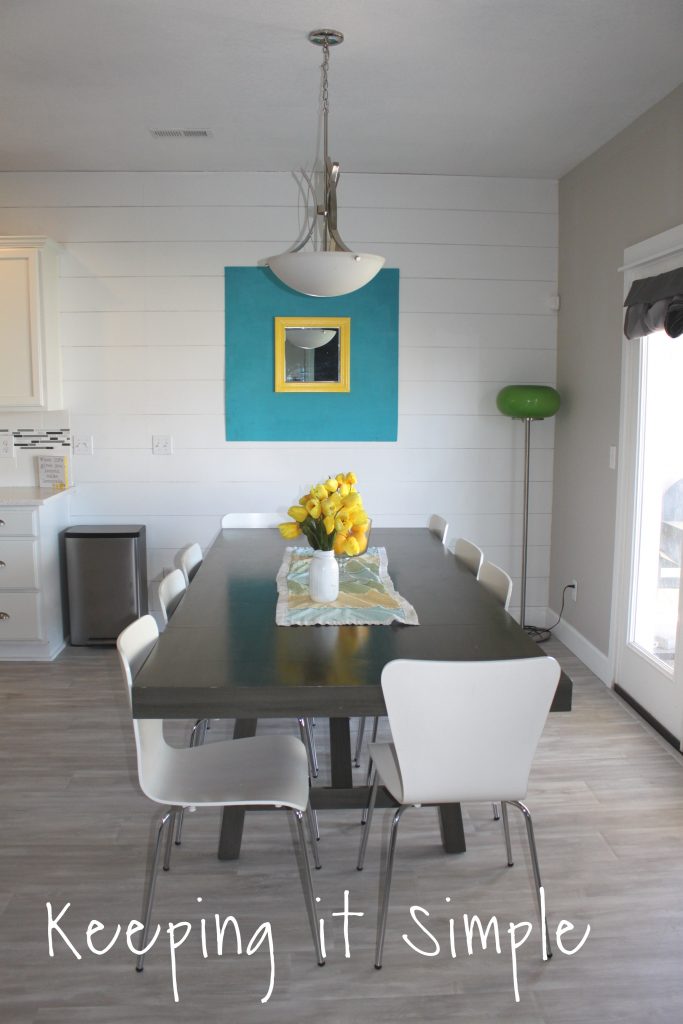
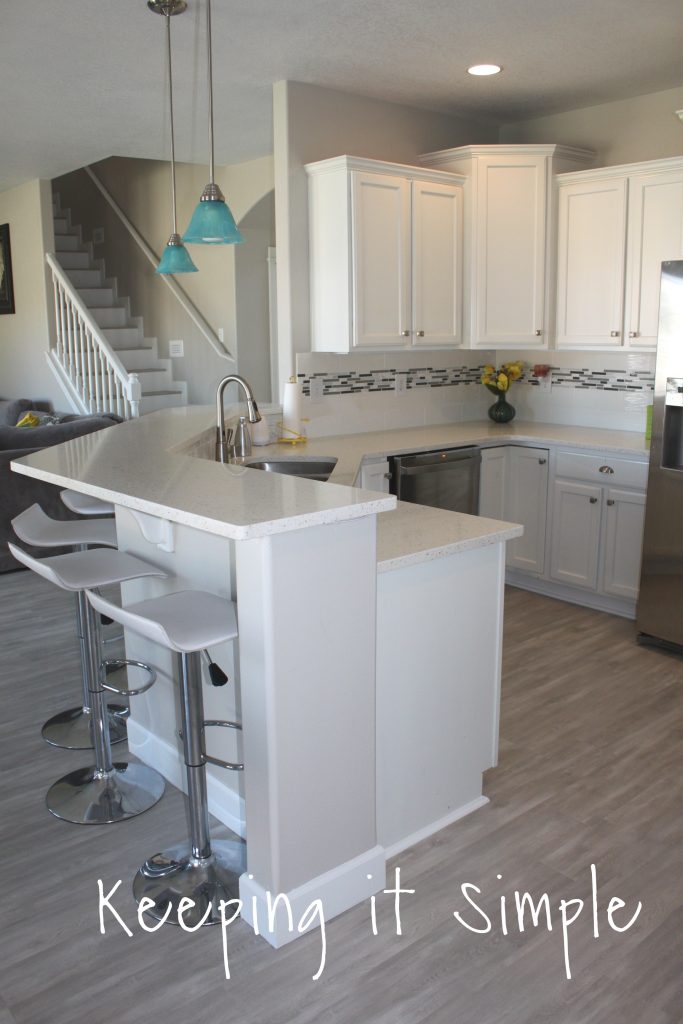
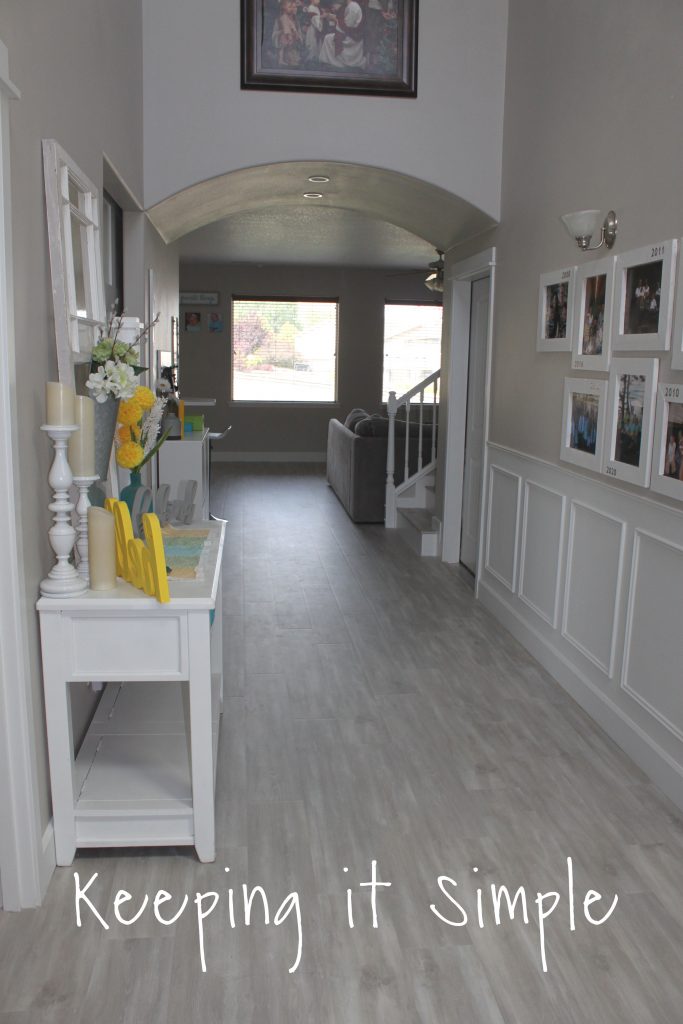
And now for the after pictures! The flooring looks amazing going through out the whole down stairs. It now matches the stairs too!


The floors now match our mosaic fireplace.
The kitchen looks so great without the transition. We have done a ton of stuff in the kitchen to make it look white and bright. Here are a few things that we have done in there to update it: ship lap wall, white countertops, white cabinets, back splash and blue pendants lights.
Now the entry way, I love how it looks in there. It makes me so happy!
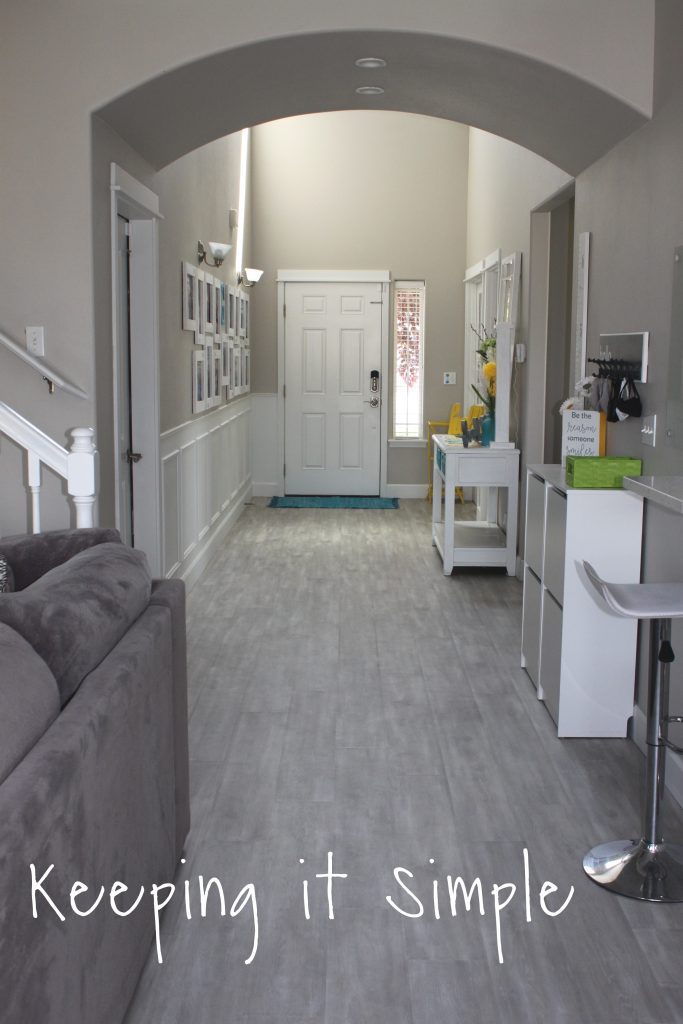
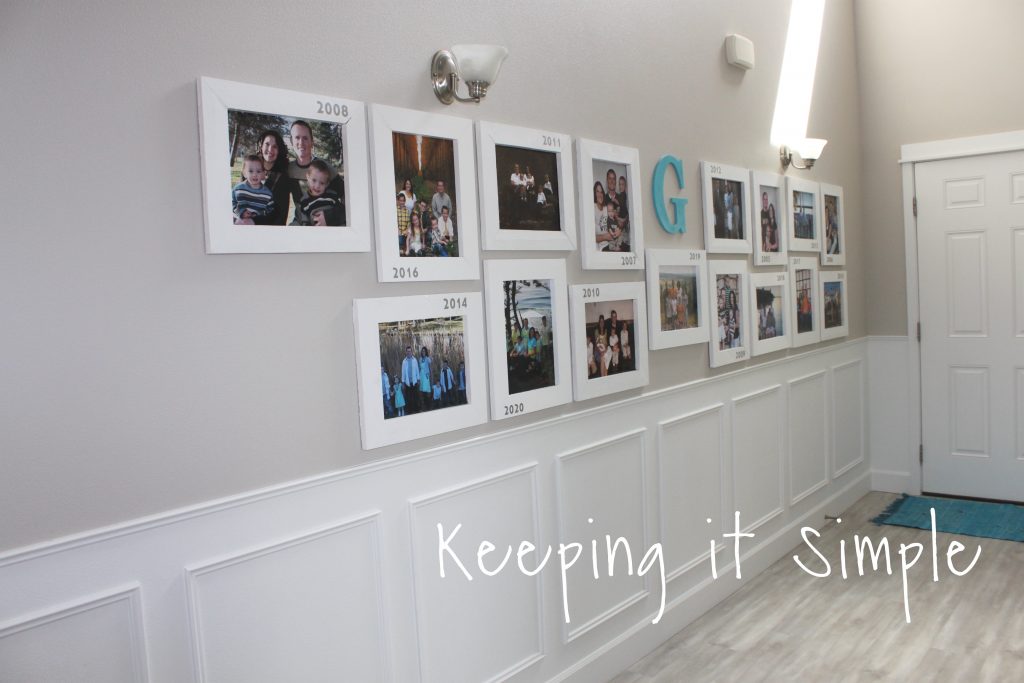
We have all of our old family pictures in the entry way.
And lastly, the bathroom downstairs with the new vinyl tiles. The gray floors make the board and batten and white shelves look so much better too.
If you like this post, then check out my other home improvement projects we have done through out our house.

This post contains affiliate links
Leave a Reply
You must be logged in to post a comment.